Windows 10 Media Creation Tool

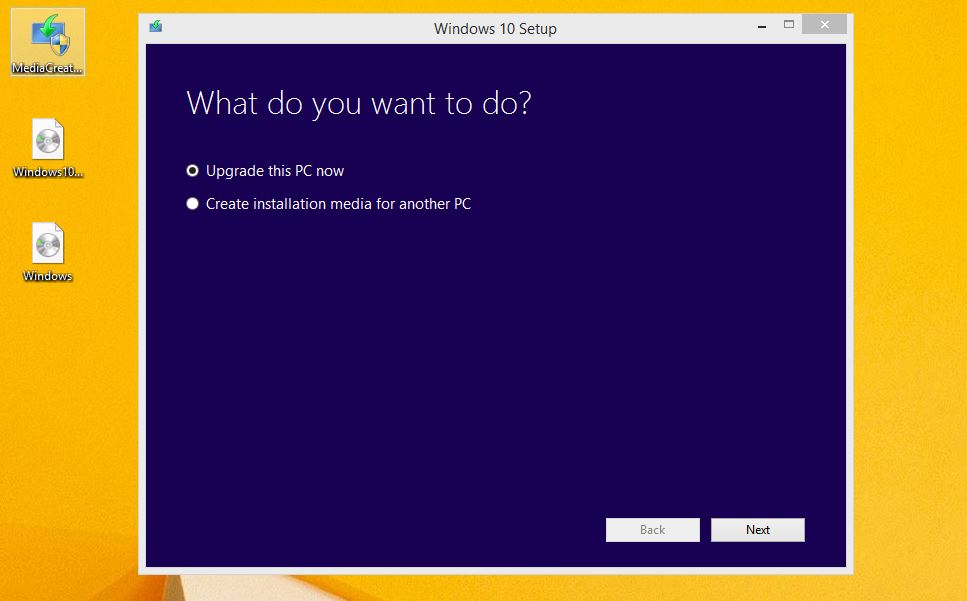
This video will show you how to use the Windows 10 Media Creation Tool to download a Windows 8 or 10 ISO file.

Hi All,
I have added this video about the Windows 10 Media Creation Tool to help others get their hands on the Windows 10 software.
If you have a copy of Windows 7 installed on your computer then you should be able to upgrade without to much bother as the product key will be registered with Microsoft and validates from your hardware.

There are 3 different types of Media Creation Tools available.
Windows 8 Media Creator Tool link here. Create Media
Windows 10 Media Creator Tool 32 bit link here. Create Media Tool 32 Bit
Windows 10 Media Creator Tool 64 bit link here. Create Media Tool 64 Bit

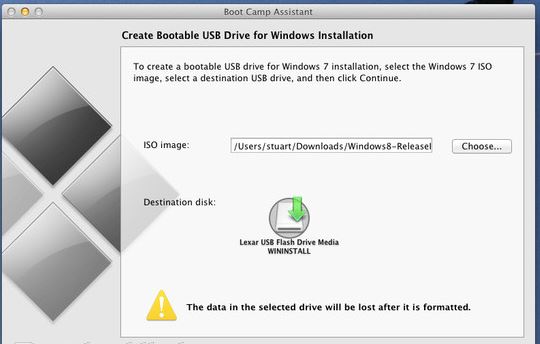
This tool allows you to download the Windows 8 or 10 ISO file or create a Windows 8, 10 USB drive which allows you to install Windows as you please.

Windows 10 media creation tool

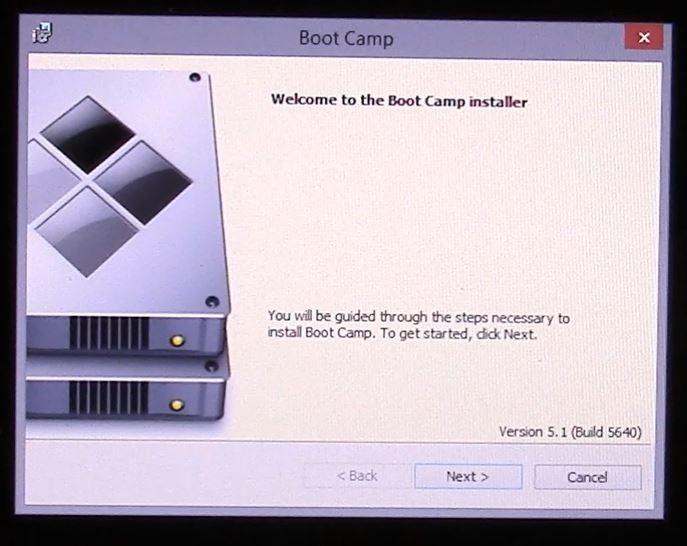
In my next video about installing Windows 10 on a MacBook Pro 2015, I will do a step by step install guide and will refer back to this video to show 123myIT.com users how to get the ISO file.

Cheers
Matt

Install Windows 8.1 on a Macbook Air no DVD drive

This video will show you how to Install Windows 8.1 on a MacBook Air without a DVD drive.

Hi All,
In this article you will find the steps, on how to install Windows 8.1 on a MacBook Air and any Mac without DVD drive.
This process was done on MacBook Air 2013 model and we will also use an ISO file or DVD image rather then a an actual DVD.

If you are looking for the video How to install Windows 8.1 on a Mac running OS X Mavericks you can find it here.
This video will show you how to install Windows 8.1 with a DVD.

What will you need to make this happen?
1. MacBook
2. 8GB USB stick or higher
3. Windows 8.1 ISO file, you can find a copy on the 123myIT download page here
Or you buy a full version of Windows 8.1 recommended under the 123myIT.com Store.

4. Once you have done the above, the next step is to run the Boot Camp Assistant. You can do this by going into finder and the type boot camp, or click the Desktop then click on Go, and then select utilities Boot Camp Assistant.
Boot Camp Assistant

5. Once you have this started up simply follow the video above and pretty soon you will have Windows 8.1 up and running on your MacBook Air.

6. If you are having problems during setup where you can move your mouse or type anything on the keyboard, you can try plugging in a USB keyboard and mouse for the initial setup, and then after Windows is installed go to the Boot Camp Drivers page here and download the correct drivers for your model of Mac which should solve this problem.

NOTE: Key points to remember, if your Mac doesn’t boot into the Windows installer screen then you can find the boot menu by restarting the Mac and holding down the ALT or option key.
For more information you can check out the Official Apple Boot Camp page here.

Unboxing and First Look at HP Probook 430 G1 Laptop

This video will show you an Unboxing and First Look the at HP Probook 430 G1 Laptop.

Want to see a review on the bigger brother of this laptop? click here for the review on the HP 650 G1 Probook.

How to create a bootable Windows 7 8 USB on a Mac

This video will show you how to create a bootable Windows 7 8 USB on a Mac.
You can use the bootcamp assistant to create a bootable Windows 7 8 USB on a Mac. However the option may not be highlighted in your bootcamp assistant.
To make the option appear you can try the following steps.

Step 1. Click on Go then Utilities. Find the Bootcamp assistant, right click on it and go to Show package contents and then go into the contents folder.

Bootcamp Assistant Show Package Contents

Step 2.Copy the info.plist file to the desktop and make a backup copy of it and open it.

Step 3. Find the line which says PreUSBbootsupportmodels and remove the Pre from the line. Try running the bootcamp assistant again and this time you should have the Create a Windows 7 or later install disc option.

Step 4 Copy the info.plist back to the contents directory. And start the bootcamp assistant again and see if the Create Bootable USB Drive for Windows installation comes up. If not try this next step.

Bootcamp assistant create bootable usb drive

Step 5 Change the USBbootsupportedmodels in the info.plist file.
You can find the model on the Mac that you are using by going into the Apple menu then click on About This Mac and then click on More info. Next click on System report and under Hardware Overview look up Model Identifier.
In the example in the video my MacBook model was MacBook7,1.
In the info.plist file I had to change the USB supported models to my MacBook model so that I could create a Windows USB on a Mac.

Hardware Overview Mac

Hope this works guys. Feel free to leave some feedback.

Cheers
Matt

For more into you can check out Apples discussions page here.

How to Boot into Safe Mode on Windows 8 & 8.1

This video will show you how to Boot into Safe Mode on Windows 8 & 8.1.
If you are having problems with your PC like you have a virus and you need to clean it or your PC is crashing and you need to do some troubleshooting. You might be asked to put the PC into safe mode.

The whole idea of Safe Mode is to start your PC with only the processes that are absolutely necessary for Windows to be start. When you start Windows 8 or 8.1 in Safe Mode you will then be able to see which driver or service might be causing a problem with your PC.

So how you Boot into Safe Mode on Windows 8 or 8.1 I hear you ask?
In older versions of Windows pressing F8 when the PC was starting up would put you into Safe Mode. However in Windows 8 this has now changed. Safe Mode has been replaced by automatic recovery mode and you will need to hold down shift + F8.
If that doesn’t work for you can do the following.

Step 1. Press your Windows key and type MSCONFIG press enter.
The you should see the Msconfig window pop up.

Msconfig Safe Mode

Step 2. Click on the Boot Tab across the top and then under Boot Options tick Safe Mode and choose minimal or network if you need to log onto to the internet or network. Click ok and do a restart.

Safe Mode

To turn off Safe Mode just repeat the steps and take the tick out of Safe Boot.
Step 3. In Windows hold down the Shift Key and press the Restart button whilst keeping the Shift key held down.

Choose an Option

Step 4. Click troubleshoot and go into Advanced Options and then Start Up settings.

Troubleshoot Advance Options

Step 5. Click on Windows Startup Settings.

Windows Startup Settings

Step 6. Click Restart.

Windows Startup Settings Restart

After restart you will have the Safe Mode options available.

For more info on how to Boot into Safe Mode on Windows 8 & 8.1 you can check out the Microsoft website here.

How to find Windows 8, 8.1 and Office Product Key, Serial Key or CD Key

UPDATE: Microsoft seem to think that this tool which allows you to find the serial key of the software you already have paid for is illegal as I don’t have enough funds to hire a lawyer I have had to take it down, sorry about that.

This video will show you how to find the Windows 8 and 8.1 Product Key Serial Key CD Key.

Hi All
Have you ever needed to know what your Microsoft Windows or Microsoft Office serial key is? When you receive a new PC you should be able to find the cd key on the cd software or on a sticker on the bottom of your PC. However I recently received a new PC and the product key for Windows was no where to be found and if I wanted to install a faster SSD drive I would need the product key to activate Windows so that I can receive the all important Windows updates, patches and fixes.

The video above will show you what you need to do to find your serial key. I have been using a tool called Magical Jelly Bean finder for years and its a great tool for finding the serial keys of most Microsoft products.

You can find the Magical Jelly Bean finder software under the Downloads section of 123myIT website here.

How to Add Windows 8 Start Menu

This video will show you how to Add Windows 8 Start Menu.

Step 1. Go to the 123 my IT Downloads page and click the Classic Shell download link found here.

Classic Shell Download

Step 2. Download and install the Classic Shell program. The start menu will appear after this.

Windows 8 Start Menu after Shell Install

How to install Windows 8 on a Mac with Boot Camp Easy Version

Hi All
So I have revamped the how to install Windows 8 on a Mac with Boot Camp video, I have tried to explain more detail about the install in the video.
I have also added the direct Apple boot camp downloads which can be found here.
If you have any questions about the boot camp install and installing Windows 8 on your Mac you can find it here.

Good luck 🙂