Upgrade the hard drive in your laptop

This video will show you how to Upgrade the hard drive in your laptop.

Upgrade the hard drive for the Asus G751J laptop that I purchased about a month ago. If you want to see that review you can go here.
Why would you want to upgrade the hard drive on a laptop. Basically the SSD drive can great improve the loading times on any laptops. You can buy the laptop with and SSD already installed however usually I find the price of the laptop is greatly inflated because of the SSD. Yes they are expensive but not that expensive and some company’s seem to think they can charge extraordinary prices for the privilege of an SSD drive pre installed into your laptop.
So to combat this I always select a model that has a SATA drive which is much cheaper than an SSD and I upgrade the hard drive myself. This also allows me to choose the size brand and model of the SSD, which I think is also very important.

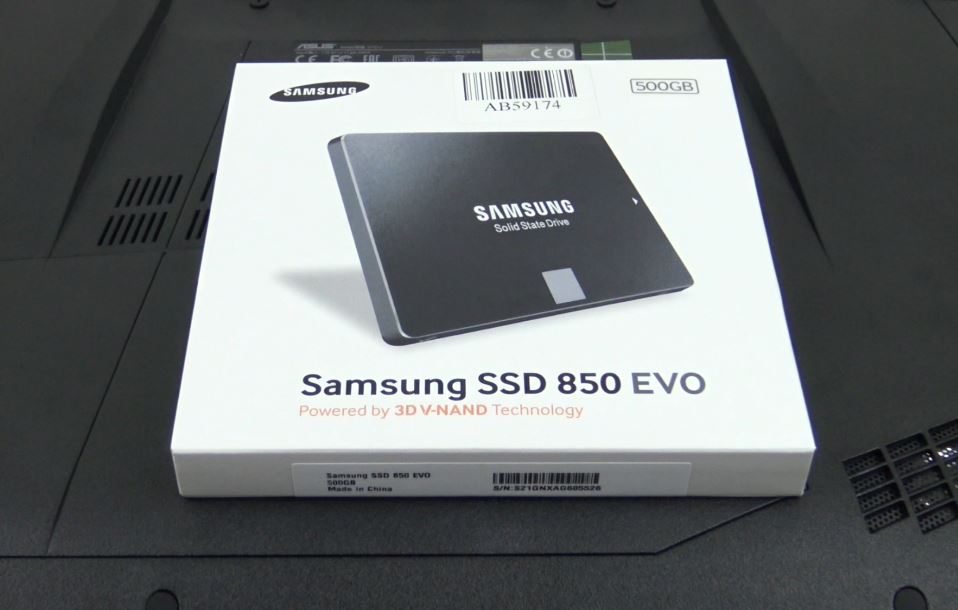
In this video I choose the Samsung SSD 850 EVO which has a capacity of 500GB.
This SSD drive sports the following features.
* 3D V-NAND flash memory architecture
* Optimize computing with TurboWrite technology for unrivalled read/write speeds
* Increase memory storage with RAPID mode
* Endurance and reliability bolstered by 3D V-NAND technology
* Energy efficiency backed by 3D V-NAND
* Flexible form factor for use in different types of devices

See the link above for more info on the Samsung Solid State Drive 850 EVO.

Upgrade the hard drive - Samsung Solid State Drive

In the rest of the video I show you how to remove the current primary SATA drive and install the faster SSD, by opening the bottom of the laptop and unscrewing the primary drive and move it to the second bay of the laptop. Now not all laptops have space for two hard drive bays. So in some case you can buy a caddy that will fit into your DVD slot on your laptop allowing you to be able to have two hard drives which is pretty neat.

Cheers
Matt

Windows 10 FREE Upgrade

This video will show you all you need to know about the Windows 10 FREE Upgrade.

Hi All,
Some of you may know about the Windows 10 FREE Upgrade. Basically Microsoft is giving all users of Windows 7 and Windows 8 the chance to upgrade to the latest Windows 10.
Now there was some murmurs on the internet that Microsoft was going to allow people who had illegal copy’s of Windows to upgrade however this doesn’t seem to be the case after all.

So how do you get your Windows 10 FREE Upgrade? Well eligible devices should get the Windows 10 app pop up in the taskbar of the computer you are on.
Something simular to the picture below.

Windows 10 FREE Upgrade

Once you have that pop up you should be able to go through and reserve a copy of Windows 10 and you will have the option to go and download the update once it is released on 29th July 2015. You can also check your Control Panel Windows updates and possibly update your Windows from there.
The layout has changed quite a fair bit from the original version of the Windows 10 Technical Preview version I posted up on the Downloads section of the 123myIT.com website some months ago.
And to make that download sweeter, I tested it the Windows 10 Insider Preview ISO June 2015 Update version and it allows you to personalise the Windows 10. Something which was not possible on previous versions of the preview copy’s.

Upgrade Path
Ok so lets take a look at what Microsoft says devices that will be allowed a Free Upgrade.

Windows 10 Upgrade Path

This picture above shows the upgrade path for Windows devices. You can find this graph on the Microsoft 10 FAQ & Tips webpage.

The upgrade path for Windows 7 Starter, Home Basic and Home Premium will upgrade to Windows 10 Home.
Windows 7 Professional and Ultimate will upgrade to Windows 10 Pro.

Windows Phone 8.1 to Windows 10 Mobile
Windows 8.1 to Windows 10 Home
Windows 8.1 Pro and Windows 8.1 Pro Student will upgrade to Windows 10 Pro.

Cant wait for this to happen.
Cheers
Matt

How to Upgrade & Activate Windows 8.1 Preview

Hi All
A few people have been asking how to upgrade the version of Windows that is from the 123myIT.com website so I have added a quick video to show you how to do this.
This video will show you how to Upgrade & Activate Windows 8.1 Preview.

Cheers
Matt

How to upgrade OS X Mountain Lion to Mavericks

This video will show you how to upgrade OS X Mountain Lion to Mavericks using a USB Drive.

NOTE: You will need to create a OS X Mavericks USB drive and if you want to know how to do this you can see the video here. Before going ahead make sure you backup your data just in case anything goes wrong. You can find a video on how to do this here.

Step 1 After creating the OS X Mavericks USB drive, open up the USB drive and click on the Install OS X Mavericks installer.

Step 2 Press continue on the OS X Mavericks install screen. Click Agree and Agree again.

Step 3 Select your Hard Disk that you want to upgrade to OS X Mavericks. This should be your Main Hard Drive. Then click Install and add your password if it prompts you.

Upgrade OS X Mountain Lion to Mavericks

Step 4 Once you add in your password you will start the upgrade process. The computer will reboot when it finishes installing. This process can take 30 to 40 mins depending on the speed of your computer.

Step 5 Because this is an upgrade not a clean install of OS X Mavericks all your settings and files should be the same as you left it.

Step 6 You will be prompted for you Apple ID at the log in page. You can choose to sign in or skip this page.

Apple ID Sign In

And once you have logged in you should now see your OS X upgrade from Mountain Lion.

If you want some more information you can find it on the Apple Upgrade page here.

If you want to download the upgrade of OS X Mavericks you can find it in the App store here. Just remember that you will need to be running and old version of OS X to that has App Store in the Taskbar.

Good luck and feel free to ask any questions.
Cheers
Matt

How to upgrade Android 4.4 KitKat on Samsung Galaxy S

This video will show you how to upgrade Android 4.4 KitKat on a Samsung Galaxy S GT-I9000.

NOTE: This upgrade is for the Samsung Galaxy S GT-I9000 only. Trying this on other model may brick them. You will need to have a rooted you phone first. If you want to know how to do this you can watch the tutorial here.

Step 1. After you have rooted your phone. Go into applications and tap the CWM ClockWorkMod app to install it.

Step 2. You will need to download two files. The first one is the KitKat rom file “cm-10.2.0-galaxysmtd.zip“and the second is Google Apps “gapps-jb-20130813-signed.zip“. Both can be found on the 123 my IT downloads page here.

You can choose which versions you like from the links below. The process for installing them are the same.
For the latest build click here.
Google Apps page click here.

KitKat 4.4.2

Step 3. Transfer the two files you just downloaded to your phone Backup all your data, contacts, messages and SD card data.

Step 4. Power off your phone and wait until it vibrates. Once the phone is turned off, press and hold the Home, Volume up and Power buttons. The phone will then boot into recovery mode.

Step 5. Once in recovery mode, go down to the menu Wipe data / Factory Reset. Press the Power button and this step will take some time. Next Wipe cashe partition and after that go into Advanced and click wipe delvik cache.

Step 6. Time to flash the rom firmware. Go to the option install zip from SD card. Now scroll down to where you placed the two files above, cm-10.2.0-galaxysmtd.zip and gapps-kk-20140105-signed.zip.

Step 7. After KitKat installs, you will get a blue colour recovery. Then navigate to the location where you have placed the gapps-kk-20140105-signed.zip file and install it. Once its installed go back to the main menu and reboot the phone.

Step 8. The phone will now reboot. It should take around 5 to 10 mins as this is the first time Kitkat has booted so it need to setup everything.

Good luck 🙂

For more info see xda-developers here.
For the latest build click here.
Google Apps page click here.

Upgrade Android from 2.3.6 to 4.0.3 (Gingerbread to Ice Cream Sandwich) Samsung Galaxy S

This video will show you how to Upgrade Android from 2.3.6 to 4.0.3 (Gingerbread to Ice Cream Sandwich) Samsung Galaxy S.

Microsoft Store

Android Icecream Sandwich

This video will show you how to Root your Firmware
https://www.123myit.com/2013/05/how-to-root-a-samsung-galaxy-s-phone/
This firmware will show you to Upgrade Firmware on your Samsung device.
https://www.123myit.com/2013/05/how-to-upgrade-the-firmware-2-3-6-on-a-samsung-galaxy-s/

Step 1. Make sure your Samsung device is rooted. Link above.
Step 2. Download the Samsung Galaxy S Upgrade Ice Cream Sandwich Firmware from the downloads page here.
Step 3. Plug in your device and make sure that the device driver is working ok. You can do this in Device Manager.
Step 4. Open the Samsung device and view the files and go into the Android folder and copy the file you just downloaded into the Android folder.
Step 5. Power off your Samsung device and put the phone in recovery mode by holding down the UP volume button + Power button + Home button.
Step 6. In the menu select Wipe Data / factory reset, this will Wipe any data on your Samsung device so make sure you do a back up first.
Step 7. Wipe cache partition and go into the advance and Wipe Dalvik cache.
Step 8. Go back to the main menu then to go install zip from SD card. And choose zip from SD card.
Choose the Zip folder from the Android folder that copied to earlier and you are done.

The Android upgrade can take anywhere from 5 to 15 mins to complete. The Samsung Galaxy S model that I recorded the video on was a fair bit slower after the upgrade, but for some people they probably wont notice the difference and the upgrade Android has the benefit of the newer OS.

If you would like to see the Samsung Galaxy S specs you can find them here on the Samsung site.

Good luck.

How to install Windows 8 on a Mac with Boot Camp Easy Version

Hi All
So I have revamped the how to install Windows 8 on a Mac with Boot Camp video, I have tried to explain more detail about the install in the video.
I have also added the direct Apple boot camp downloads which can be found here.
If you have any questions about the boot camp install and installing Windows 8 on your Mac you can find it here.

Good luck 🙂