Clean Install Windows 11

Hi Guys Matt from 123myit. In this video, I will show you how to do a Clean Install of Windows 11. Guys on an earlier video I showed you how to create a Windows 11 Bootable USB drive and in this video we will use that USB to do a clean install of Windows 11. I will put a link in to top of the video now.

Using the USB to do a clean install Windows 11

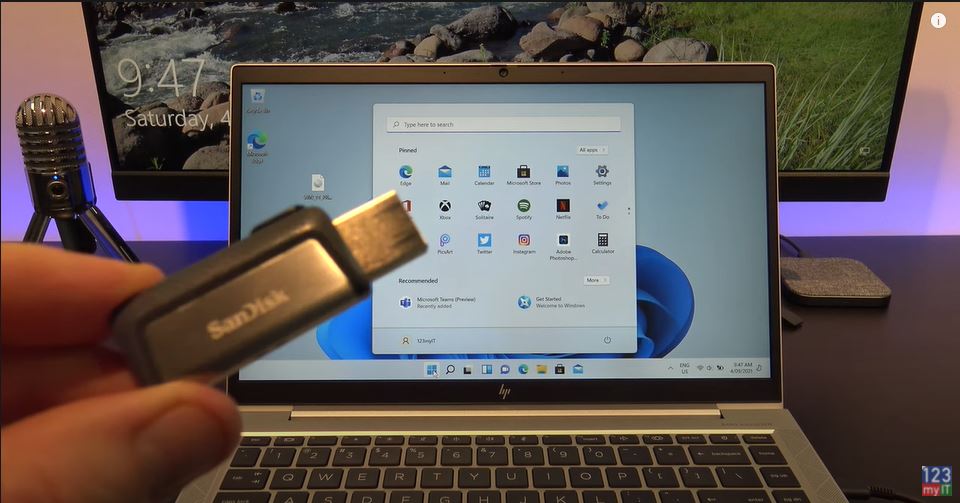
Grab your Bootable Windows 11 USB and plug it into your computer that you want to install Windows 11 on. Go ahead and restart your computer and when your computer is restarting tap the key that will put you into the boot menu. On my HP computer, the key is F9. However, it might be different depending on what brand of computer you have. If you are not sure, try Googling boot key and the brand of computer.

Install Windows 11

Cool, so the boot menu will come up now and I will go ahead and select the USB I made which was the SanDisk Ultra. Great you made it this far select the country you are in. I am in Australia so I will select Australia. Nevertheless, if you are in the US just hit next. In addition, hit install now.

Upgrade or Clean Install?

Just accept the terms and click next. All right, you can do an upgrade, which will keep all the files and applications on your computer.  However, this video is a clean install of Windows 11 so we will select Custom. This next step will wipe data on your computer so make sure you do a backup first.

Go ahead, delete all the partitions, and click next. Cool, your USB is now doing a clean install of Windows 11 on your computer. This make take some time depending on your computer speed. So take a break make a cup of coffee or hit subscribe on my channel and leave a thumbs up so that people know this is a legit video.

Awesome if you made it this far you have done a clean install of Windows 11 from the USB installer drive. Now all you need to do is go through the setup prompts and you are done.

Guys don’t forget to check out my other videos such as how create a Windows 11 Bootable USB. And do me a favour if you know anyone who might need this video please share it will them, hit the subscribe button and smash the bell icon.

Fix The PC must Support TPM 2.0 Error HP

Fix The PC must Support TPM 2.0 Error ASUS

How to Create a Windows 11 Bootable USB

Hi Guys Matt from 123myit. In this video, I will show you how to create a Windows 11 bootable USB. Creating a Bootable Windows 11 USB will allow you to install Windows 11 on multiple computers. You will need a USB flash drive that is at least 8GB in size and you will need a copy of Windows 11. To download a copy of Windows 11 you can check out the how to download Windows 11 video I did earlier and I will put a link in the top of the video now.

Download Windows 11 – Windows 11 bootable usb

Once you have followed my other video and downloaded the Windows 11 iso file. Plug in your USB drive to your computer and double click the Windows 11 iso file. We will be formatting the USB so make sure you backup any files on the USB as this process will wipe any files on the USB.

Windows 11 bootable usb

Open up Disk Management by right clicking the Start button or in the search field type “partitions” and click the top result. The Disk Management screen should pop up. Find you USB drive in this case I know my USB drive was around 60 GB in size so this 57 GB drive is the correct one. Just make sure you have the correct drive because this next step will delete data on the USB.

Deleting Partitions – Windows 11 bootable usb

Delete all partitions on your removable USB drive by right clicking on each and selecting “Delete Volume.

Cool, once you have done that right click again and create New Simple Volume. Click next and type 1000 in the Simple volume field. Click next and next again. Then set your file System to FAT32 and rename your Volume label as BootPart. Then click next and finish. IF done right the drive will pop up in Windows. Do the same steps again, but in the Volume label type DATAPART. Click next and then finish.

DATAPART

The DATAPART window will also popup just close it.

Double click on the Windows 11 ISO file and Copy all the files and folders, except the “sources” folder, from the Windows 11 ISO to the FAT32 BootPart partition on the USB drive.

To do this select all your files then hold down CTRL and click on the sources folder. This will exclude the folder from the copy. Once you have done that just drag the files across to the BOOTPART partition on the USB.

Once they are, all copied go ahead and create a new empty sources folder. Make sure it is the same name as the source folder you did not copy across.

Sources Folder

Next, go into the sources folder and find a file called boot.wim and copy to the new sources folder on the USB drive. Cool, now go to the Disk Part partition on the USB and copy the all the files from the Windows 11 ISO to the DISKPART partition.

Awesome, once the files have copied across you have finished creating a Windows 11 bootable USB. You can now use this USB to install Windows 11 on any computer. In my next video, I will show you how to use this USB to do a clean install of Windows 11.

Guys don’t forget to check out my other videos such as how to fix The PC must support TPM 2.0 error on HP. In addition, do me a favour if you know anyone who might need this video please share it will them, hit the subscribe button and smash the bell icon.

Fix The PC must Support TPM 2.0 Error ASUS

Fix The PC must Support TPM 2.0 Error Gigabyte