Transfer Data iPhone to Android with Cable No iCloud

Hi Guys Matt from 123myit here. In this video, we will show you how to Transfer data from iPhone to Android with a cable. This transfer is super easy and does not require that you use an iCloud account, which is great. The other good thing is its very comprehensive, meaning you get all your data such as SMS messages, Apps, Photos and Videos. It is also good if you just want a straight backup of your phone.

Check out the Samsung S22 on Amazon here 👉 https://amzn.to/3M8VHhZ

Let get started.

iPhone to Android with Cable

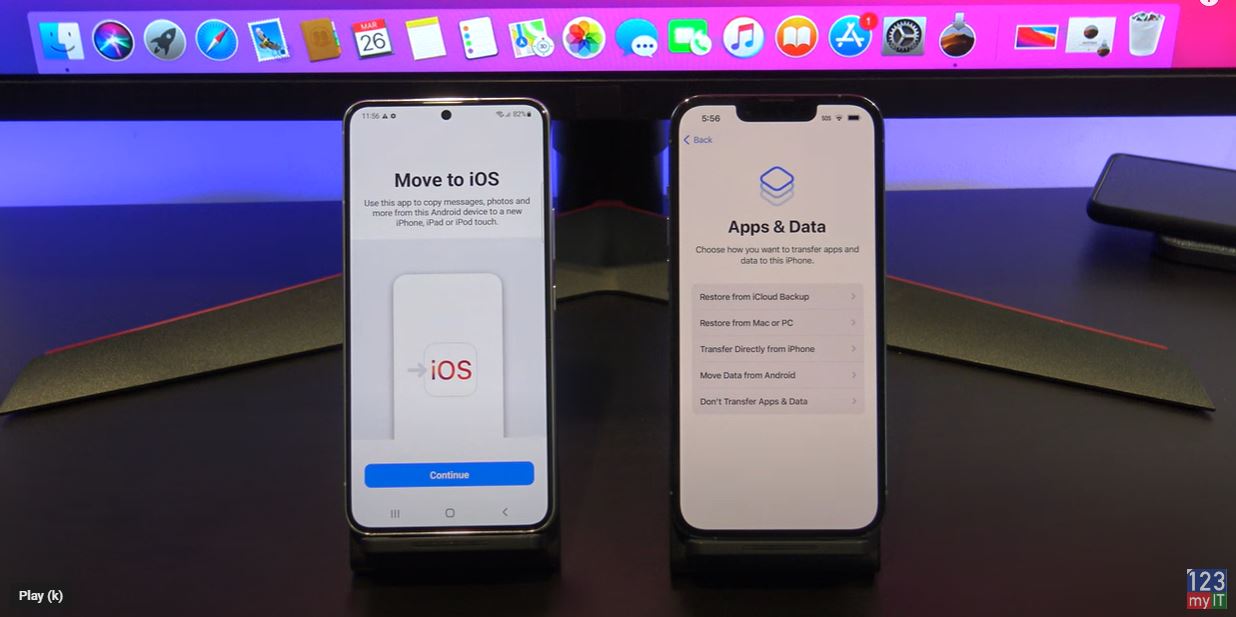
 We are transferring from iPhone to Android and as mentioned, we will be using a lighting to USB C cable, which came with the iPhone. On your Android phone go into settings and down to accounts and backup. Then tap on bring data from old device. If you phone is not connected to WIFI go ahead and connect it. Once connected if you swipe down from the top you will see the application smart switch downloading. Wait for it to finish downloading and it should install.

Download the smart Switch App

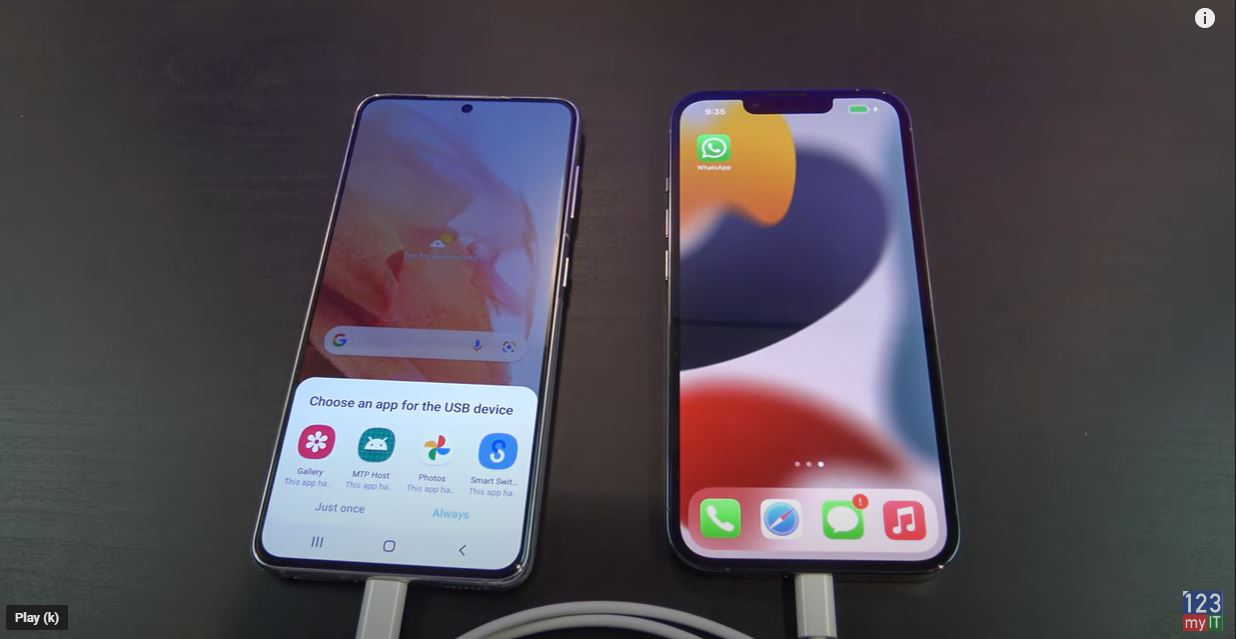
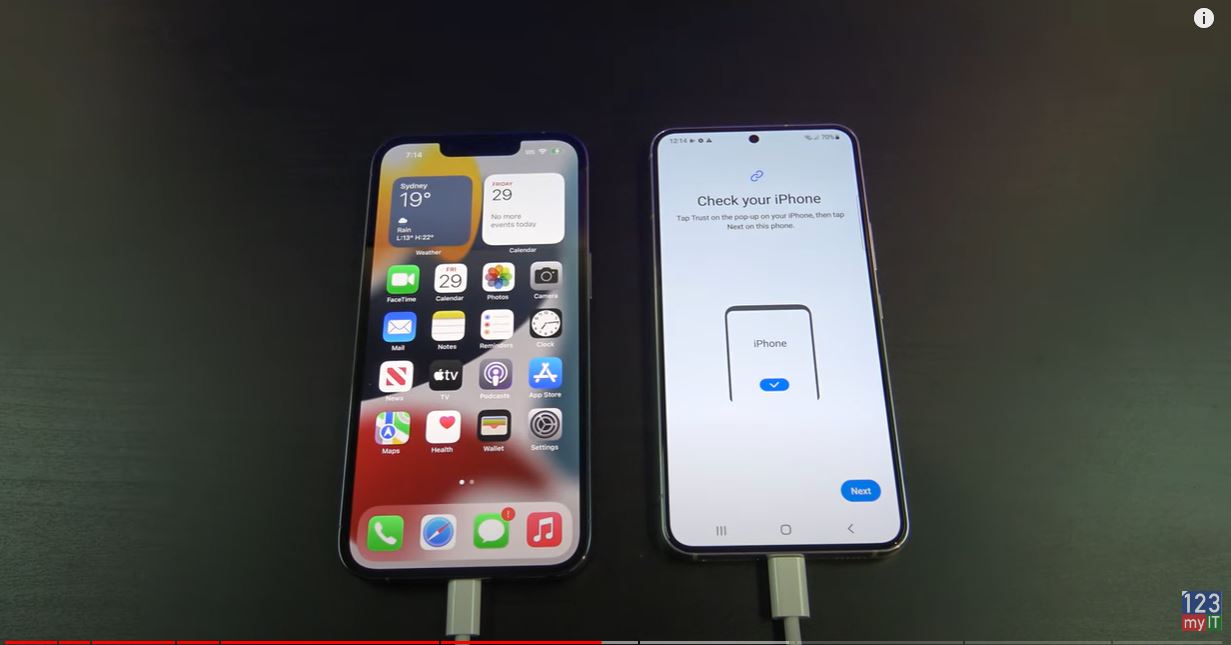
When its finished downloading go back to the smart switch screen and tap continue and allow. Tap on receive data because you want to receive data from iPhone. Then tap iPhone and plug your cable into your Android and iPhone. You Android phone will detect your iPhone and then you can tap Trust on your iPhone.
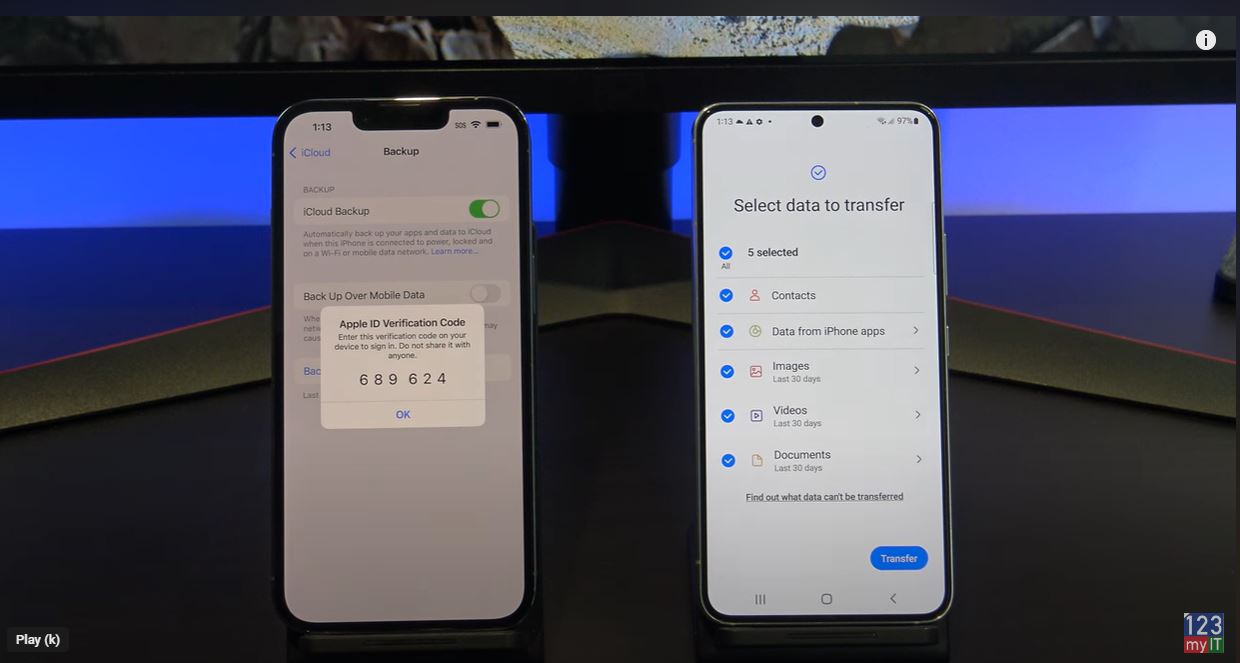
iPhone to Android with Cable

Choose your data

Cool swipe up and you can choose what data you want to copy across to your new phone. This is also good to make a backup of you old phone data if you want.

Now is a good time to unselect anything you don’t want to copy across. If I go into Settings I don’t want to copy across my Bluetooth settings to I will take the tick out of that. When you have selected everything, you need tap on Transfer to start the copy.

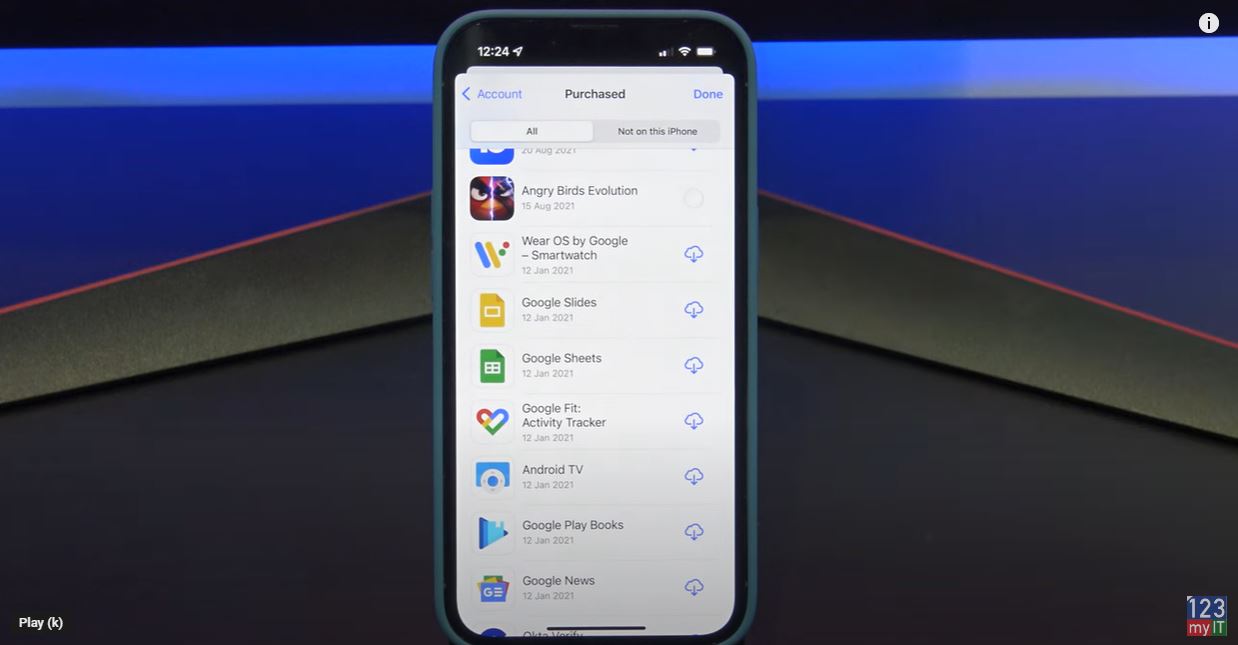
Enter your Google Account Details

You will be prompted to add in your Google account. This is if you want to Transfer Apps from iPhone to Android. Sign in if you want that otherwise you can hit cancel and download them later.

Awesome you are done now, how easy was that. Swipe down from the top to check the progress of the data and after a few mins check, your data has copied across ok.

Other Transfer video

People if this method didn’t work for you check out my other Transfer data video which shows how to Transfer data via wifi instead of cable. There is two free ways to Transfer data in that video so it will help with all sorts of android models.

Also, guys don’t forget to check out my other videos such How to Transfer data from iPhone to Android in 2022. And do me a favour if you know anyone who might need this video please share it will them, hit the subscribe button and smash the bell icon.

My Android Settings Start to Finish

Transfer Data iPhone to Android 2022

Hi Guys Matt from 123myit here. In this video, we will show you two free ways to Transfer data from iPhone to Android 2022. The first way is the Official way to transfer data from iPhone to Android and we will use the iCloud app to do this. If you don’t want to use iCloud, then head to the 4:10 min mark and I will show you the second way to Transfer your Data without iCloud. Following this video you will be able to Transfer Contacts, Data from iPhone apps, Images, Videos and Documents.

Lets get started.

iPhone settings – iPhone to Android 2022

On your iPhone go into settings scroll to the top and sign into your iCloud with your Apple ID. After signing in, if you have two factor authentication turned on you will need to type in your verification code. Once you enter your verification code it will start to sign you into iCloud. You may also get prompted for your Passcode enter that as well.

Cool once you are logged into your iCloud account tap on iCloud and scroll down till you see iCloud backup. This is where you would tap backup now to backup you iPhone. However, before you do this let’s go back and select what we want to backup. Remember you will be coping this data to your Android device so only select what you want to move to your Android device.

iPhone to Android 2022

Turn off find my iPhone

When your finished before you hit backup now you want to make sure you turn off find my iPhone. This is helpful if you want to sell your iPhone afterwards. Go into the find my iPhone menu and just turn it off. You will need to enter your Apple ID to do this.

You also want to turn off iMessages. Go back out into Settings and then scroll down to Messages. At the top just turn off iMessage.

Alright now you can go back into iCloud backup and start the backup. While that’s backing up, go over to your Android device and go into Settings and scroll down to accounts and backup. It might be in a different menu depending on what model of Android device you have. Tap on Bring data from old device and if you get prompted to update go ahead and do the update.

Receive Data iPhone to Android 2022

Tap agree and allow. Tap on receive data and tap on iPhone/ iPad. You can transfer from Android and Windows phones also. Tap on Get data from iCloud instead. And then enter in your Apple ID details. Next you will get a prompt on your iPhone to allow the Android device to connect to your iCloud account. Just Tap Allow. And then enter your verification code on your Android device.

Awesome, just go ahead and deselect anything you dont want to Transfer to your Android device. Make sure you tap the arrow and select all otherwise it will only copy the last 30 days of photos. When you are done tap Transfer. If you go to the Home screen and you want to see how the Transfer is going swipe down from the top and tap the Smart Switch notification.

Check your iMessage

Your data is copied across now, tap next and there will be a warning about iMessage which we already did.

The second Free way to Transfer your data is by using an App called Copy My Data. You can find it on the App store and the Play store. Once you have downloaded it open it up on both phones. Tap allows to give access. Tap next and on your iPhone select your Android device. Next, tap the Copy data to selected device. And then enter the PIN number on your Android device.

Deselect anything you don’t want. I just want to transfer contacts and photos.

Awesome your data has been Transferred now. Tap finish and check that your photos have been copied across. And there they are. Also guys don’t forget to check out my other videos such How to Transfer data from Android to Android in 2022. And do me a favour if you know anyone who might need this video please share it will them, hit the subscribe button and smash the bell icon.

Samsung Galaxy S22 Unboxing Benchmark Compare

Using Focus on iPhone iPad and iPod touch

Hi Guys and Matt from 123myit here. In this video I will show you how to use focus on iPhone or iPad. Focus allows you to filter notifications based on what you are doing. You will find focus in control centre by swiping down from the top right and tapping on focus.

Do not disturb – Focus on iPhone

In here you will find the default focus which is do not disturb. Do not disturb silences all notifications by default. So, if you are really busy and don’t want to be interrupted you could set this and your phone won’t send any notifications. You can also tap the three dots and turn it on for 1 hour or until this evening. Alright if you close it and just go back out I will show you where it displays that Do Not Disturb is turned on.

focus on iphone ipad

Ok if you look in the top left corner you should see the do not disturb icon which tells you that the do not disturb is not turned on. Cool ok, let go back in an setup our own personalised do not disturb.

If you want to find the focus menu if is located under Settings and Focus. Focus on iPhone.

Focuses

To setup your own focus tap the plus icon down the bottom. Then you will have a list of pre set focuses. Up the top you have driving and fitness. Driving silences notifications, but will turn on automatically when connected to carplay or Bluetooth. Also if you have friends on iPhones, it will send them a reply that you are driving. Which is handy.  Gaming is a good one too. So if you want playing games on your iPhone and don’t want notifications interrupting the game then you can turn this on. And the last two down the bottom are mindfulness and Reading. Lets go a head and setup our own custom Focus.

Study Focus

Iam going to call mine Study. Because I want my phone to be quite when I study. Next you can select a colour and an icon for study. Tap Next. Now choose the people you want notifications from while you are studying. Notifications from other people wont appear until you turn the focus off.

That’s for notifications what about phone calls? If we tap on Calls From and then can choose calls from Everyone, No one Favourites or all contacts. When you are finished tap allow. If you don’t want to hear from anyone tap Allow none.

Allow notifications on Apps

Next you can select which Apps you want to allow notifications from so tap the plus and I am going to select Find My, Books and Messages. You can also turn on Time sensitive apps to send you notifications. Tap allow and your Focus is setup tap done to continue.

Alright before we personalised the focus I will show you what it looks like if you turn it on. Ok to personalise your Focus under the Options menu you have Focus Status. When Focus Status is turned on Apps like Messages will let people know that you have your Focus turned on.

Hide notifications on home screen

If you want to hide notification badges you can tap Home Screen. And in custom pages you can select which home screen page you want to show while in the focus. Under the lock screen menu you can dim lock screen in your focus and or show silenced notifications there.

One of the cool features is the Add Schedule or Automation. This allows you to choose to start your focus as a specific time, in a specific location or when you launch an app. So lets say I want to turn on the Study focus when I go to the Library. I would tap Smart activation to turn it on and then tap on Add Schedule or Automation. You want to tap on location and then type Library at the top. This will show you a list of Libraries near you. If this does not come up check under Settings, Privacy, Location Services and System Services.

Library Focus – focus on iPhone

Cool I found the library I am after. So what this will do is Whenever I go to the Library it will turn on my Study Focus automatically. You can use the little slider bar to make the circle bigger or smaller. Lets say I go to a nearby café afterwards. Really cool. So this would be useful if you had a work or school focus setup or a church or mosque something like that. If you scroll down you can also delete the Focus if you no longer need it.

Awesome so our Study focus is setup and ready to use. Guys don’t forget to check out my other videos such as how to find Purchase History on iPhone and iPad. And do me a favour if you know anyone who might like this video, please share it will them, hit the subscribe button and smash the bell icon.

Take Control of Your Notifications iPhone iPad iOS

Take Control of Your Notifications iPhone iPad iOS

Hi Guys and Matt from 123myit here. I had a funny story recently where a family member said. I was getting to many notifications on a chat group, so I had to leave the group. And, my reply was, why didn’t you turn off the notifications iphone or adjust them? So, I wanted to do a video which will hopefully help you guys take control of your notifications and stop them from being annoying and distracting.

Lets get started.

Notification Centre – Notifications iPhone

You can find Notification Centre by swiping down from the top left. In addition, to edit a notification directly you can just swipe across on it and you will get more options depending on the type of notification.

Notifications iPhone

So if you get a SMS notification on the messenger app swipe across on it and you will have an Options button.  You can Mute for one hour or mute it for the whole day. You can turn off all notifications for messages or you can tap view settings.

This will take you into the Notification settings for the App that you were in. In this case, it’s the notification settings for Messages. IF you want to find the notification settings for all apps. You can find it under Settings and then Notifications.

Toggle Notifications – Notifications iPhone

At the top, you have a blanket toggle button which turns the notifications on or off for the app that you select. Therefore, if I turned this off I would not get any notifications for Messages.

Always deliver immediately, will deliver messages even in you have Focus setup with Do Not Disturb. So if you leave this turned on it will Deliver the message straight away and leave it on the locked screen for 1 hour.

I will do a video on Focus at some stage so hit that Subscribe button. Alright lets learn about what the different alerts are. You have Lock Screen, Notification Centre and Banners. Lock screen is the first screen you see on your phone when you unlock it. Notification Centre you can find when you swipe from the top left and I will show you banners when I send a text to my phone. Ok cool there it is at the top that is the banner. If you do not want any of these notifications to show up you can turn them off here. So if you wanted the messages to not show up on Lock Screen you would turn that off.

Choose your banner style

If you tap on banner style. This will allow you to set the banner as persistent. This means it will stay up as a banner until you read it. So it will sit at the top of your screen until you do something with it.

If you go into sounds, you can change the vibration of an alert as well as the sound it make when it comes in.

Badges, Badges are the little round red circles that appear on your app when you have an unread message. These are good on messages but when I had these on my emails it showed 12000 unread emails which was rather annoying. So I have this turned off on my emails.

Next is locked screen appearance. Show previews you can set to Always When unlocked or never.

Show notification on the locked screen

Always means it will show up on the locked screen. This can be a privacy issue. If you do not want others to read your message I would set these to When unlocked or never.

Notification Grouping allows you to group your notifications iphone. You can group by App or turn groups off. The last option and possibly the most annoying is Customise notifications and then repeat alerts.

Repeat sounds on messages

In here you can control how many times your messages will make a sound when a message comes in. If you do not pick your phone up and check the message when it comes in the first time it will send another alert two mins later. This could be why people get overwhelmed and think that they are getting so many messages. For me I would set this to never. Its probably the main reason people are addicted to their phones.

Guys if you want to see other iPhone iPad tips such a how to arrange your iPhone icons the easy way click on the video. And do me a favour if you know anyone who might like this video please share it will them, hit the subscribe button and smash the bell icon.

HP ProBook 640 G8

Transfer WhatsApp iPhone to Samsung

Transfer WhatsApp iPhone to Samsung

Hi Guys Matt from123myit here, in this video I will show you how to Transfer your WhatsApp messages from iPhone to Samsung.

Guys for as long as I can remember people have been asking me to do a video on how to Transfer WhatsApp messages. Well here is, but there is a few things you need to know first.

This video assumes that you have a new Samsung phone so it needs to be factory reset. Because you will be copying data from iPhone to Samsung. To reset it go into Settings, About Phone, Reset and Factory Data reset. This process will wipe the data currently on your Samsung. So make sure you do a backup first.

Get ready – Fully charge your battery – WhatsApp iPhone to Samsung

Second thing to know is make sure you have both phones battery has fully charged. As it will take a long time to move the data.

The next thing to do is turn off any security on your iPhone. So turn off Passcodes, as they will block the Transfer process.

Last, you will need a USB-C to lighting Apple cable. We will use the to move the data from iPhone to Samsung. Let us get started.

WhatsApp iPhone to Samsung

Plug your two phones in with the cable

Go ahead and plug in your Samsung to your iPhone. Cool and you should see the app called Smart Switch pop up on your Samsung. Just go ahead and tap it and that download. Up to you will see a pop up that says downloading. If you do not see this swipe down from the top of your Samsung and you can check the download process, there. You will need internet access for it to download.

Cool, there it is so tap Agree on the Samsung. We want to tap Receive data because we are receiving from the iPhone. Then tap on iPhone then tap ok. All right, it has come up with the Trust this computer on the iPhone. So go ahead and tap Trust. And then tap next.

Backing up your phone

Awesome, swipe up on your Samsung and it will give you a complete list of data to backup. You can do this if you want. But for this video we want WhatsApp only. Therefore, I will take the tick out of all the data and just tap Apps. Next swipe to the bottom and tap Transfer. Now if you have a Google account go ahead and Sign In. Google will ask you to approve the account on another device or in your email.

Great if you have made it this far well done. Just unselect all the apps and tap Whatsapp Messenger. Ok some phones will start the Transfer automatically. If yours does not then go into WhatsApp on your iPhone. Go into Settings > Chats  and move Chats to Android. Then tap Start.

Turn off iMessage

Cool, tap next and then you will get a prompt to turn iMessage off on your old iPhone. You can follow the prompts on the Samsung, or you can do it on your iPhone under settings, Messages and then turn the iMessage button off. Tap next, next and done.

Awesome go check and see if the WhatsApp icon is there now and tap on the WhatsApp icon. Now if you have a sim card now is the time to move it because WhatsApp needs the phone number to work properly. Once you have moved your Sim tap Agree and continue. WhatsApp will send you a text message to verify your phone number. Tap Allow and then Allow again.

Also guys don’t forget to check out my other video such as Transfer Data iPhone to Android 2021. And do me a favour if you know anyone who might need this video please share it with them hit the subscribe button and smash the bell icon.

LG 27GL850-B Gaming Monitor Unboxing & Gaming Settings

How to Arrange your iPhone icons the Easy Way!

How to Arrange your iPhone icons the Easy Way!

Hi Guys and Matt from 123myit here. I am always amazed when how to do something a new way on computers or phones. Sometimes you do not even realise that there is a new way to do something until someone else shows you and you realise you have been doing it the hard way for a while.

What to do first – Arrange your iPhone icons

Take arranging your icons on your iPhone for example. Normally I would tap and drag th icons around but there is an easier way. Let me show you. If you tap your icon and hold it. I would normally drag this around but what you can do is tap the other icons that you want to arrange this icon with.

So if I grab my Calendar, Photos, Camera and Wallet. It will reorganise them in that same order that I selected. OK I will do it again. This time I want to put all my icons on the bottom row so can reach them easy. So I will tap my wallet, photos, camera and facetime. Cool so there is my wallet, photos, camera and facetime all on the easy to reach bottom row.

Arrange your iPhone icons

Here’s another one. To move an icon to a different screen I used to tap and do an awkward icon drag to one of the other screens. But what you can actually do it Tap and hold the icon and then just use your other hand to switch screens……. Oh so much easier haha.

Guys click if you want to see other iPhone iPad tips such a how your iPhone can help you sleep. And do me a favour if you know anyone who might need this video, please share it will them, hit the subscribe button and smash the bell icon.

Turn On Background Sounds on iPhone to Help you Sleep

Dont Use Nicehash Optimized Settings