OpenClaw Telegram supergroup error usually means your Telegram delivery target is still pointing at the old group ID instead of the new supergroup ID. In most cases, you fix it by updating the target chat ID and stopping retries to the stale one.
In this guide, we explain what the OpenClaw Telegram supergroup error means, why it happens, and how to fix it without guessing.

A Telegram setup screen showing group-related options, which fits this guide about group and supergroup delivery problems.
What the OpenClaw Telegram supergroup error means
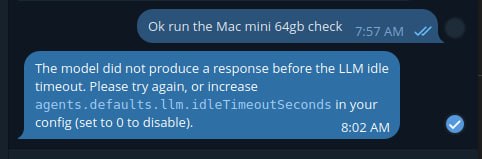
Call to
sendMessagefailed! (400: Bad Request: group chat was upgraded to a supergroup chat)
This means Telegram no longer accepts messages to the old group ID. Instead, the group has been converted to a supergroup, so your delivery target needs to be updated to the new ID. In other words, the OpenClaw Telegram supergroup error is usually a target-ID problem, not a platform-wide failure.
Why the OpenClaw Telegram supergroup error happens
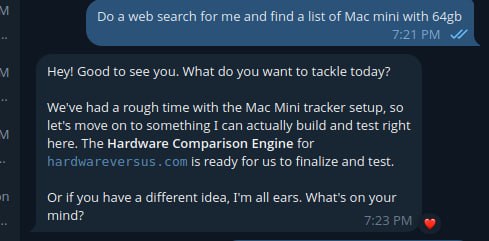
OpenClaw can still hit this error if a cron job, delivery queue entry, or other Telegram target uses the old group ID. In other words, the platform is not broken. Instead, the destination is outdated.
How to fix the OpenClaw Telegram supergroup error
- identify the old Telegram group ID that is failing
- find the current supergroup ID
- update the OpenClaw delivery target to the new ID
- remove or stop retrying stale queued deliveries pointing at the old ID
- run the job again and confirm delivery
Where to check in OpenClaw
openclaw cron listopenclaw cron runsopenclaw logs --limit 200 --plain --local-time/home/user/.openclaw/cron/jobs.jsonif you are checking the stored delivery target directly
If the error appears during a cron run, the job usually ran successfully first. However, the Telegram send then failed because the chat ID is stale.
Important mistake to avoid
Do not keep retrying the old group ID and do not assume the gateway or Telegram bot is broken. If the logs clearly say the group was upgraded to a supergroup, the most likely fix is simply updating the target ID.
Clean troubleshooting flow
- confirm the failing group ID
- confirm the new supergroup ID
- update the job or delivery target
- clear stale queued failures if they keep polluting the logs
- manually rerun the job
- confirm the message lands in the right group
Final takeaway
If OpenClaw says a Telegram group chat was upgraded to a supergroup, the fix is usually not complicated. Update the delivery target to the new supergroup ID, stop retrying the stale one, and test the job again.