Hi Guys and welcome to 123myit, in this video I will show you a first look at the Samsung Galaxy S20 plus.
Samsung S20 + Display
It’s pretty clear the Samsung S20 + does have allot of differences over its predecessor the S10 plus. These differences start with the design. The display is taller now and runs at 120 Hz along with that you an upgraded CPU, more Ram and a bigger battery. In addition, the annoying Bixby button is gone, thank goodness! Seems like Samsung is listening. Other features include and updated Camera, which we will talk more about later, and great sounding speakers.
Want to buy the S20 Plus? Click here.
S20 Plus Colours
The colour that we have here today is Cosmic Grey, however the S20 Range also comes in Cloud Blue, Cloud Pink and Cosmic Black. In the box you also get some See us first, documentation with registration information and next up you will have a super-fast it’s a 25-watt charger and you can expect to fully charge the S20 in around an hour. The adapter I have here is the Australian new Zealand version, however if you are in the US you would have a US charger. It’s pretty standard these days to get a set of Headphones, these are design by AKG and are USB C Headphones. They also have three different sizes of rubber ear tips.
Hidden away in the top of the box you will have a SIM eject tool plus a quick start guide along with a see through case for your S20 phone. Having a cover case right out of the box is something that I think really makes a big difference and it is a really nice inclusion by Samsung. The quick start guide just shows you how to setup the phone and you have some warranty information.
S20 Plus Case
To show you what they see through case looks like on the S20 plus, you just push it in at the top and bottom corners. Without this case, the phone itself is a bit slippery, but once you put the case on straight away, it does not want to slip out of your hands. Actually it’s really hard to tell that there is even a case on the phone.
Let’s talk about the display. The S20 plus has a 6.7 inch Dynamic AMOLED 2X Capacitive touchscreen display. With a resolution of 1440 x 3200 pixels and 525 pixels per inch. Therefore, it is slightly larger than the S10 plus display. The display also supports HDR10+ and has a refresh rate of 120 and 60 Hz. There is no annoying camera notch on this model. Rather you just have a small round cut out for the 10 Megapixel front facing camera which has a F/2.2 aperture and it supports Auto HDR.
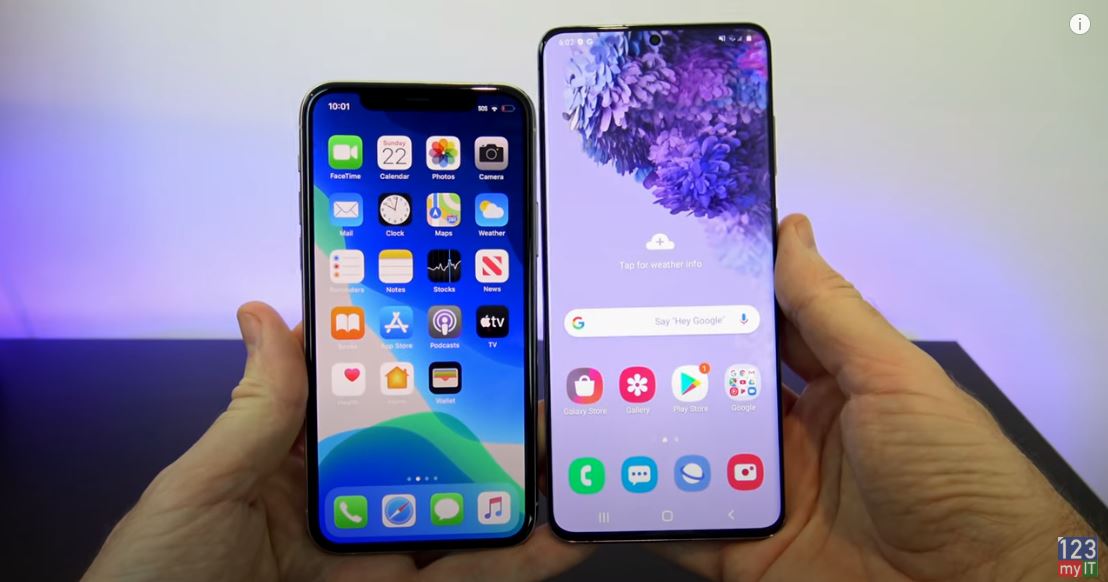
Samsung S20 + and iPhone 11 Pro side by side.
For the iPhone users out there is a quick comparison between the iPhone 11 Pro and S20 plus screen sizes. As you can see the S20 plus is a little bit wider and a fair bit taller.
Movies are amazing on this screen. I’ve set the refresh rate to 120 Hz and will give you 20 seconds of the new Star Wars screener. Just remember that it will be different when you have the S20 plus in your hand as some of the detail is lost during the recording, but you get the idea. One last thing listen out for the speaker sound it’s probably the most over looked feature on the S20 plus. They are described as simply Stereo Speakers but the sound is incredible. Here it is.
Camera Zoom on the S20 Plus
The Zoom on the S20 range is next level with the S20 and S20 plus doing 30 x Zoom and the S20 Ultra doing 100 x Zoom. Here is the S20 plus in action. It is a bit hard to see but can focus in on Sydney Tower which is about three miles or 5 kilometres away.
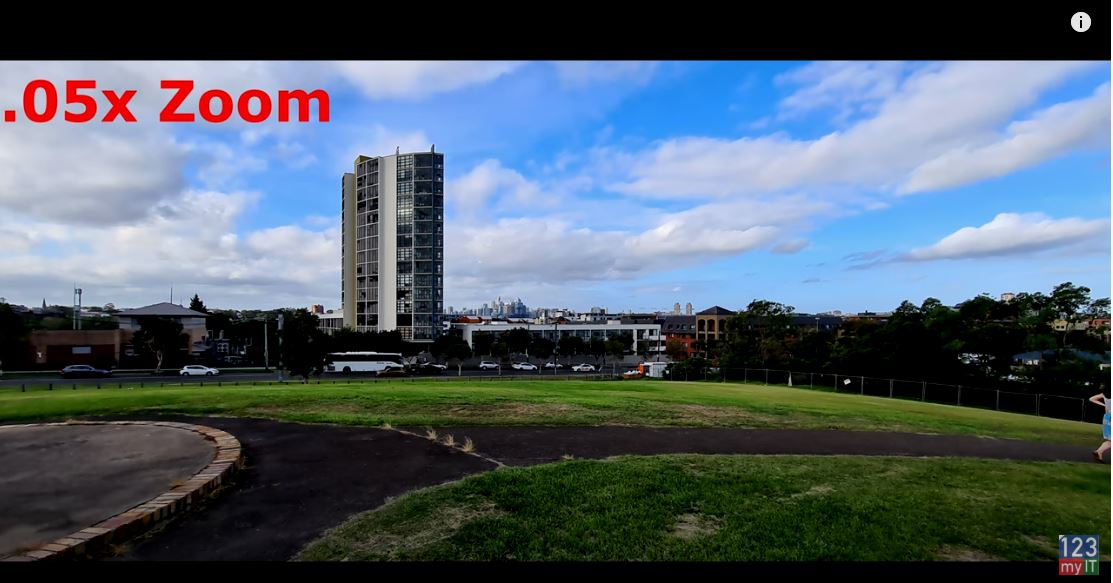

I took some pictures at the different Zooms to give you an idea. So the way it works is that its Optical Zoom up until the 2 x Zoom. Then from four x to 30 x it’s Software Zoom. Samsung says they use AI to determine what the higher Zoom photos will look like. As you get higher in the Zoom, you do notice some pixilation of the photos. Overall pretty amazing for something you can store in your pocket. Here it is again as I focus on a building that is out of the park and across the road.
Let’s not forget the other great features of the S20 plus. It has wireless charging and is IP68 dust and water-resistant. Along with Face Unlock, Finger Print scanner Micro SD card slot. I really think that the S20 range is worth upgrading too.
Guys if I have missed something leave a comment in the comments field below, I’d like to hear from you. And do me a favour If you liked the video share it around, hit the subscribe button and smash the bell icon.
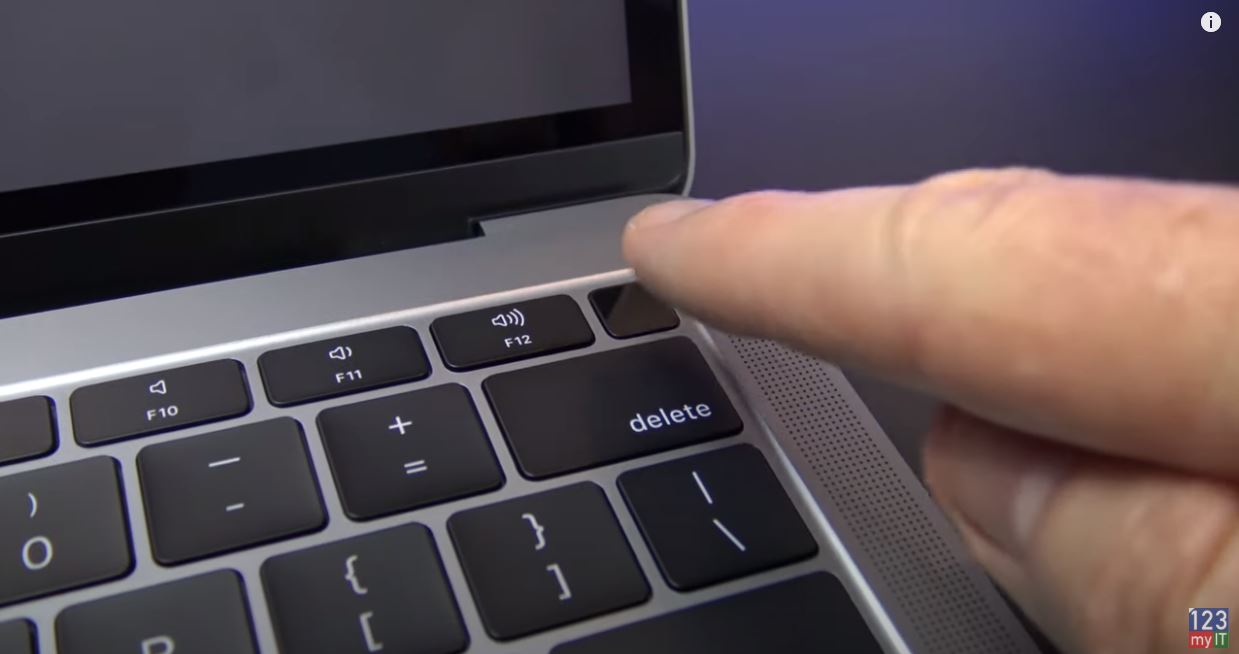
Fix MacBook Air T2 Chip by resetting SMC