This HP EliteBook 830 G8 review covers the design, performance, battery life, ports, keyboard, speakers, upgrade options, and whether this business laptop is worth buying.
HP EliteBook 830 G8 Overview
The EliteBook range is HP’s premium line of business laptops. Below the EliteBook sits the ProBook range, while the ZBook range sits above it for higher-end workstation users.
This 13.3 inch business laptop comes with an Intel Core i5 11th Gen processor, integrated Iris Xe graphics, 8GB of RAM, and 256GB of NVMe storage.
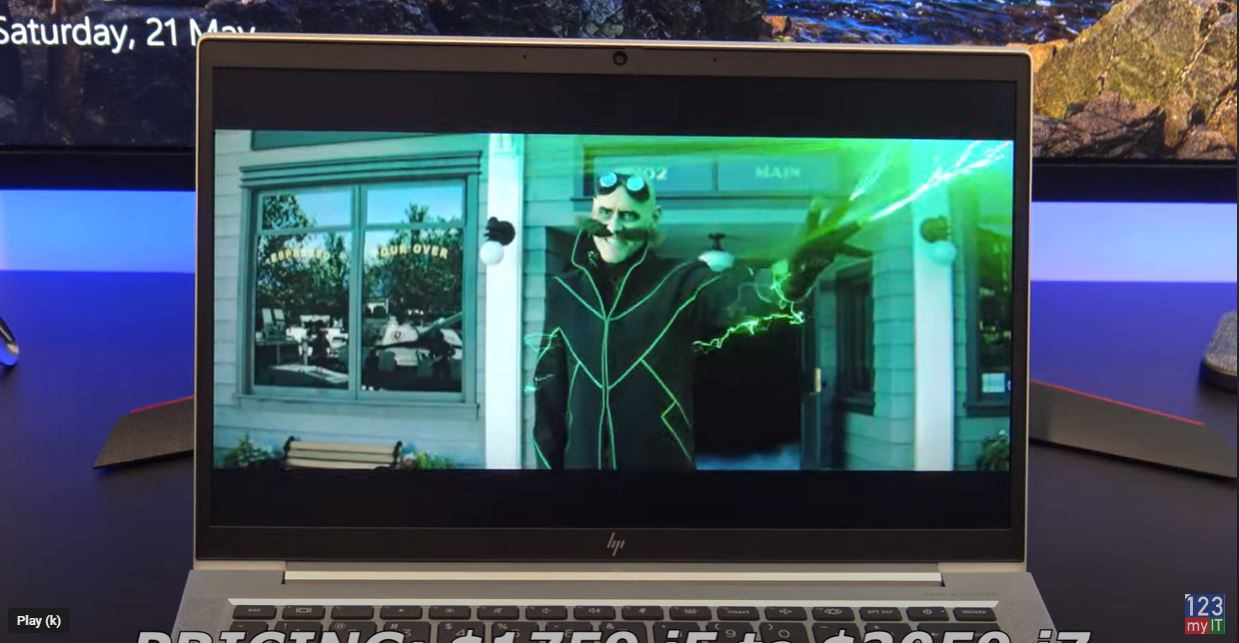
Pricing
Pricing for the 830 G8 starts at $1759 USD for the Intel i5 CPU and goes up to $2059 USD for the i7 CPU. On the HP website, you can customise the system before buying. If you are going to do that, I would consider upgrading to the i7 CPU and choosing a brighter screen. The default display is only 250 nits, while the brighter option goes up to 1000 nits. Just keep in mind that a brighter screen will also use more battery power.
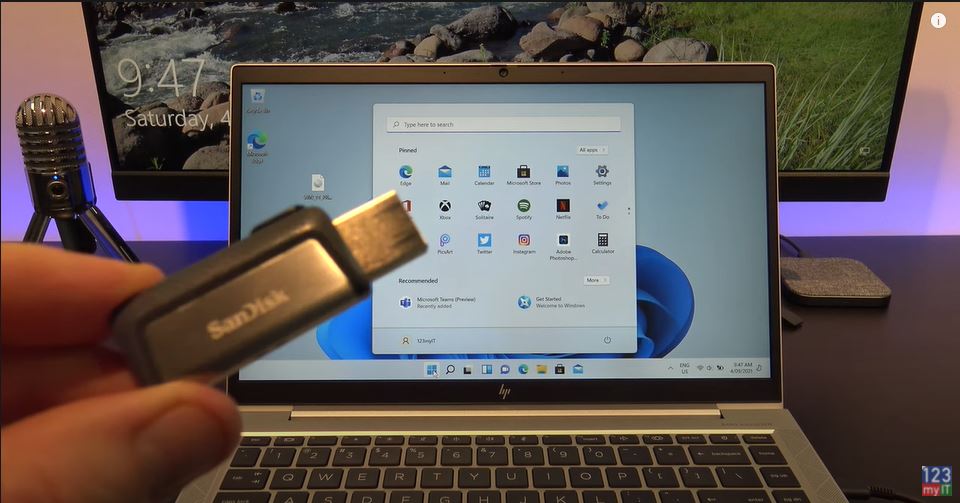
In the Box
In the box, you get the 830 G8 itself along with a 45 watt power adapter. After testing, I found the 830 G8 uses around 14 to 37 watts of power. You can expect around 12 hours of battery life, or closer to 8 hours if you choose the 1000 nits display. Charging the battery takes just under one and a half hours.
The 830 G8 comes with a 13.3 inch FHD anti-glare display with a resolution of 1920×1080 and 250 nits of brightness. The screen is a bit dim, but this laptop is designed to be portable, so the lower brightness helps improve battery life.
Does it Game?
In terms of gaming, I was able to get Fortnite to run at around 35 to 50 frames per second. That is mostly down to the Intel quad core i5 11th Gen CPU, because the Intel Iris Xe GPU is not really designed for serious gaming.
The 830 G8 can also be configured with a fingerprint scanner, which lets you unlock Windows with a touch. Along the top, you get an integrated HD 720p webcam with a dual microphone and indicator light. One useful design feature is the built-in privacy shutter that lets you cover the camera with a sliding switch.
Ports
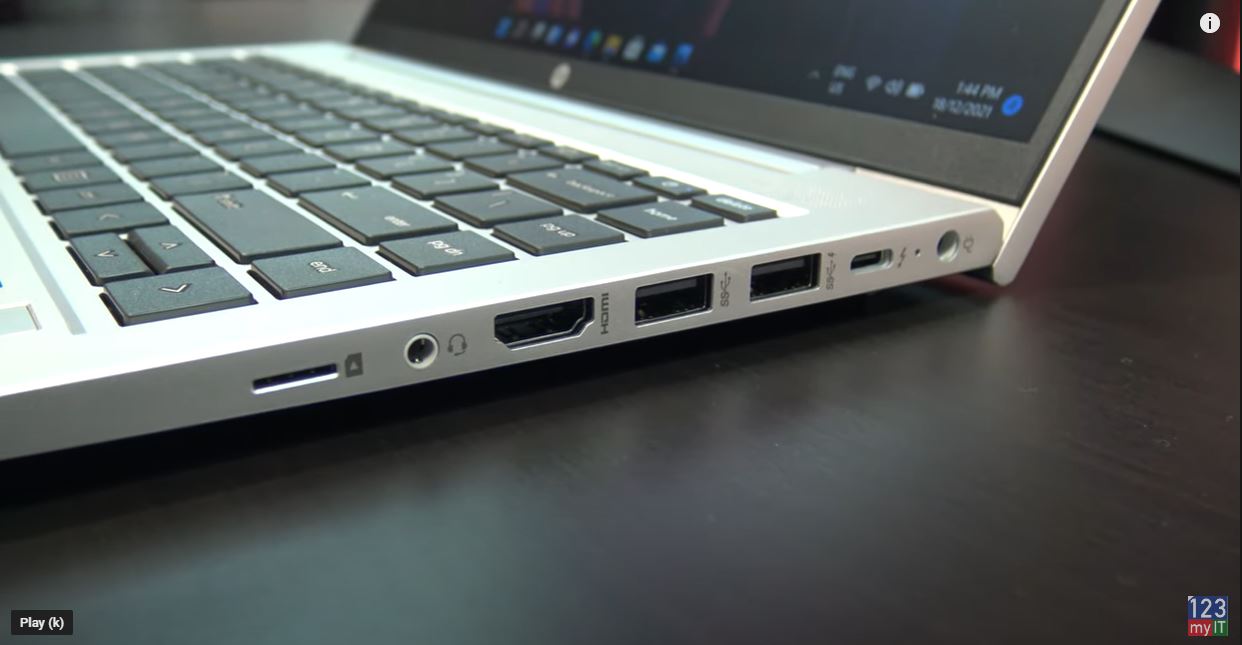
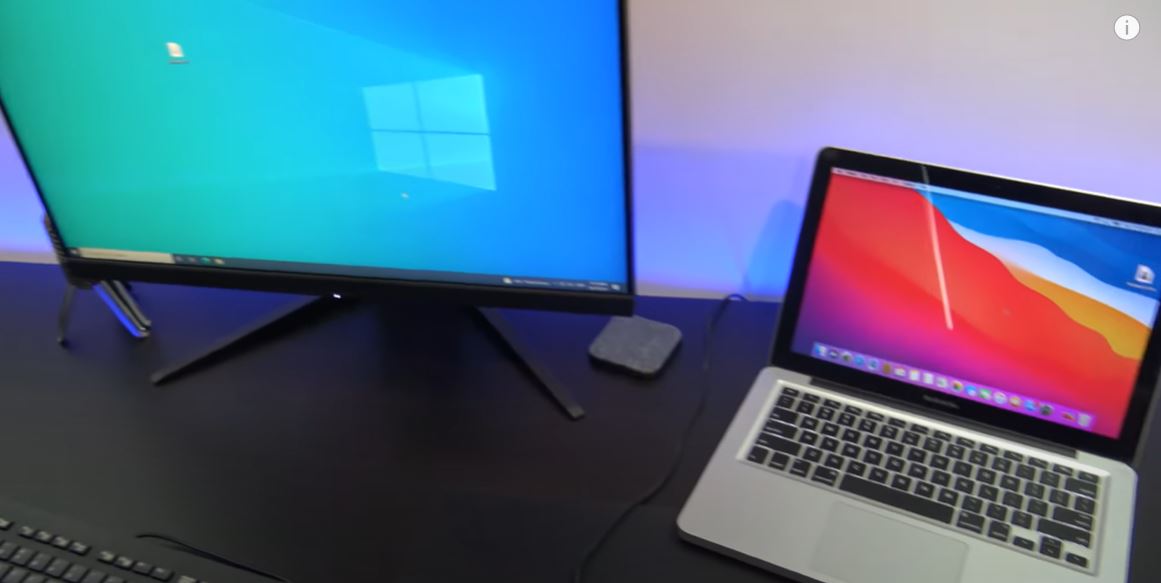
On the right side, you get the charging port, HDMI 1.4, two USB-C ports, and a SIM card slot. The SIM slot is a nice feature, but you need to add it as an option when buying the laptop. There is also a charging indicator light. The USB-C ports also support DisplayPort, so you can connect an external monitor with a USB-C adapter.
On the left side, you have a security lock, two USB 3 ports, an audio jack, and an SC card reader. Annoyingly, there is no full-size SD card reader.
Speakers
The 830 G8 comes with Bang & Olufsen dual stereo speakers that point upwards towards your ears. The speakers sound pretty good overall, but they are missing a little bass.
The trackpad is nice and wide. However, I do find myself right-clicking by accident sometimes because the left click area sits on the bottom left side of the trackpad. For me, it feels like the trackpad is positioned a little too far to the left.
Keyboard
The keyboard is excellent and a pleasure to type on. The keys do not bend or wobble when you press them, and the laptop comes with a two-stage backlit keyboard as standard, which is a nice bonus.
The overall build feels premium because it is made from aluminium and there is very little flex in the chassis. It also does not seem to pick up fingerprints too easily, which is great for a business laptop.
The display hinge folds back to 175 degrees. That is close to flat, but some other laptops go all the way to 180 degrees, so 175 feels a little awkward by comparison.
Can you upgrade it?
You can also upgrade the 830 G8 by removing the screws from the bottom cover. The system supports 64 GB of RAM so you can upgrade that along with a 1TB NV Me SSD. The WIFI card is already WIFI 6 so you will not need to upgrade that for a while.
Benchmarks
Here are the Geekbench CPU and GPU scores. When comparing the results with last year’s EliteBook 840 G7, the 830 G8 is much faster. However, the ProBook 640 G8 does seem to come out ahead in some areas.
While running the benchmark, the laptop temperature was around 35 degrees. The heat does not build up around the palm rests, which is good design because it means your hands stay comfortable while typing.
Worth it?
The EliteBook is a great portable business laptop. That means typing comfort and battery life are both very good. However, this is not really a gaming laptop. If gaming matters to you, look for a machine with a GeForce MX or Radeon RX GPU instead. Overall, this HP EliteBook 830 G8 review shows that the laptop is best suited to business users who want portability and strong everyday usability.
Don’t forget to check out my other guides such as Transfer Data iPhone to Android with a cable and my post on Fix MacBook Touch Bar. If you know anyone who might find this HP EliteBook 830 G8 review useful, please share it with them.