This video will show you how to upgrade the firmware 2.3.6 on a Samsung Galaxy S.
WARNING: Make sure you back up your Phone before proceeding!!!!
All the data on your phone will be deleted when you do this upgrade so please make sure you take the time to backup your data.
* Backup any photos and images that you have on the phone.
* Backup your contacts list, SMS and emails.
* Backup your music and video.
* Backup your APPS and phone settings
* Backup your bookmarks and stored pages.
* Backup all your data on your SD card.
Prepare your PC and Phone for the upgrade.
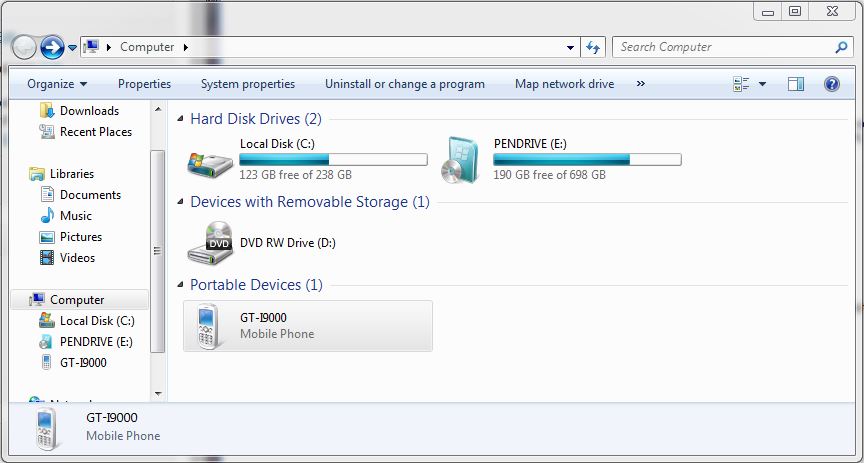
* Plug your Samsung phone into your Pc and make sure that the phone drivers install correctly. You should be able to browse to the phone in explorer.
Step 1. Download the firmware and pit file from our download site here.
The firmware filename is sam_GTI9000_firmware.zip
Its quite a large file the size is 225.9 MB, so be prepared to take some time to download.
The file password is: 123myit.com
Step 2. Extract the downloaded sam_GTI9000_firmware.zip.
You should extract the following files.
* CODE_I9000XXJVU_CL851880_REV03_user_low_ship.tar.md5
* GT-I9000-CSC-MULTI-OXAJVU.tar.md5
* MODEM_I9000XXJVU_REV_00_CL1059471.tar.md5
* s1_odin_20100512.pit
Step 3. Download and extract the Odin3 v1.7.exe file from our downloads section here.
Step 4. Put your phone into “Download Mode” by holding down the Volume down button + the Home button + the Power button.
Step 5. Start the Odin3 v1.7.exe and connect your phone to the PC. The Odin application should say the message “Added!” If it doesn’t say added then you will have an issue with the drivers and your should reboot your PC with the phone still plugged in and repeat this step.
Step 6.Once Odin has started and you have your phone Added. Select the files that you extracted in step 2.
They should all be loaded in the following order.
* Select the “PDA Tab”, and select “CODE_I9000XXJVU_CL851880_REV03_user_low_ship.tar.md5”
* Select the “Phone Tab”, and select “MODEM_I9000XXJVU_REV_00_CL1092175.tar.md5”
* Select the “CSC Tab”, and select “GT-I9000-CSC-MULTI-OXAJVU.tar.md5”
* Select the “PIT Tab”, and select “s1_odin_20100512.pit”
Step 7.Make sure that you select the Re-Partition, Auto Reboot and F.Reset Time checkbox within Odin.
Step 8.Click the start button to kick off the flashing process.The phone will reboot when it finishes and Odin should give a green PASS message.
When the phone restarts you should be running the new Android, v2.3.6 XXJVU firmware.

