iPhone to android 2019
This video and article will show you how to transfer data, such as clips, messages and contacts from your iPhone to Android device.
Getting a new phone is great. But there is always the problem of moving your data from your old phone to your new one. I have done a few transfer videos before however this changes year on year depending which model phone you have. So this is the 2019 version which will hopefully make it an easy process.
Step 1 – Back up your iPhone to icloud
The first step is to backup your data to iCloud. You can do this by going into Settings and at the top sign into iCloud with your Apple ID. You want to make a backup of your data before you move to the next step. Also now is a good time to get rid of any data you don’t want moved over to your Android phone. In your iCloud account setting go through and toggle off anything you don’t want. Lastly go onto the iCloud.com website and check your data has been backed up. Very Important!
step 2 – use smart switch app to download data from icloud to your android device.
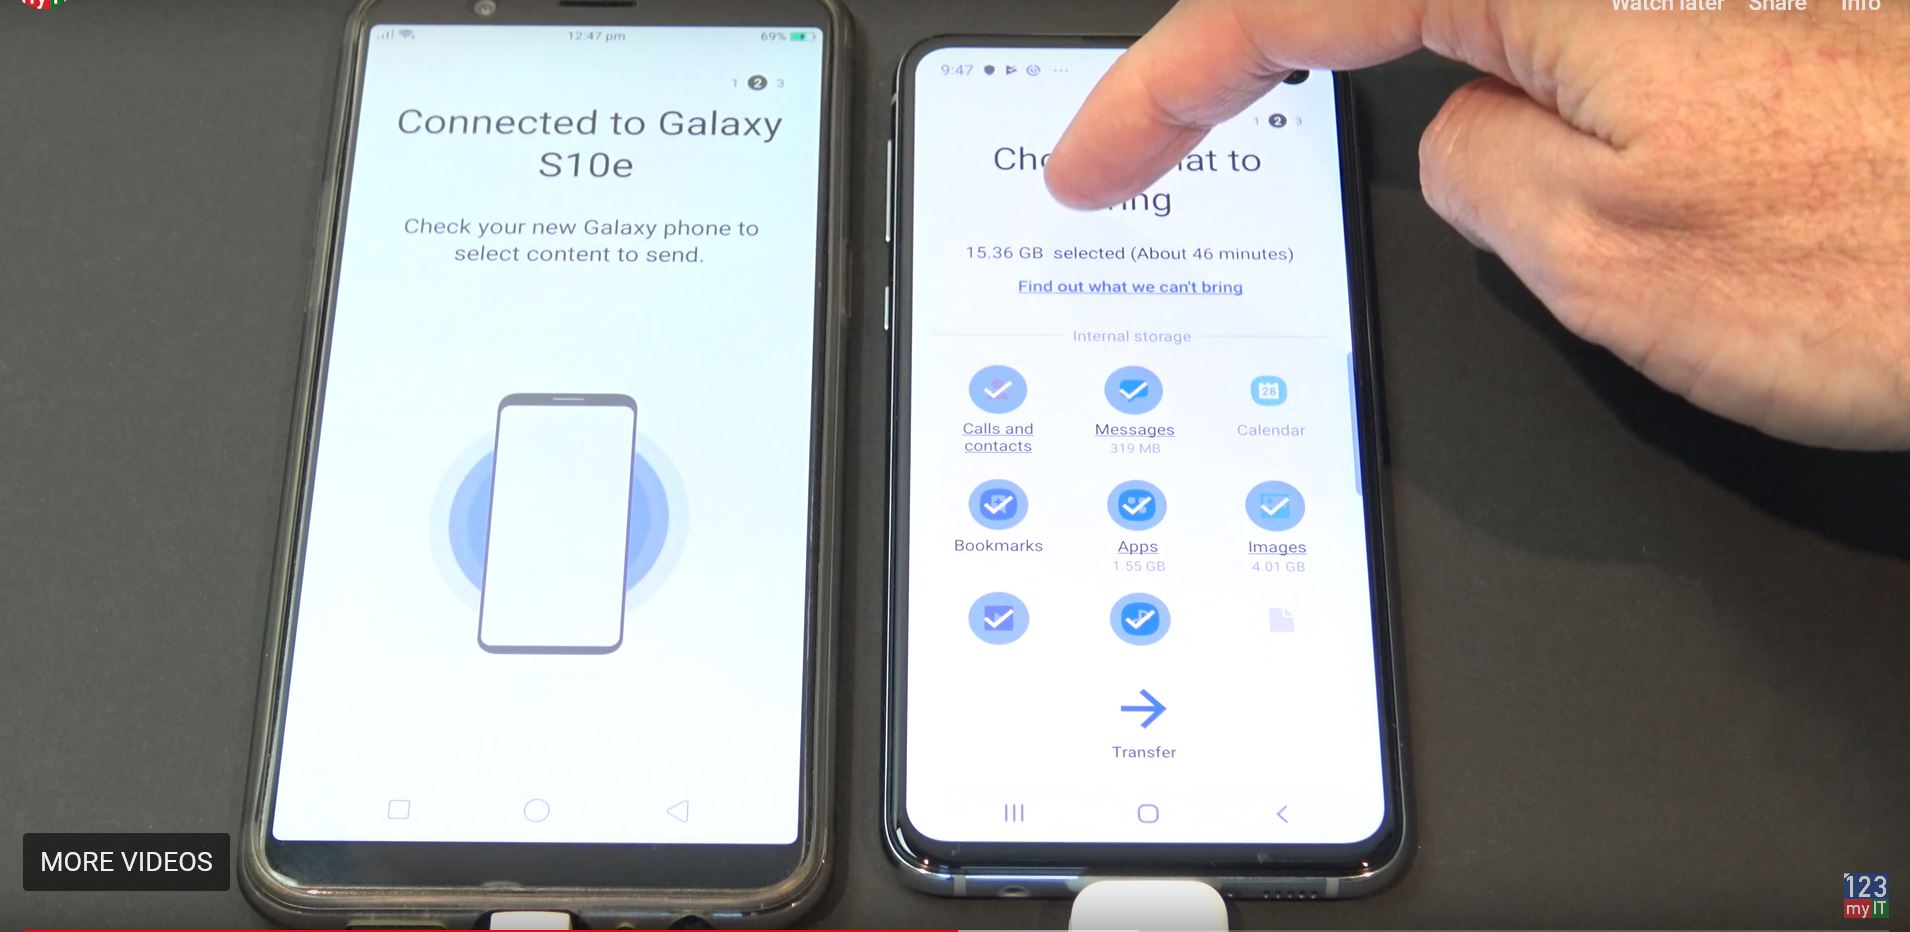
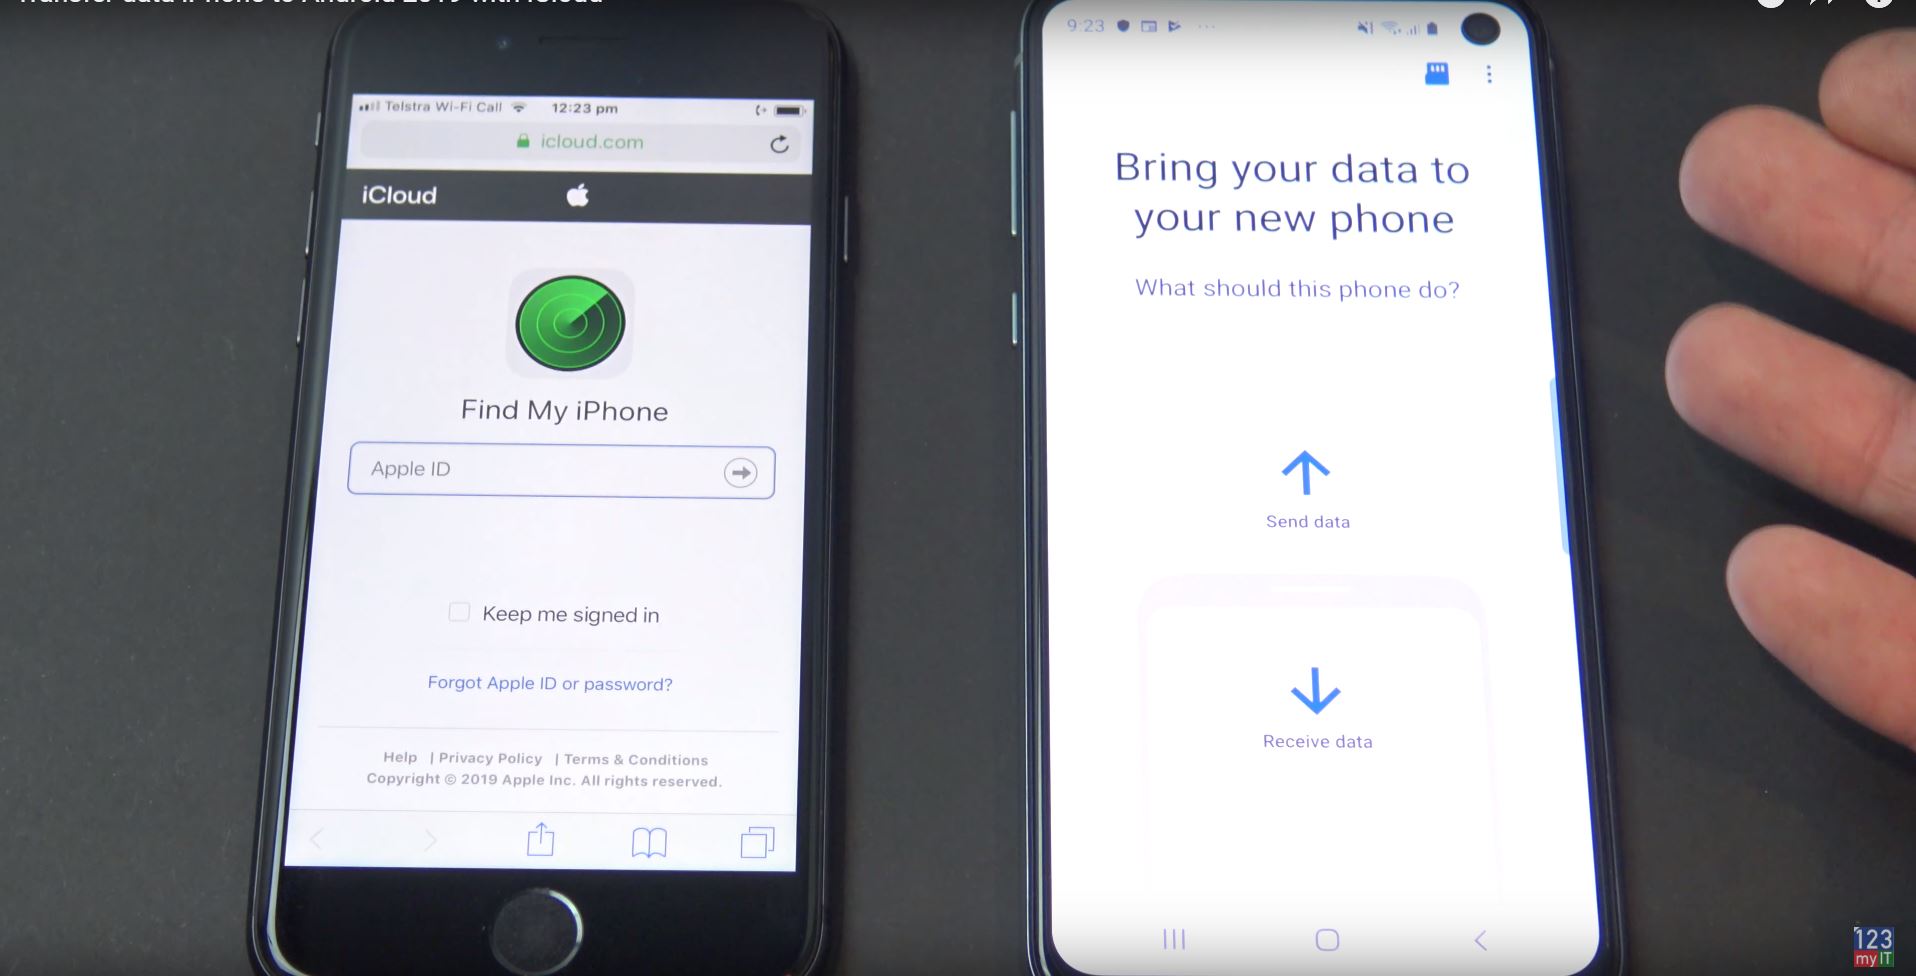
If you don’t have smart switch on your phone already you can pick up this app from play.google.com. Direct link here. Go through the options. Bring data to your new phone. Next select the WIFI option and make sure both phones are on your WIFI.
You can also use a cable if you prefer. An option should now come up asking you to Get Connected. Choose the device you want however in this video we choose iPhone/iPad. Next put in your Apple ID. Select the data that you want to download from iCloud. Simply press Import and you are done.
Guys don’t forget to check out my other great videos.
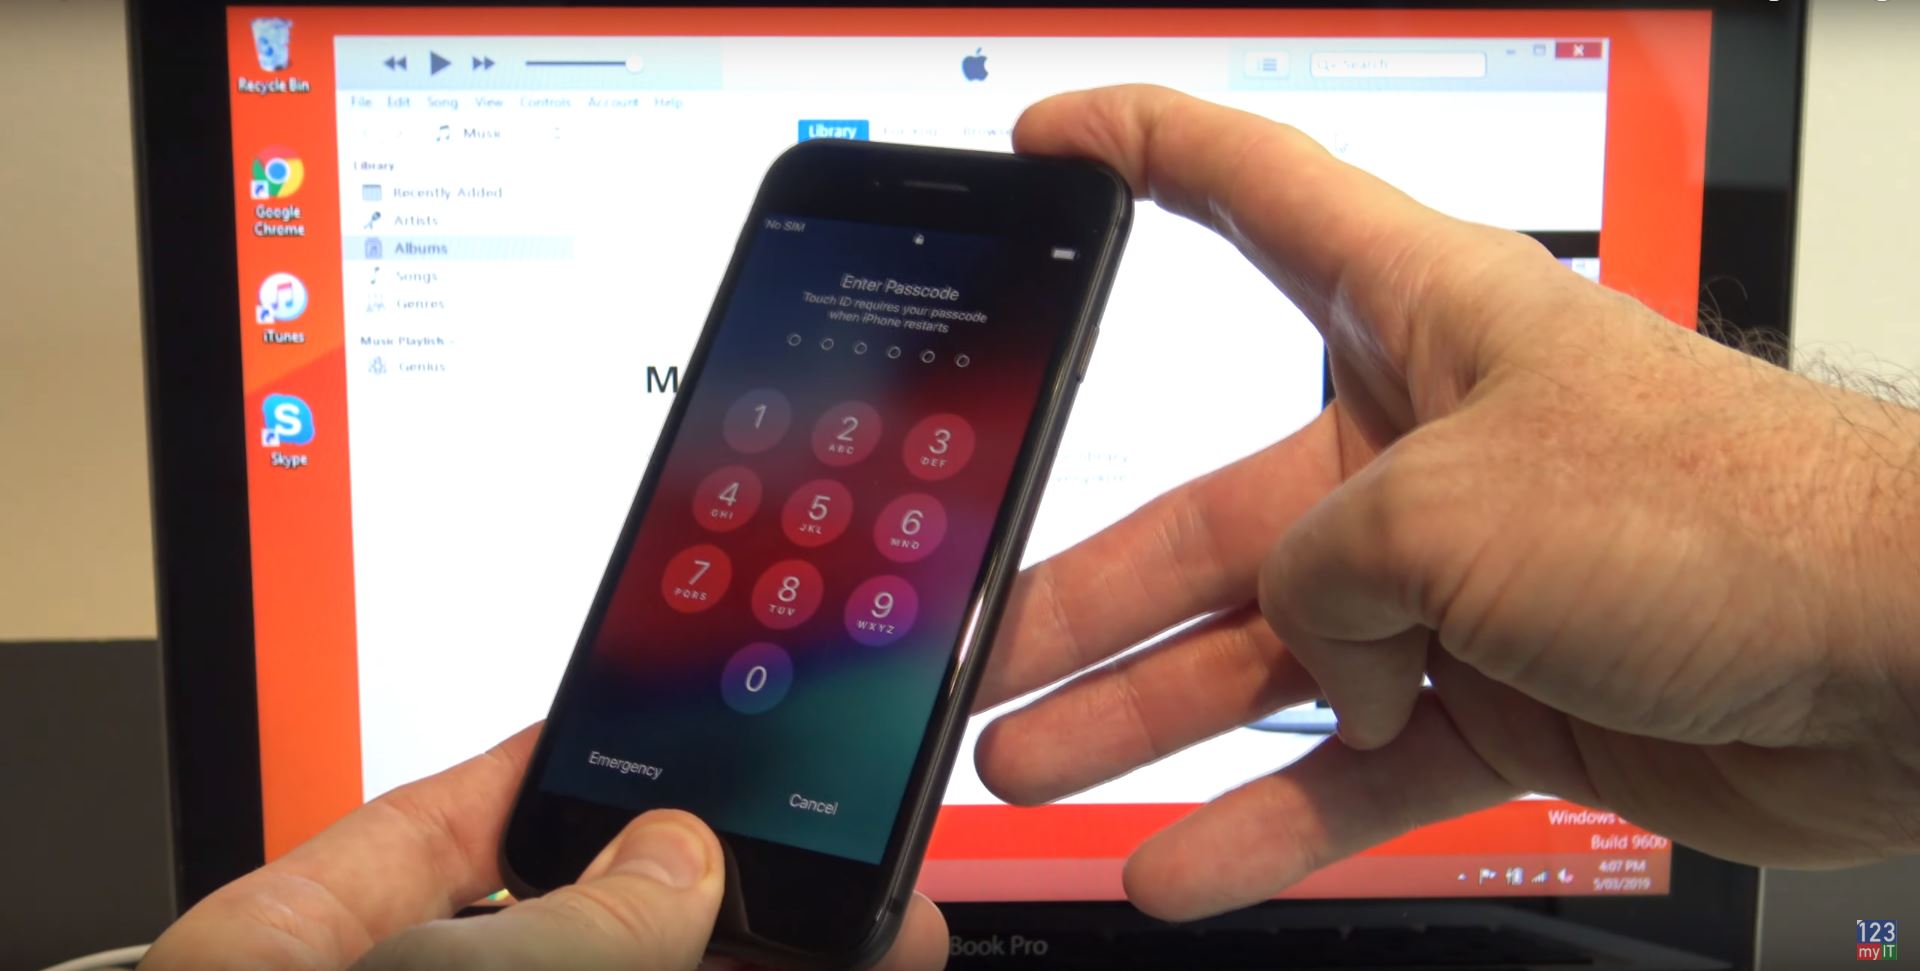
Forgot your Passcode iPhone X, 8, 7, 6, iPad, iPod