Hi guys and welcome to 123myIT. In this video, we will show you all the Mac M1 Start-up Modes. These are helpful if you need to troubleshoot or work on your Mac for any reason.
This video will show you how to open Startup Options. Start the Mac with Diagnostics, Recovery and Safe Mode. Also show you how to set a default Startup Volume.
Lets get started. I am using a MacBook Pro M1 computer. First step is to shut down the Mac.
Start-up Modes
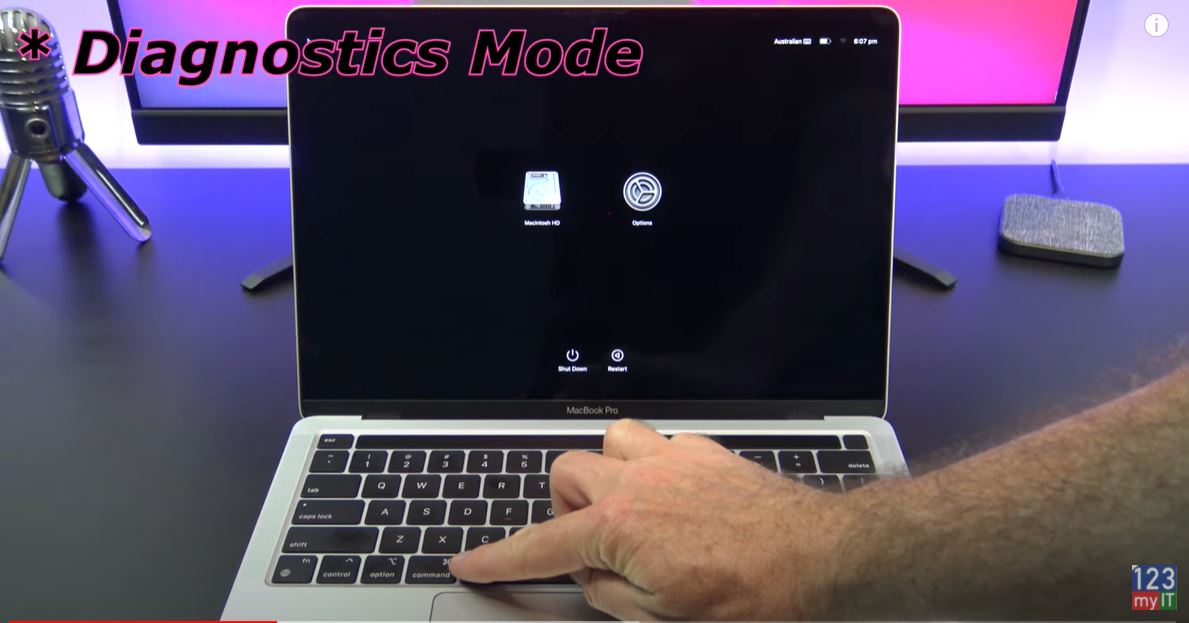
Once your Mac is shutdown to get into Startup Options press and hold the power button until you see the Apple logo with Continue holding for Startup Options menu. When you see the Options cog you can let go of the power button. This is the Startup Options menu and you can do things like select bootable disks.

Diagnostics Mode
To get into Diagnostics Mode we want to press and hold Command and D keys until your Mac Restarts and you will see the Diagnostics Menu load. Now you might need to connect the Mac to your WIFI to start the diagnostics. Once you have connected to WIFI the Diagnostics will download and you can use the Diagnostics to see if you have a hardware problem with your Mac.
Just click Run Offline and the Mac will check all your hardware to see if its ok. I get an error with my power adapter because its not plugged in. If you click get started it will show you a list of error codes. So if you have faulty hardware you can contact Apple for help.
If I plug my cable back in and run the test again I don’t get any error codes. This means that the Mac hardware is fine and working correctly.
Start-up Disks
If you want to check startup disk, reinstall MacOS, restore from backup or change security settings go into Recovery mode by pressing the Options Cog. So in Recovery menu you have Restore from Time Machine. Reinstall Mac OS. Disk Utility and Browse Apple support.
Safe Mode allows you to Flush user cashes and disable third-party extensions. TO get into Safe Mode go back into Startup Menu and press and hold the Shift key. Then click continue in Safe Mode underneath it. You Mac will restart and then you should be able to see the top right hand menu. Simply logon and your Mac will be in safe mode.
If you want to set a default startup disk go back into the Startup Menu and press and hold the Option key. Under the Disks it will show Always Use option. This allows you to set the default Startup disk. Helpful if you have multiple disks.
Guys don’t forget to check out my other videos such as Fix Broken Bricked Mac with Restore Revive. This will show you how to put a M1 Mac into DFU mode. And do me a favour if you know anyone who might need this video please share it will them, hit the subscribe button and smash the bell icon.

