This video will show the Samsung Galaxy S5 Firstlook Unboxing & Review on the model SM-G900F. In this video we will show you that the phone is dust and waterproof.
If you would like to check out a video review on the Samsung Galaxy Tab 3 click the link below.
This video will show you the Samsung Galaxy Tab 3 8.0 Firstlook, Unboxing & Review.
Hi All, so its been a while since my last update and I have been working on trying to get the video quality better. So here is the latest video. Please feel free to leave some feedback if you thinks its an improvement 🙂
If you want to take a closer look at the Samsung Galaxy Tab 3 8.0 inch specs you can see the official link here.
This video will show you how to upgrade Android 4.4 KitKat on a Samsung Galaxy S GT-I9000.
NOTE: This upgrade is for the Samsung Galaxy S GT-I9000 only. Trying this on other model may brick them. You will need to have a rooted you phone first. If you want to know how to do this you can watch the tutorial here.
Step 1. After you have rooted your phone. Go into applications and tap the CWM ClockWorkMod app to install it.
Step 2. You will need to download two files. The first one is the KitKat rom file “cm-10.2.0-galaxysmtd.zip“and the second is Google Apps “gapps-jb-20130813-signed.zip“. Both can be found on the 123 my IT downloads page here.
You can choose which versions you like from the links below. The process for installing them are the same.
For the latest build click here.
Google Apps page click here.
Step 3. Transfer the two files you just downloaded to your phone Backup all your data, contacts, messages and SD card data.
Step 4. Power off your phone and wait until it vibrates. Once the phone is turned off, press and hold the Home, Volume up and Power buttons. The phone will then boot into recovery mode.
Step 5. Once in recovery mode, go down to the menu Wipe data / Factory Reset. Press the Power button and this step will take some time. Next Wipe cashe partition and after that go into Advanced and click wipe delvik cache.
Step 6. Time to flash the rom firmware. Go to the option install zip from SD card. Now scroll down to where you placed the two files above, cm-10.2.0-galaxysmtd.zip and gapps-kk-20140105-signed.zip.
Step 7. After KitKat installs, you will get a blue colour recovery. Then navigate to the location where you have placed the gapps-kk-20140105-signed.zip file and install it. Once its installed go back to the main menu and reboot the phone.
Step 8. The phone will now reboot. It should take around 5 to 10 mins as this is the first time Kitkat has booted so it need to setup everything.
Good luck 🙂
For more info see xda-developers here.
For the latest build click here.
Google Apps page click here.
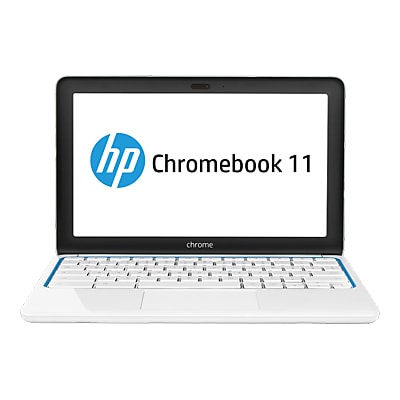
This video will show you the Samsung Chromebook Unboxing Review Series 3.
I had the pleasure of doing an unboxing and first look at this Samsung Chromebook. This is the 3rd series of Chromebook laptops by Samsung and it runs a small amount of Linux which runs the Google Chrome browser. So it boots really fast mainly because it doesn’t really have much to load. Its very basic. Not a bad cheap option if you are a heavy Google user, the laptop retails for around $249.
You need an internet connection to use this laptop and you also need a Google account. So when you sign in the laptop logs you into all your Google apps like Gmail, Calendar, Drive and YouTube.
While the Chromebook might be a great low spec low budget laptop to get you online easily. However if you use your laptop for anything that is not in a web browser than this laptop is not for you.
Step 1. Make sure your Samsung device is rooted. Link above. Step 2. Download the Samsung Galaxy S Upgrade Ice Cream Sandwich Firmware from the downloads page here. Step 3. Plug in your device and make sure that the device driver is working ok. You can do this in Device Manager. Step 4. Open the Samsung device and view the files and go into the Android folder and copy the file you just downloaded into the Android folder. Step 5. Power off your Samsung device and put the phone in recovery mode by holding down the UP volume button + Power button + Home button. Step 6. In the menu select Wipe Data / factory reset, this will Wipe any data on your Samsung device so make sure you do a back up first. Step 7. Wipe cache partition and go into the advance and Wipe Dalvik cache. Step 8. Go back to the main menu then to go install zip from SD card. And choose zip from SD card.
Choose the Zip folder from the Android folder that copied to earlier and you are done.
The Android upgrade can take anywhere from 5 to 15 mins to complete. The Samsung Galaxy S model that I recorded the video on was a fair bit slower after the upgrade, but for some people they probably wont notice the difference and the upgrade Android has the benefit of the newer OS.
If you would like to see the Samsung Galaxy S specs you can find them here on the Samsung site.