First Mining Rig Update – Troubleshooting Hardware

First Mining Rig Update – Troubleshooting Hardware

123myIT’s First Mining Rig Update

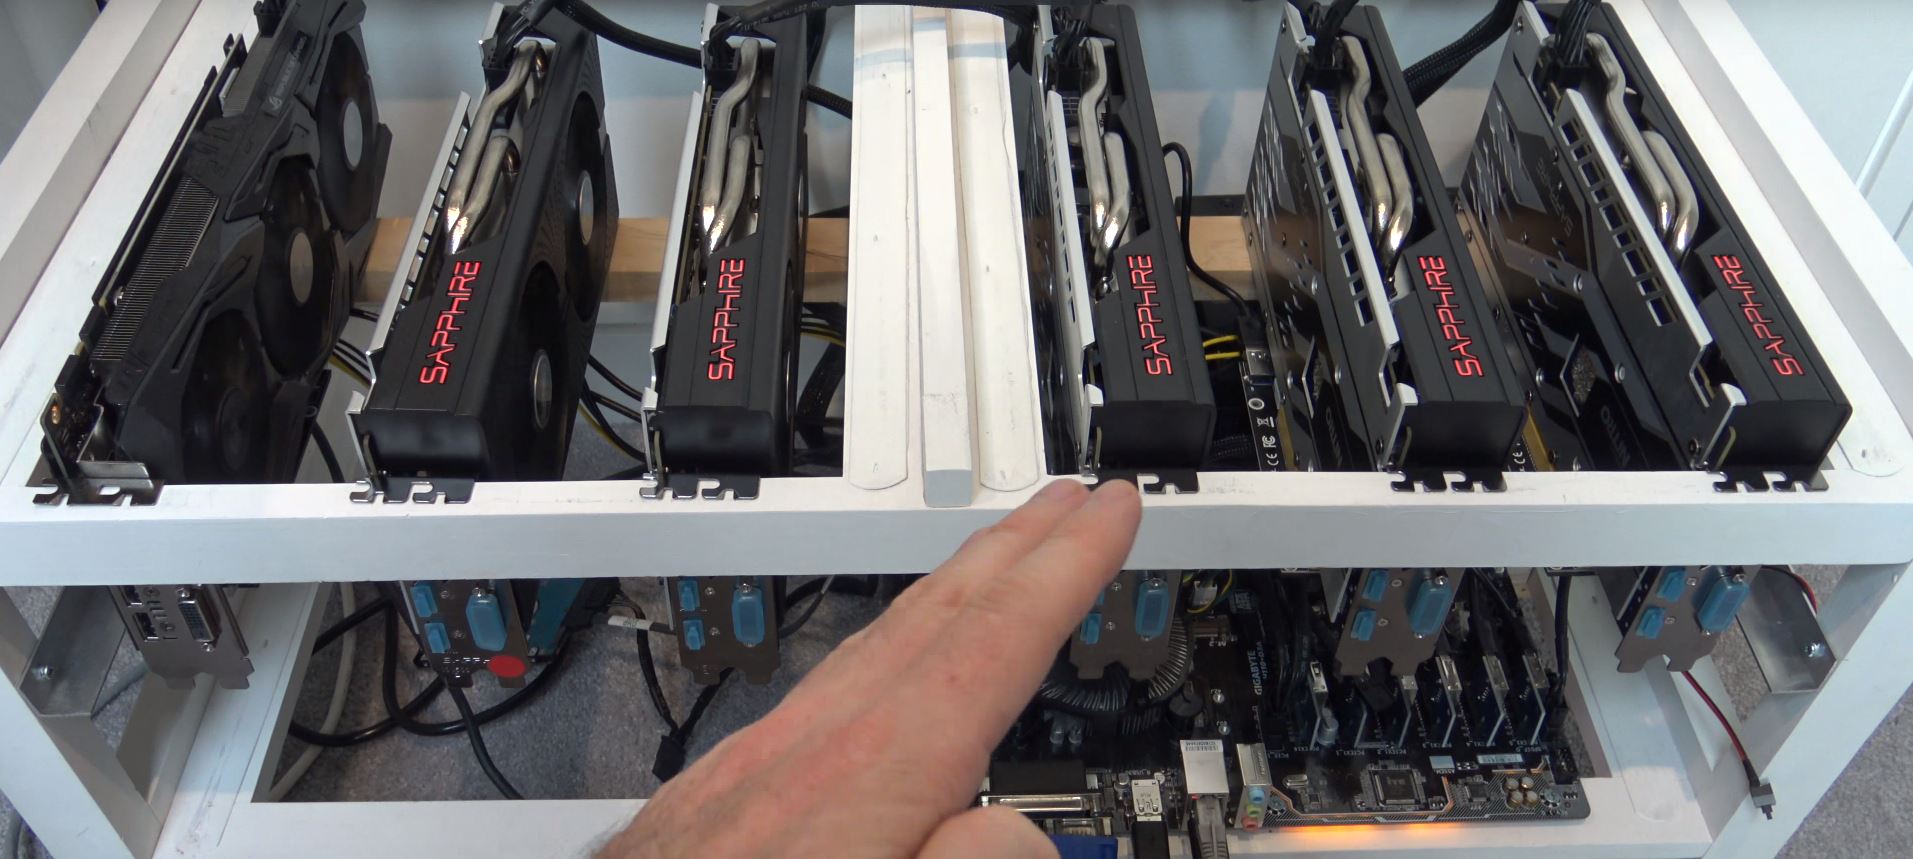
Quick video update to the First Mining Rig Build video. Link here. This video will talk about some of the pitfalls and hurdles I had building the rig. The problems I had were mostly Sapphire RX 570 cards not over clocking as high as some of the other cards. The point of over clocking and undervolting is to make the cards perform the highest on the lowest power usage.

First Mining Rig Update build

Other problems I had with the rig were the USB hard drive didn’t work so well with Windows 10. I fixed this by adding in an old sata hard drive that I had.
Below is a list of parts that I have used in this first mining rig build.

Gigabyte motherboard
This motherboard is specifically designed for 6 GPUs and is cheap buy in price makes it a steal. Worst comes to worst you can reuse this motherboard for gaming if you wish.

Celeron CPU
We choose the Celeron CPU because it’s cheap to buy. But also it’s cheap to run. 3930 has a power draw of 51 watts.

EVGA Power supply
EVGA power supply are probably the best power supplies around. Their power supply’s efficient and they also have plenty of cables so that you are not daisy chaining to much hardware together.

Crucial 8GB Memory
You can go the cheaper 4GB of ram. But just in case I want to turn this rig into a gaming PC I went with the 8GB of ram.

Sapphire Nitro + 4GB
Sapphire RX 570s pound for pound probably the best cards that’s you can get with regards to hash rate and power supply. The higher the hash rate the higher the return on investment.

PCIE Riser cards
PCIE riser cards, these little babies are used to lift the graphics cards off the motherboard allowing you to stack more graphics cards.

SSD
Your SSD allows you to store the Windows 10 software along with the Software that you will use for mining example NiceHash or Claymores.

Frame if you need one.
This hold all your equipment together in one frame. I made mine out of a chest of draws that someone threw out. Cheap and good for the environment as it doesn’t go into landfill.

I hope this helps guys.

Update ASUS Laptop Bios

Update ASUS Laptop Bios

This video will show you how to update Asus laptop bios using a program called Winflash. Recently I did a video which highlighted an issue with the Asus GL702 Strix gaming laptop.
In game lag which would lag the game out every time turbo boost was used. I went and posted this fix on the Republic of Gamers forums and about a week later Asus released a bios fix. They also deleted my current post so thanks for that Asus.
However at least I highlighted an issue and they were able to fix the problem with a bios update.
Link below.
https://www.123myit.com/2017/05/asus-strix-gl702v-game-lag-fixed/

If you go to the downloads part of the 123myit.com website. And scroll down to the bios link, I have added the BIOS upgrade for the GL702 system I have also added the winflash program.

You can use these two programs to upgrade the BIOS on your laptop. You can actually just download the winflash program and click on get bios from the web and it should go out and choose the correct bios for your model of laptop. If this doesn’t work I suggest doing a Google search for your correct model of laptop and then downloading the correct BIOS version for your laptop. Once this is done you will need to restart your laptop.

iOS 8 Update

This video will show you an iOS 8 Update.

iOS 8

Hi All,
As mentioned in the video above I went to reload the firmware on an iPad mini and iTunes started downloading Apple newly updated iOS 8.
The supported models for the iPhone start at the iPhone 4S and up. The iPad 2’s and up and the iPod 5th generation only.
You can find the direct links for iOS 8 on the links below.
Also before you upgrade you should try and save your signed shsh blobs file. This will allow you to downgrade back to iOS 7 is you so wish.
If you want to check out the Office Apple iOS 8 page you can find it here.

Good luck 🙂
Matt

https://www.123myit.com/category/iphone/
https://www.123myit.com/2014/05/upgrade-downgrade-iphone-ipad-ipod-firmware/
https://www.123myit.com/iphone-firmware/
https://www.123myit.com/ipad-firmware/
https://www.123myit.com/ipod-firmware/

How to Resolve iOS update and restore errors in iTunes

This article and video is a step by step guide on How to Resolve iOS update and restore errors in iTunes.
So I recorded this video to try and go over all the errors that can come up in iTunes.

Some of the Symptoms you might have when restoring your iPhone, iPad, or iPod touch via iTunes are in the form of error codes and alert messages. Most of the time these errors are caused by older versions of software or problems with connectivity, connecting to the Apple servers.

To resolve these problems you can try the following.
Step 1. Update your iTunes to the latest version or even try uninstalling iTunes if your using a PC do a restart and download, reinstall iTunes. To update iTunes on a Mac go into Apple icon and click updates.
iTunes Updates

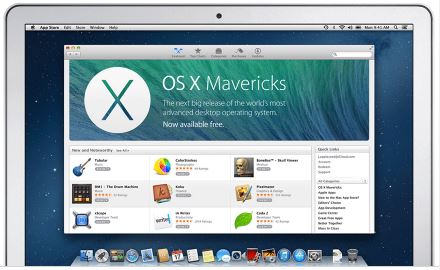
Step 2. Make sure you OS is up to date. If you are using Windows go into Control Panel and click on Windows Updates. If you are on a Mac click on Apple and then Updates.

OS Updates

Step 3.Check the Anti Virus and security software on your computer. It could be blocking the connection to the Apple servers. In Windows you can generally right click and disable software until you do a restart. And you can turn off the Windows firewall in Control Panel. On a Mac you can System preferences and security and privacy. 123myIT also has a video guide which shows you how to edit your host file on your computer.

The 3194 error video for Windows here.
The 3194 error video for a Mac can be found here.
Windows iREB video here.

This is really important if you are having issues connecting to the following Apple servers.

* Ports: 80 and 443
* Apple servers:
phobos.apple.com
deimos3.apple.com
albert.apple.com
gs.apple.com
itunes.apple.com
ax.itunes.apple.com

* Verisign servers:
evintl-ocsp.verisign.com
evsecure-ocsp.verisign.com

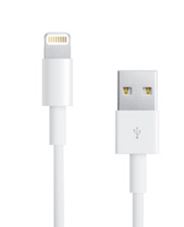
Step 4. Unplug any extra devices that don’t need to be connected to your computer. Only have your Mouse, Keyboard and iOS device connected. Try a different USB port on your computer and try a different cable and if that doesn’t work try a different computer altogether.

USB Cables

Step 5. After updating or installing software its a good idea to restart your computer. When your computer is restarting take the opportunity to restart your iOS device.

Restart Devices

Step 6. By now hopefully you know how to resolve iOS update and restore errors in iTunes. Time to try the restore again and see if you get the same error.

For more information see this Apple article here.

I hope it helps and Good luck!