Guys Matt from 123myit here. If you are mining Nicehash on a RTX 20 series or RTX 30 series or any other NVidia card. Then in this video, we are going to show you why it’s important not to use the Nicehash optimize option for your Nicehash mining.
First of all guys sorry for the blurry screen. I cant screen capture as it will affect the performance of the mining. The card that I will be using is the Gigabyte RTX 3060. If you want a link to that I will put the links in the description below. So what we will do first is run the card without any optimisation. Then I will run the card with Nicehash Optimisation. Then run the card with Manual Optimisation with afterburner and we will see which offers the best return on investment.
Use a wall socket – Dont use NiceHash
Ok so here is the reading with no optimisation. And the reading from the wall socket is 178 to about 180 watts. So running the card without any optimisation gives a hash rate of 37 and overall power usage is around 180 watts.
Alright let’s set the Nicehash optimisation to high and see what it gives us. The overclock has set the card core clock to 1560 and memory to 1200. I will just minimised the browser and give it a second to pull up the top score.
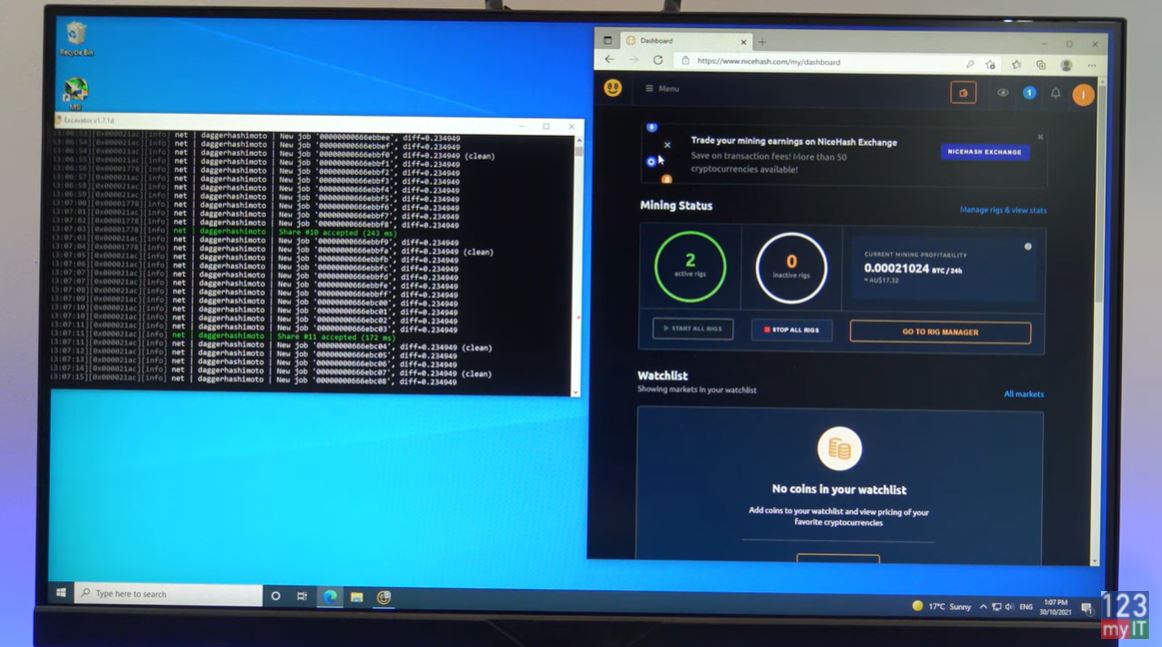
Nicehash Optimisation
Cool so the Nicehash High setting has done a good job at optimising the card with a higher hash rate of 47.9 and over all power usage of 144. Let’s see what medium settings does. The medium setting sets the core clock to 1500 and the Memory clock to 1000. The Nicehash medium optimisation finished with a hash rate of 46.8 and an overall power score of 138 watts. So again dropping the power consumption, but also dropping some of the hash rate.
Ok the last setting it the Lite optimisation and this sets the cards core clock to 1440 and memory to 700. After the card settled, it was punching out 45 mh with a power outlet score of 133 watts. So again, a decrease in both power and Hash rate as expected. Alright let’s try a manual over clock using the afterburner software. I am going to do a quick restart and make sure that you turn the optimisation off in Nicehash as well before you do manual optimisation.
Using the AfterBurner Software – Dont use Nicehash
Ok starting up the afterburner software. You can see the power limit starts at 100. This is what you will mostly change to reduce the power that the card will use. I already have a clock set so I will apply those settings and you can see power limit and other settings change.
If you are not, sure what afterburner settings to use for your graphics card then look up this Nicehash page called NVidia AMD OC settings for mining. Moreover, it gives you a good starting point. So if you look here. It tells you all the types of graphics cards and I just used the numbers from here for my card the RTX 3060. No you can try any settings for your card you want. But this is a good starting point.
Ok so the card hash rate has settled on 47.55 with overall power consumption of 137 watts. Therefore, the manual overclock is pulling a similar hash rate to the Nicehash high setting but using 7 watts less. In addition, well you might say it’s such a small amount who cares right? But if you times this small amount by 24 hours a day 7 days a week and you have more than one card. This little amount will be allot. Guys don’t forget to check out my other videos such as create & download Windows 11 for Mac. And do me a favour if you know anyone who might need this video please share it will them, hit the subscribe button and smash the bell icon.
Create Windows 11 USB & Download Windows 11 for Mac – 123myIT