Enable Low Power Mode on your iPhone to extend battery life when you need it.
Hi Guys, have you ever been caught out where you didnt get a full charge on your iPhone and you are not near a charger but you need to get some more battery life out of your iPhone? Or is the battery on your iPhone not lasting as long as you would like? This seems to always happen when your expecting an important phone call or text message? Low power mode can help!
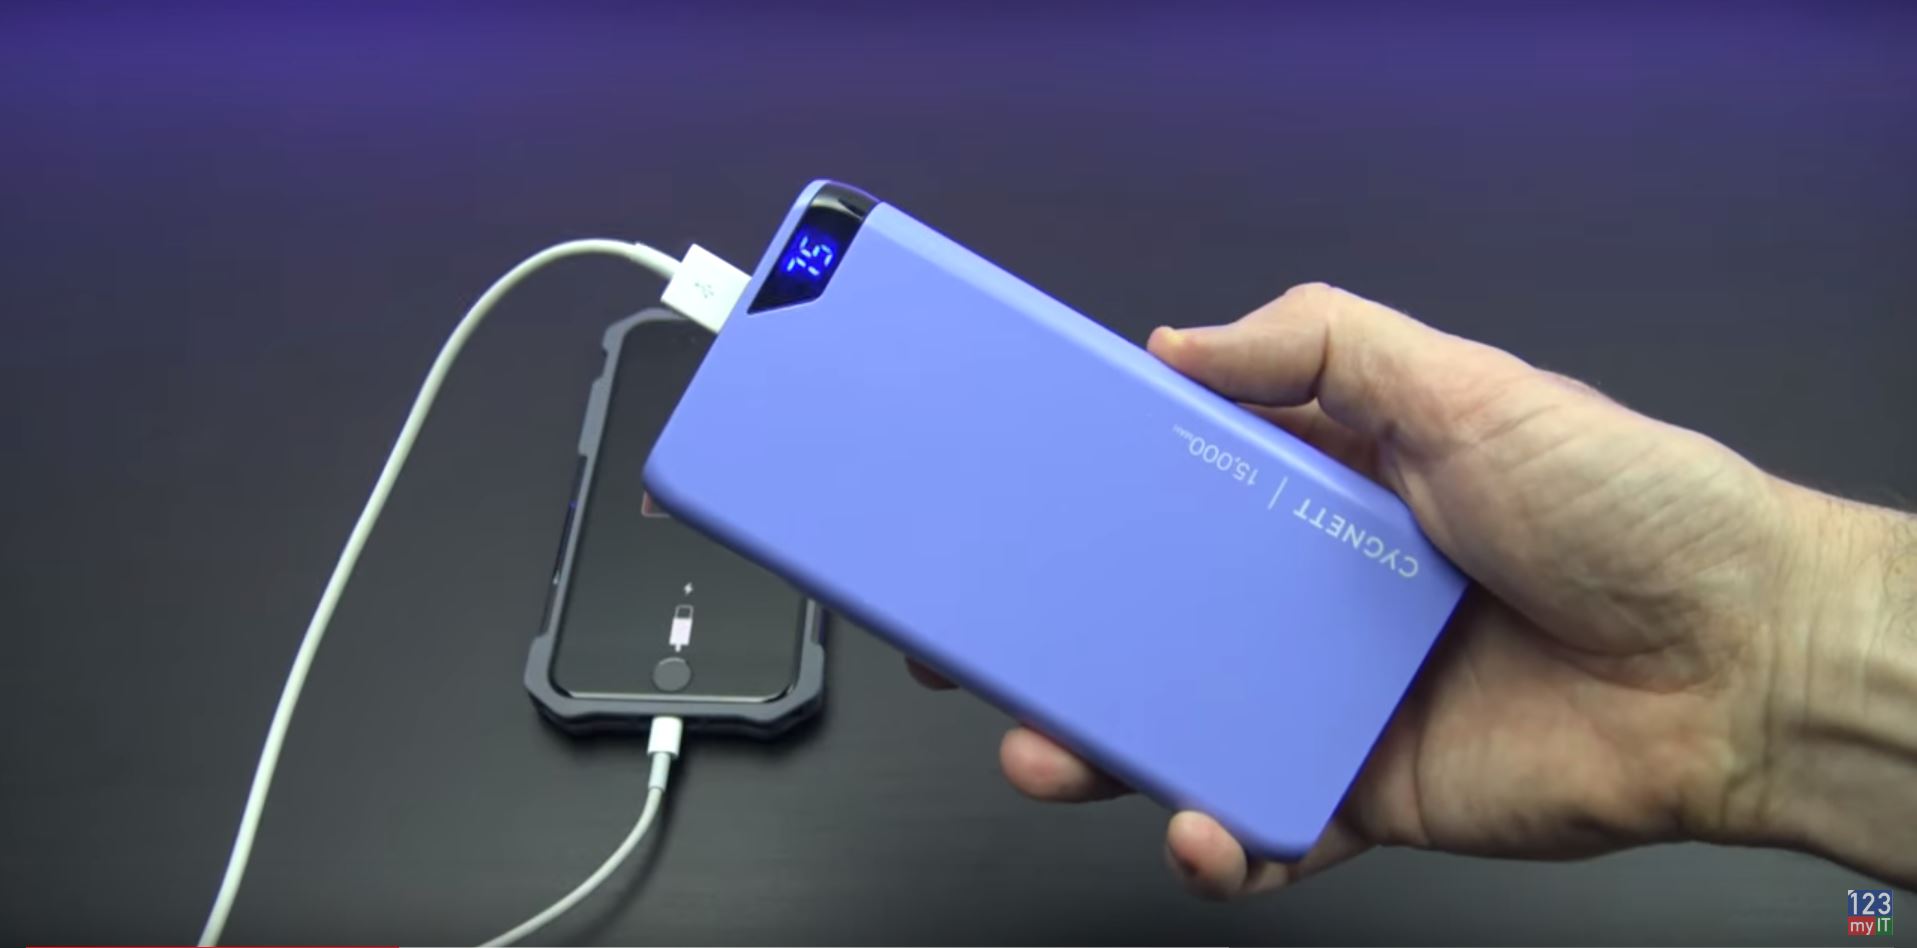
You can buy a portable battery brick, but you have to charge that as well and you its just another thing to carry. Or you do another option which is built into your iPhone automatically and its called low power mode.
Step 1 – Enable Low Power Mode on your iPhone
You can buy power bricks that allow you to double or tripple your iPhone battery life.
To add low power mode to your Control Centre go into Settings > Control Centre > Customise Controls.
Scroll down until you see Low Power Mode. Tap on the green plus icon beside Low Power. This will add it to your control centre. And if you scroll back to the top you should see it there.
Go back out of settings and into your control centre. To access Control Centre just swipe up from the bottom . If you are using an iPhone X you will need to swipe down from top right conrner.
You should now see a new Low Power Mode icon in your control centre. Simply tap it to turn it on and tap it to turn it off.
To remove the Low Power icon from your Control Centre. Go back into Settings > Control Centre > Customise Controls. Tap the red minus icon and tap remove. Then if you go back out and into your Control Centre, Low Power will be gone. Another point to remember guys is Low Power will effect some features to make your iPhone last longer.
Also guys down forget to check out my other videos like Enable Windows Zoom on iPhone or iPad.
If you have been using your Android device for a while you might have noticed that it started out with really good battery life but over time, the battery life doesn’t seem to be as good as it was. It could be that the battery is slowly dying and all of them do that, however it could be that you have loads of apps running in the back ground and all of your services on.
This guide will give you some helpful tips on how to save your battery life. A few small tips will have your Android device lasting for day!! Well maybe not that long. 😉
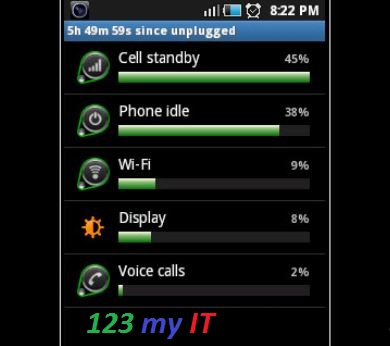
Step 1. Have your phone tell you what is using up the most power.
Go into Settings, About Phone, Battery Use. On my phone the app Whatsapp was using 66% of the battery. So turning off Whatsapp would help me get more battery life out of the phone.
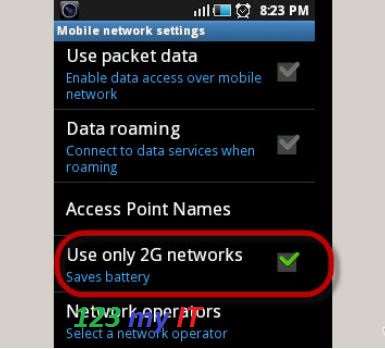
Step 2. Tell your Android device to use 2G only or use GSM over WCDMA.
Only do this if you don’t need access to 3G or 4G high speed data.
Go into Settings, Wireless and Network, Mobile networks and select your network mode.
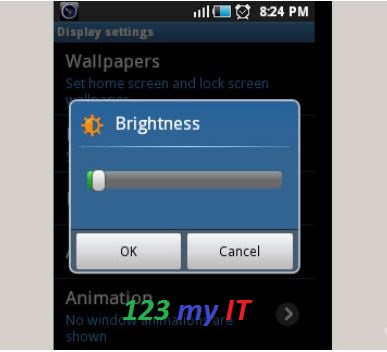
Step 3. Reduce your display brightness. Settings, Display, Brightness.
Slide brightness slider all the way to the left and it will help you save power when you are reading the phone. Most of the time people can still read the phone without needing the brightness up high.
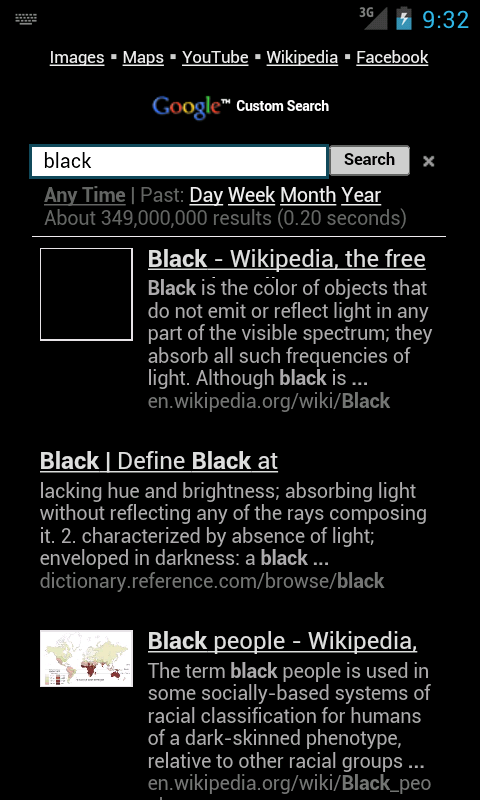
Step 4. Always try to use a black background or wallpaper. Settings, Display, Wallpaper.
Here is a sample below but you can find loads of black backgrounds on Google images.
You can also set bGoog.com as your default home page. bGoog.com is a black background search engine webpage by Google and its built especially for mobile devices it allows you to search the web without using so much power on your phone. Awesome idea.
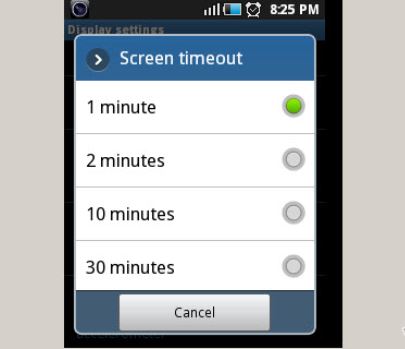
Step 5. Adjust your screen timeout to the shortest time Possible. Settings, Display and then Screen Timeout.
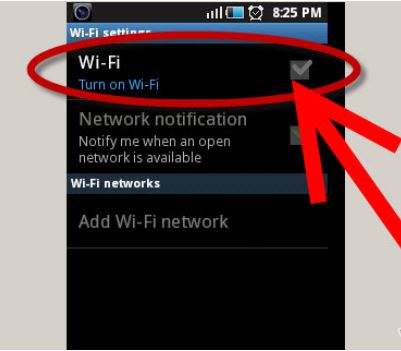
Step 6. Turn off your WIFI when you are not using it. Settings, Wireless and network, WIFI settings.
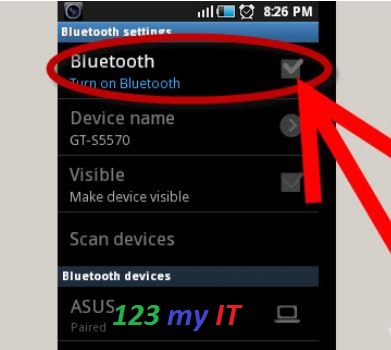
Step 7. Turn off your Bluetooth when you are not using it. Settings,Wireless and network, Bluetooth settings.
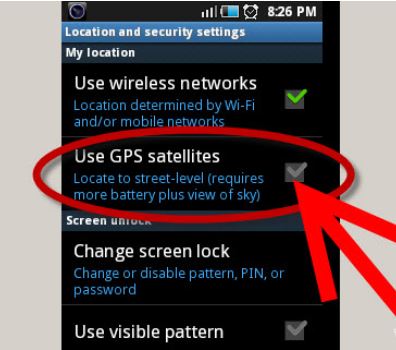
Step 8. Turn off your GPS. If your GPS is turns on it is constantly looking for satellites which takes up battery power. Settings, Location and Security, Use GPS Satellites.
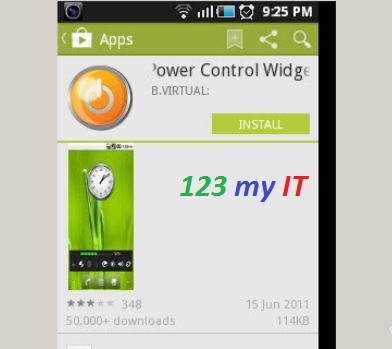
Step 9. Use Power apps and widgets. There are loads of free and paid apps that control all sorts of stuff.
The two that you should take a look at are:
* Power control Widget
* Power management
* Null BLack Wallpaper
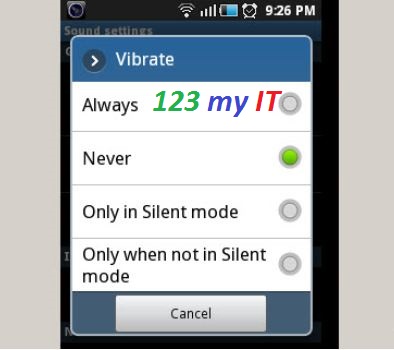
Step 10. Turn off phone vibration. Settings, Sound, Vibrate. And set vibrate to never. You have the following options Always, Never, Only in Silent mode and Only when not in Silent mode.
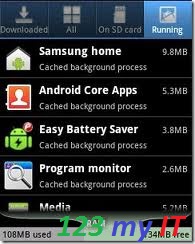
Step 11. Turn off all your applications when you don’t need them. Settings, Applications, Manage Applications. Press Running and then press and Stop any applications that you don’t need.
Step 12. Put your phone in standby mode when you are no longer using it.
Press the Power button on your device when you are finished using it as it will use less power if you get into this habit.
Step 13. Take your USB charger with your where ever you go as there are Free USB ports everywhere! Allot of Airlines these days have free USB ports so that you can charge your Android device while flying.
Step 14. A spare battery can be a lifesaver if you just so happen to run out of Power. Spare ones can be picked up from websites like ebay.
This video will show you How to replace a faulty power supply on a Cisco 3560G switch.
Step 1. Remove Side Screws.
Step 2. Remove bracket screws.
Step 3. Remove the screws at the back of the switch.
Step 4. Slide the top of the switch off from the back.
Step 5. Unplug all the power cables from the power supply of the switch.
Step 6. Unscrew the 4 screws either side of the power supply.
Step 7. Slide the power supply out of the switch and replace the power supply as needed.