Low Power Mode on iPhone

Enable Low Power Mode on your iPhone to extend battery life when you need it.

Hi Guys, have you ever been caught out where you didnt get a full charge on your iPhone and you are not near a charger but you need to get some more battery life out of your iPhone?
Or is the battery on your iPhone not lasting as long as you would like? This seems to always happen when your expecting an important phone call or text message? Low power mode can help!

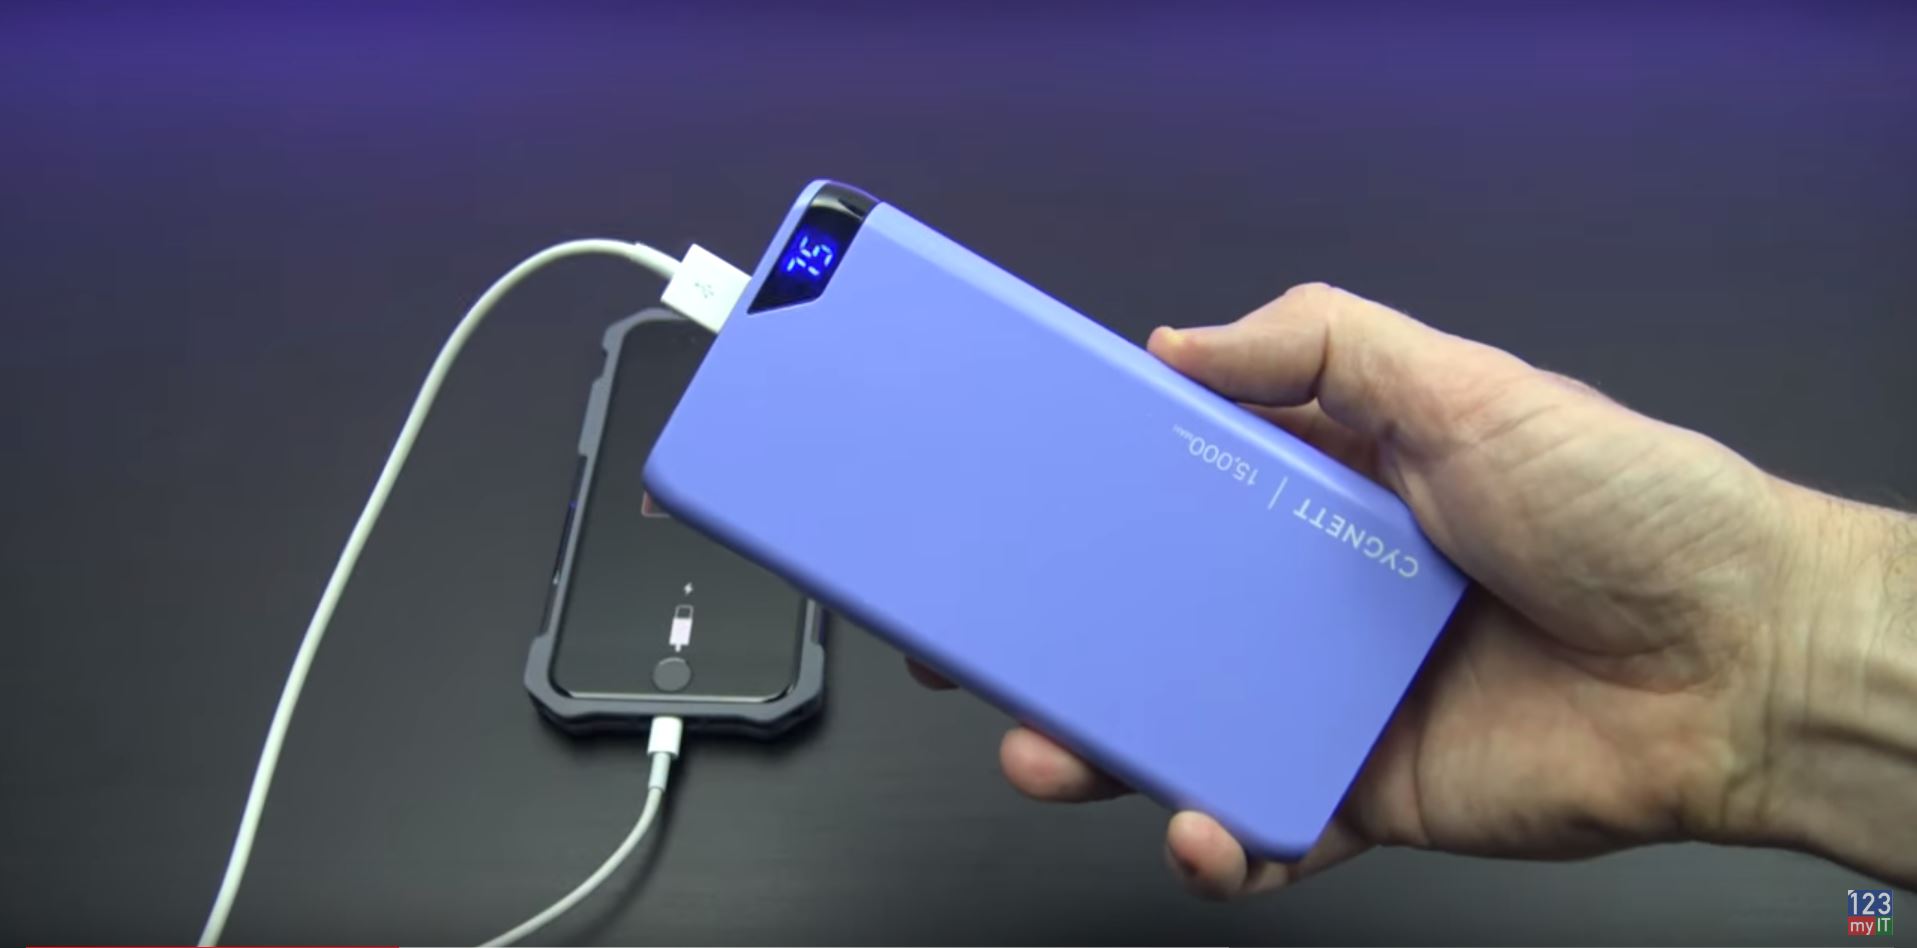
You can buy a portable battery brick, but you have to charge that as well and you its just another thing to carry.
Or you do another option which is built into your iPhone automatically and its called low power mode.

Step 1 – Enable Low Power Mode on your iPhone

low power mode
You can buy power bricks that allow you to double or tripple your iPhone battery life.

To add low power mode to your Control Centre go into Settings > Control Centre > Customise Controls.

Scroll down until you see Low Power Mode.
Tap on the green plus icon beside Low Power. This will add it to your control centre.
And if you scroll back to the top you should see it there.

Go back out of settings and into your control centre. To access Control Centre just swipe up from the bottom . If you are using an iPhone X you will need to swipe down from top right conrner.

You should now see a new Low Power Mode icon in your control centre. Simply tap it to turn it on and tap it to turn it off.

To remove the Low Power icon from your Control Centre. Go back into Settings > Control Centre > Customise Controls. Tap the red minus icon and tap remove.
Then if you go back out and into your Control Centre, Low Power will be gone.
Another point to remember guys is Low Power will effect some features to make your iPhone last longer.

Also guys down forget to check out my other videos like Enable Windows Zoom on iPhone or iPad.

Backup Samsung to PC or Mac

Make your iPhone iPad speak each word you type

How to turn off work offline mode in Microsoft Outlook 2010 2013.

This video will show you how to turn off work offline mode in Microsoft Outlook 2010 2013.

Microsoft Outlook, what a great email client. But with all its features and functions some of them can be down right annoying!!!
Yes, we all know what I am talking about the dreaded Work Offline message. Well first of all lets talk about what is Work Offline and what does it do?
Work Offline, is a feature within Microsoft Outlook that allows you to continue working and writing emails even if your connection has dropped out. Now when I say connect I mean this could be your LAN connection or your internet connection if you are using a internet service. Or if you work on Wifi it could be you have walked into an area with limited signal and your connection has dropped out. When this happens Outlook will start using a local copy of your email which is stored in an Offline Folder File (.ost)

There are actually quite allot more reasons why Offline Mode starts. However Microsoft says these are the most common ones.

* The Exchange server is offline for maintenance.
* You are traveling and can’t connect to your Exchange server.
* You find performance unacceptable when using a slow connection to the server, such as dial-up connections with a 56 Kbps modem.

The idea with Work Offline is that you can keep working even though your internet or email server is unavailable. Once the internet or email server comes back online. Outlook should detect this and it will sync the work you have done up until that point.

How do I turn Work Offline on and off?
You will find the button to turn Work Offline on and off in the Send/Receive tab in the top of Outlook.

Work Offline Menu Bar

The image below will show you when you are in Offline Mode. You can tell this by the Orange box around work offline.

Currently in Work Offline Mode

And also there will be a Red X and Working Offline in the bottom of your Outlook as well as a red X on your Outlook icon in your task bar.

Working offline Task Bar

To get yourself out of Work Offline, try restarting your Outlook. Make sure you do not have multiple Outlook.exe processes running in Task manager, check your internet connection. Check the Send/Receive tab and make sure that is it turned off.

Outlook Task Manager

I hope that helps solve some of the mystery. Good Luck.

Related 123 my IT Videos.
Work Offline error in Microsoft Outlook 2010
Setup a Yahoo mail account in Microsoft Outlook 2013
Setup a Gmail account in Outlook 2013

How to setup GodMode on Windows 8 tip 1.

This video will show you how to setup GodMode on Windows 8 computer.

The step by step guide on how to setup “God Mode” on Windows 8.

If you have just purchased a new pc you might notice that there is loads of hidden settings where by you can customise Windows 8. However the settings are scattered throughout Windows 8 and it can take time to find them.
This is where “God Mode” comes in. While the term “God Mode” sounds like something from a Doom game, “God Mode” in Windows 8 is really a hidden folder that allows you to get access to all the settings in Windows 8 that are spread out through the Microsoft operating system.

Make sure you have turned hidden files and folders off. To do so go into Explorer, click the View tab and tick “Hidden items” and “File name extensions”. Then follow the steps below.
Step 1. Right click the Desktop.
Step 2. Go to New > Folder.
Step 3. Paste the following string.
GodMode.{ED7BA470-8E54-465E-825C-99712043E01C}

Win8 GodMode
If you have followed the steps correctly you should see the folder icon change to the icon in the picture above.

When you double click the GodMode icon you will see a folder full of settings and tools, from “Change User Account Control settings” to “Check for updates.” These settings are organized by category. You can open or close each category by click on the triangle next to it. The category’s have a number in brackets beside them which represents how many settings there are in it.

Inside GodMode settings.

Double click any of the settings and it will take you directly to the setting with in Windows 8. In some cases you will get a wizard screen where you need to follow the prompts. In other cases you will be sent to the control panel or other Windows 8 settings screens.