In this video we will show you how to share files iPhone to Mac with AirDrop.
To share Files, Photos and Safari links with other devices nearby you can use Apple AirDrop you can wirelessly.
Step1 – Turn Bluetooth and Wi-Fi on. – Share files iPhone to Mac
On your iPhone swipe up from the bottom to open Control Center. If you are using an iPhone 10, swipe down from the upper right hand corner of your screen and 3D tap in the middle of the network settings box.
Make sure your Wi-Fi and Bluetooth are turned on and if your AirDrop is off, turn it on. When you turn the AirDrop on you will have three options, so you should see Receiving off, Contacts only and Everyone. Select everyone, but be careful leaving this option on in public as you might get Cyber Flashed. What is Cyber Flashing? check out this link here.
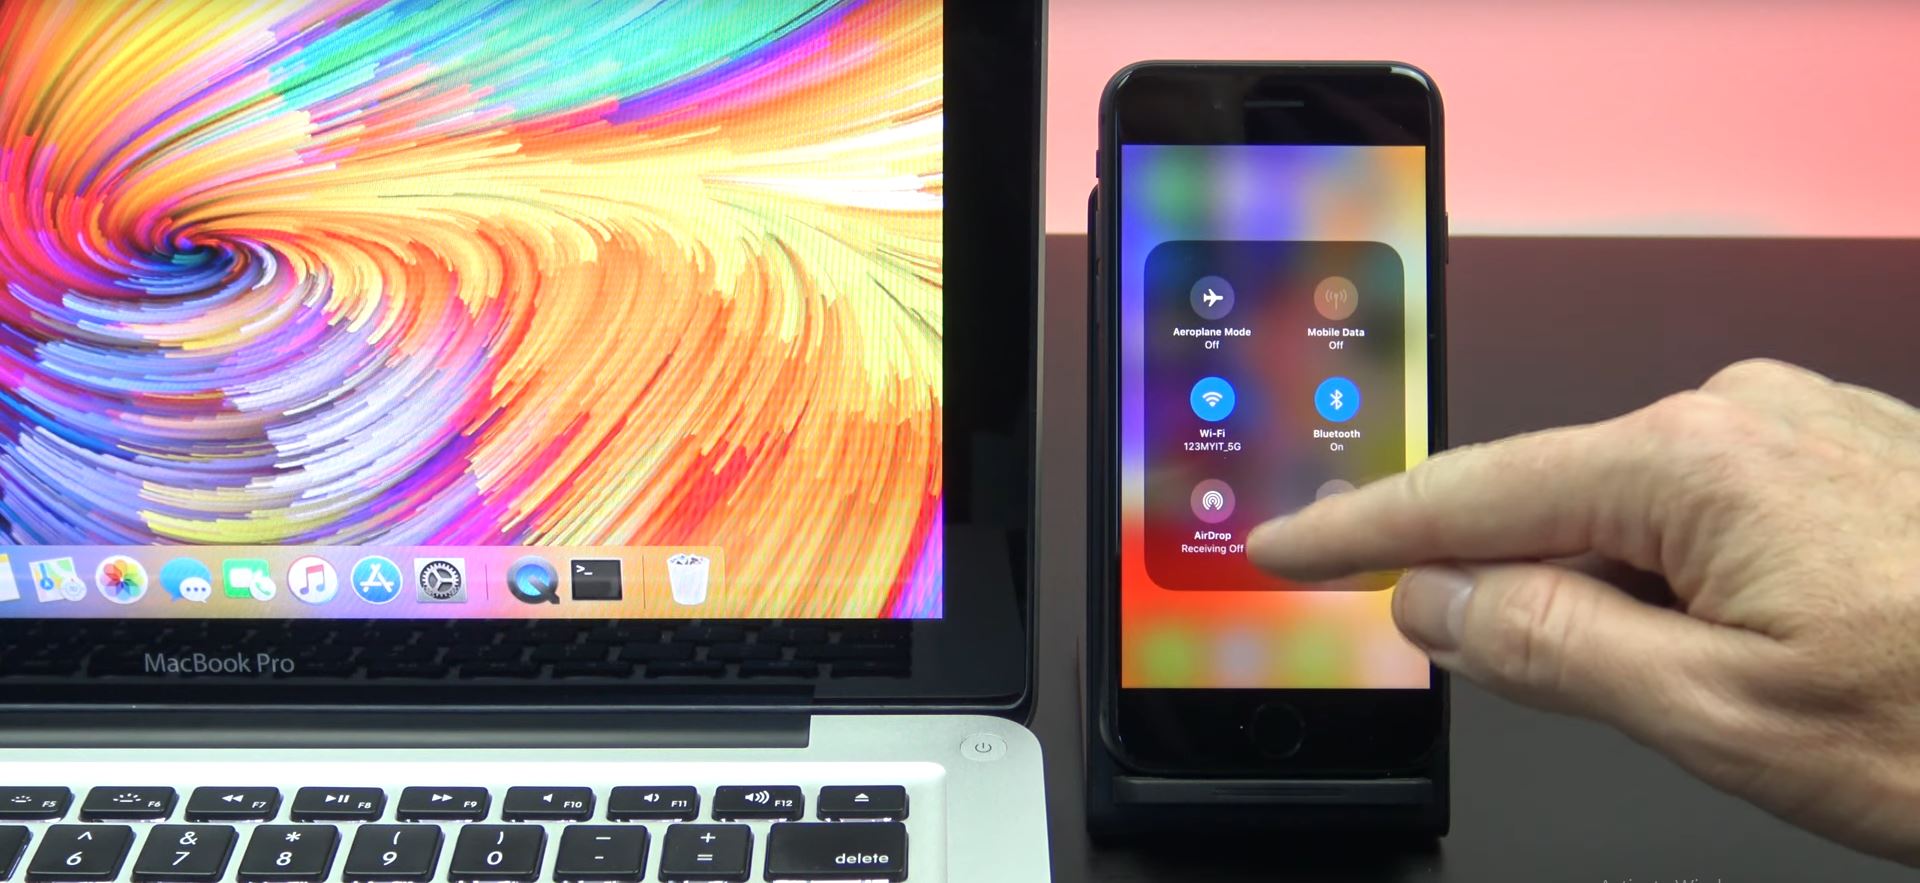
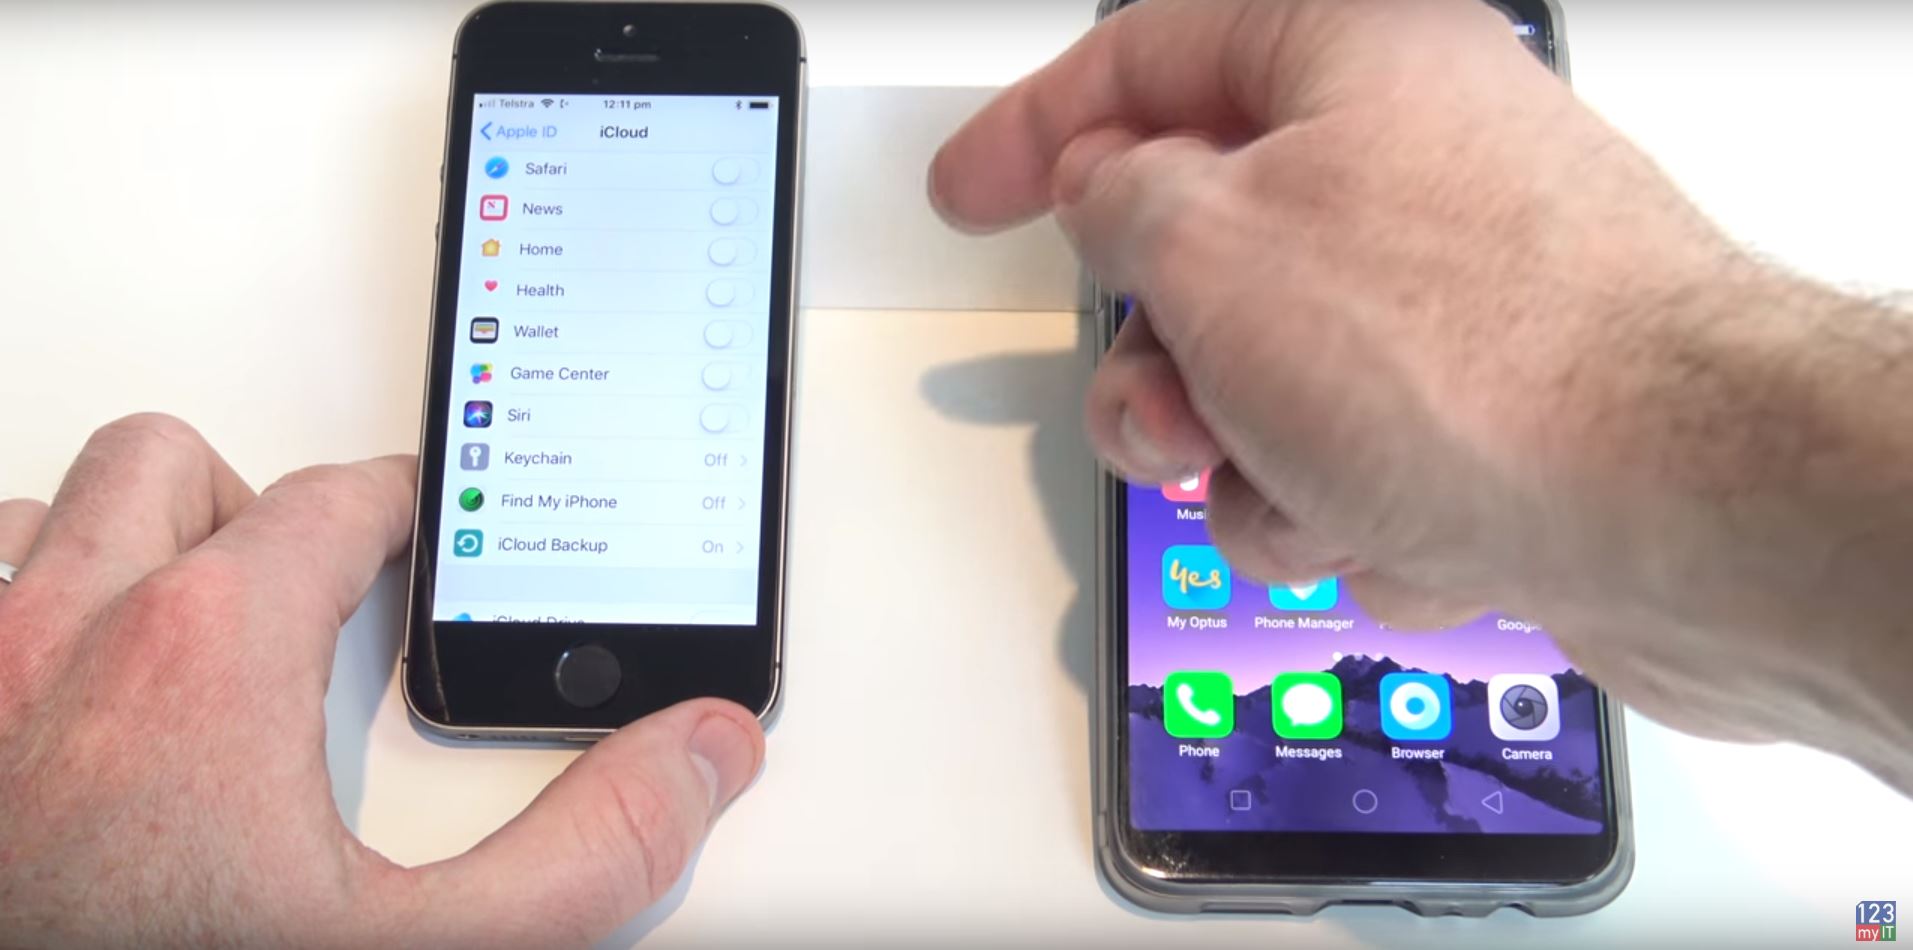
In the Apple menu click on Go and then Scroll down to AirDrop. If your Bluetooth is turned off just go ahead and turn it back on. It is important to make sure your devices are connected to the same Wi-Fi network so that they can see each other. Can you see your iPhone and other devices in the AirDrop menu? If you can’t see them it is likely because you need to click the drop down menu and make sure Everyone is selected.
Step 2 – Transfer files.
Next up go to the file, photo or document you want to share and tap the Share icon. If you don’t see it tap the more icon to find it.
Next tap your AirPlay icon.
Simply tap the device you want to share with and then you should see a pop up on your iPhone or Mac, you can accept or decline the file.
Step 3 – Turn off AirPlay
To turn AirPlay off go back into your drop down menu and select no one. You can also go into the settings menu and turn blue tooth off. Also guys if you want to see more of my videos like Transfer data iPhone to Android click the links now and help me out by hitting the Subscribe button and smashing the bell icon.
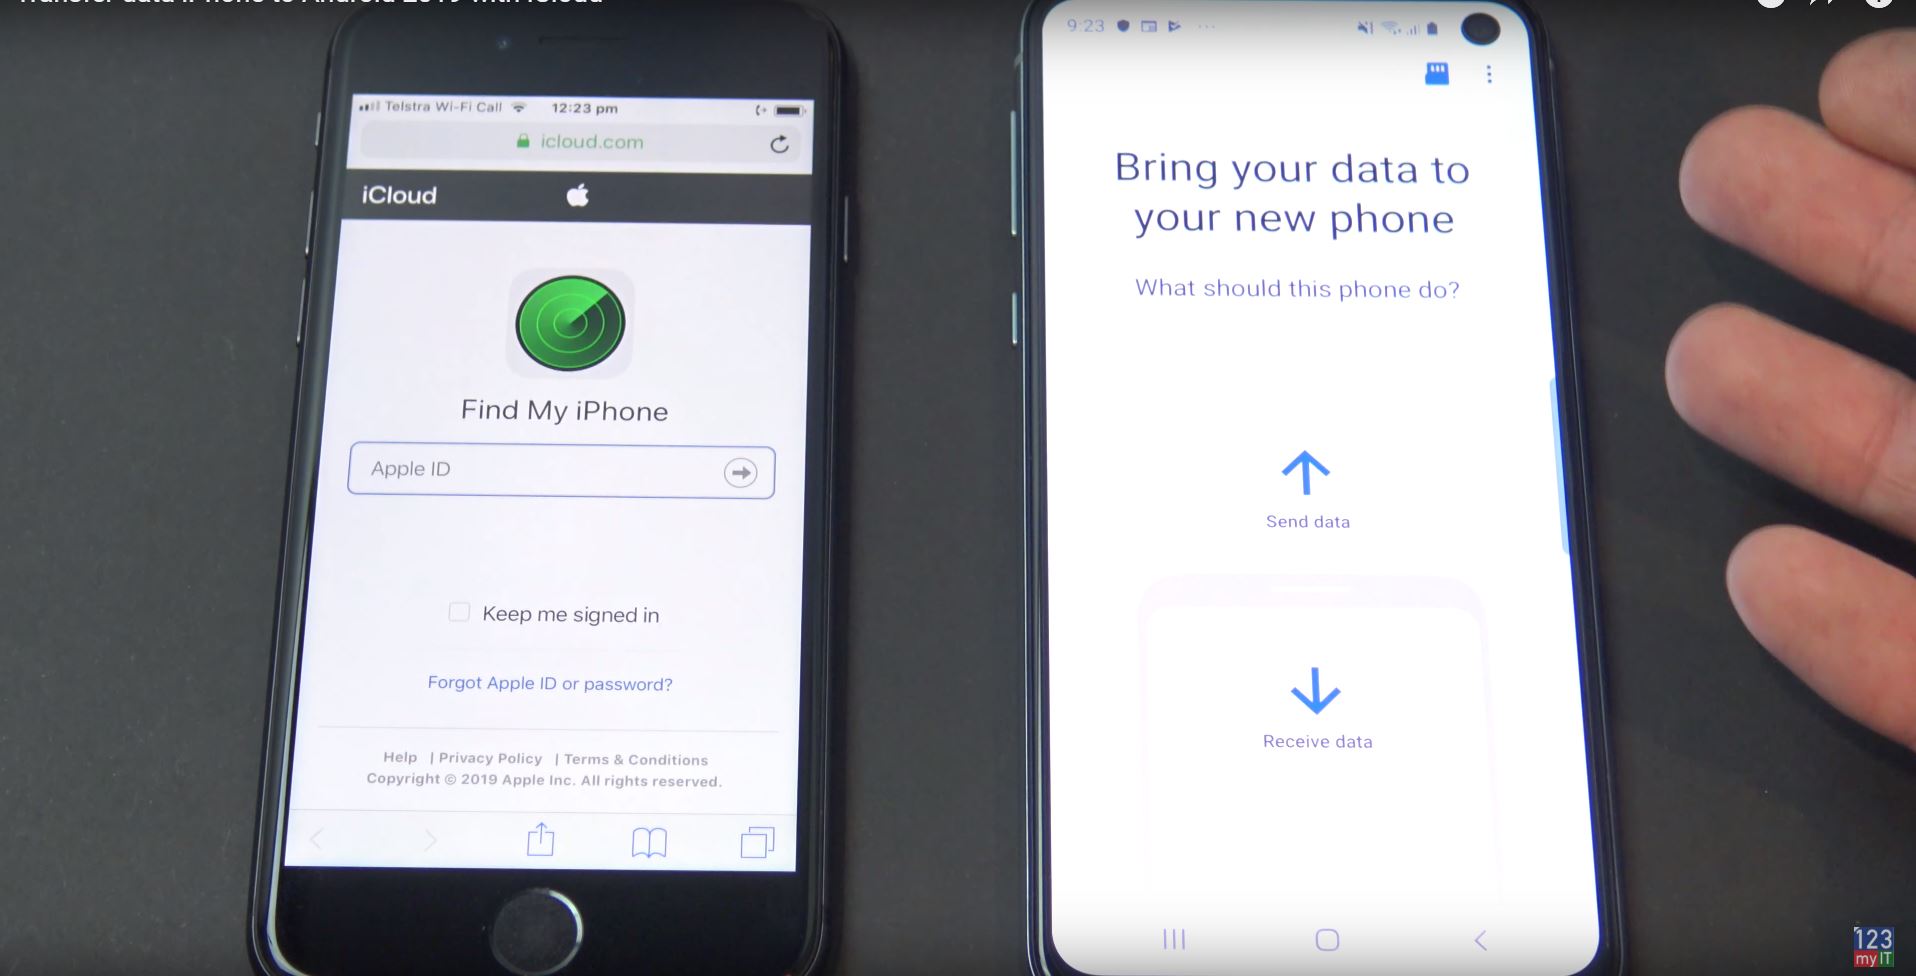
iPhone to Android data transfer 2019 with iCloud