Hi Guys and welcome to 123myIT, in this video we will show you how to Setup XBOX wireless controller on Apple TV, iPad or iPhone.
One of the new features with iOS 13 is that you can pair XBOX controllers with Apple TV, iPad and iPhone. This means you can use the XBOX controller to play games on Apple Arcade as well as iOS supported games.
All right let’s get started its pretty simple on your Apple TV go to Settings > Remotes and Devices.
Scroll down to Bluetooth. And under BlueTooth you will see other devices.
Next up grab your XBOX controller and put it in pairing mode. To do this Press the XBOX button to turn it on. Then press the connect button for 3 seconds or until the XBOX button starts to flash. The XBOX controller should show up under other devices select it with your AppleTV remote. Once you see the Controller Connected popup you should be good to go.
Connect the XBOX to your
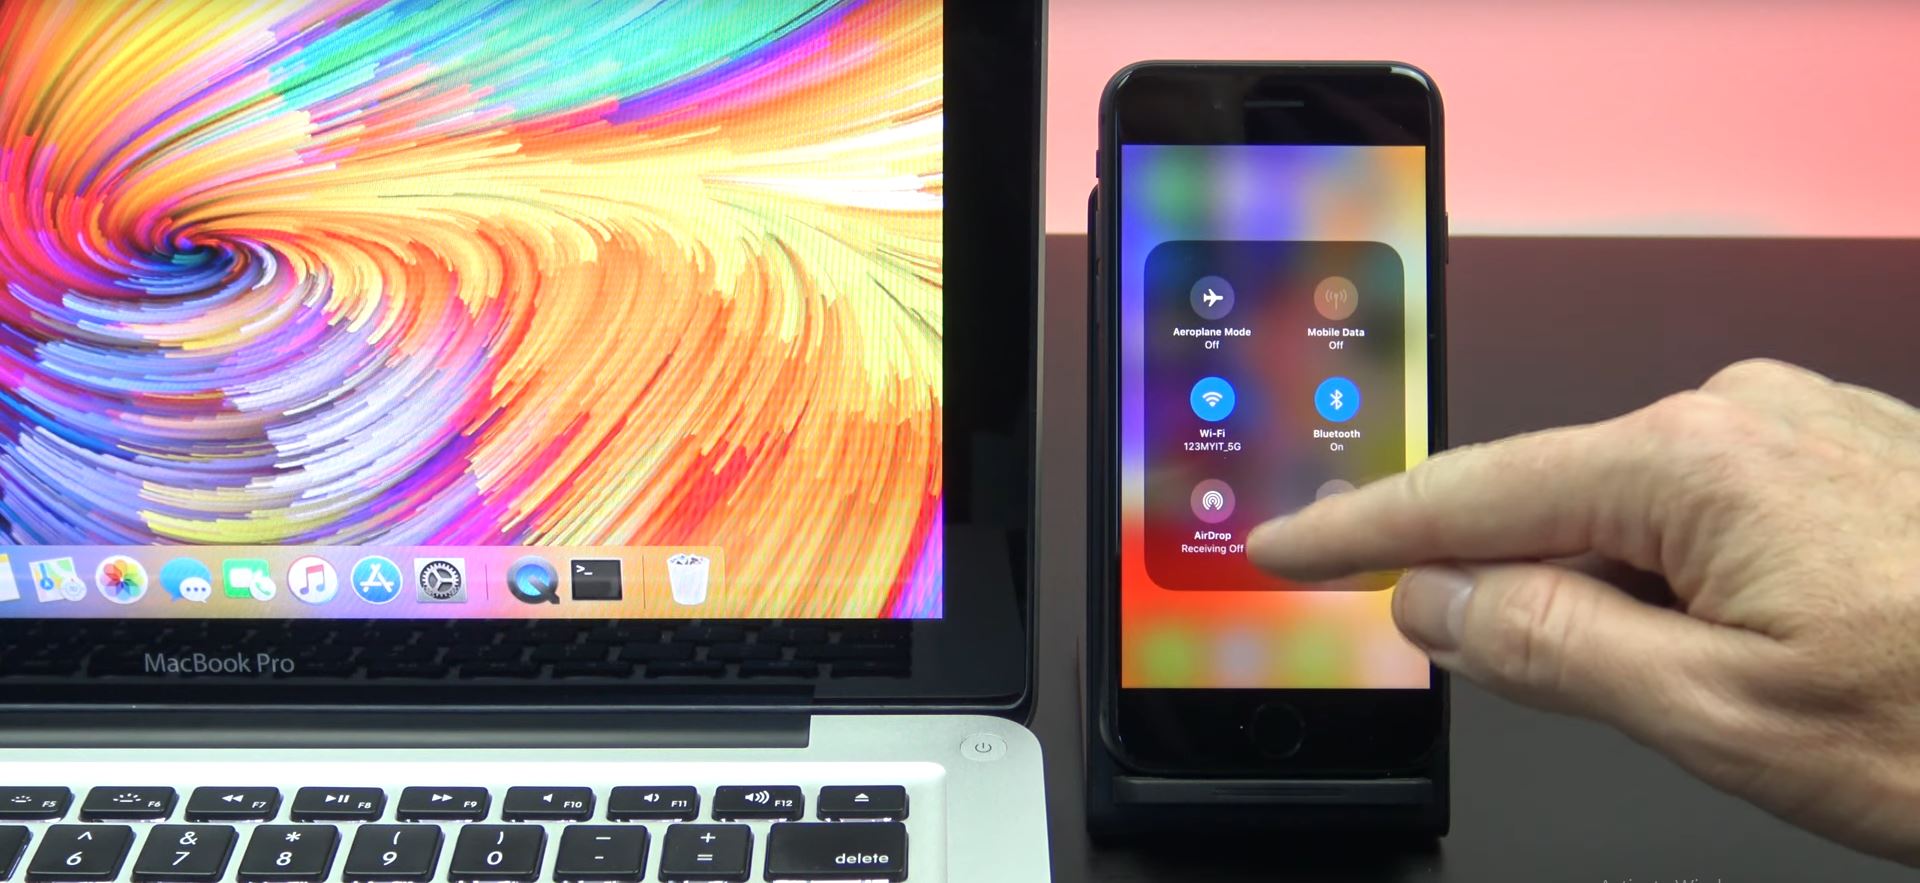
Let’s connect the XBOX controller to your iPad or iPhone. Go into Settings > BlueTooth. And just toggle on the BlueTooth switch. Again put your controller in Pairing mode. And tap your controller to connect it.
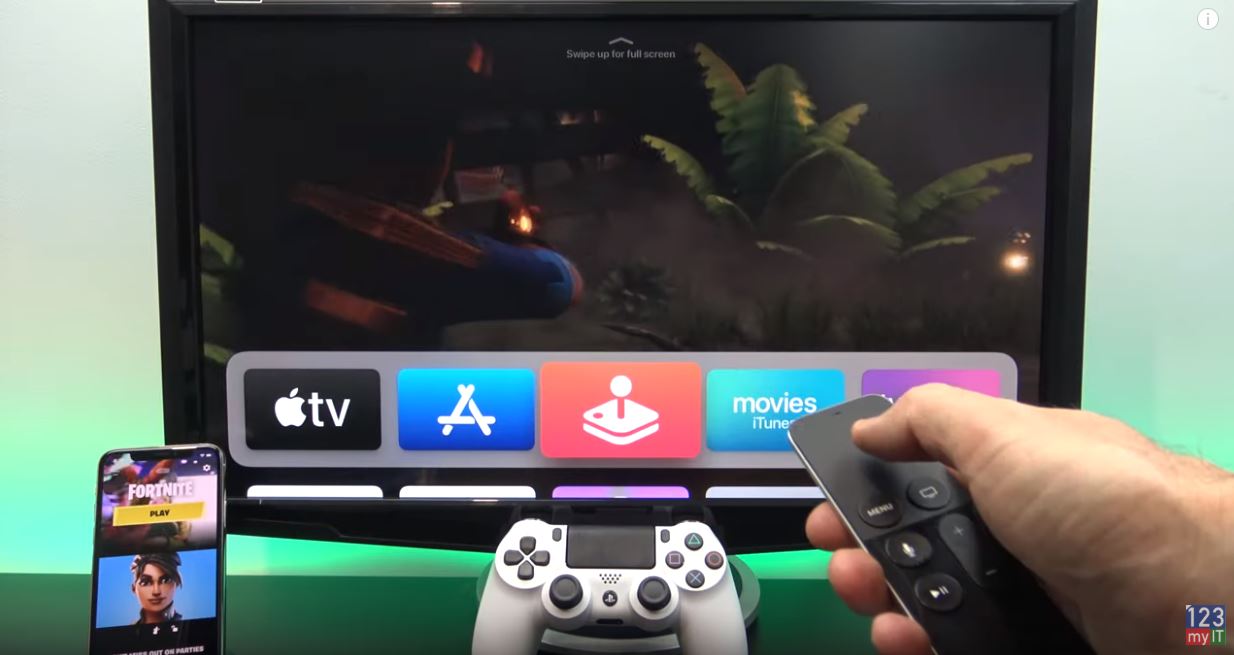
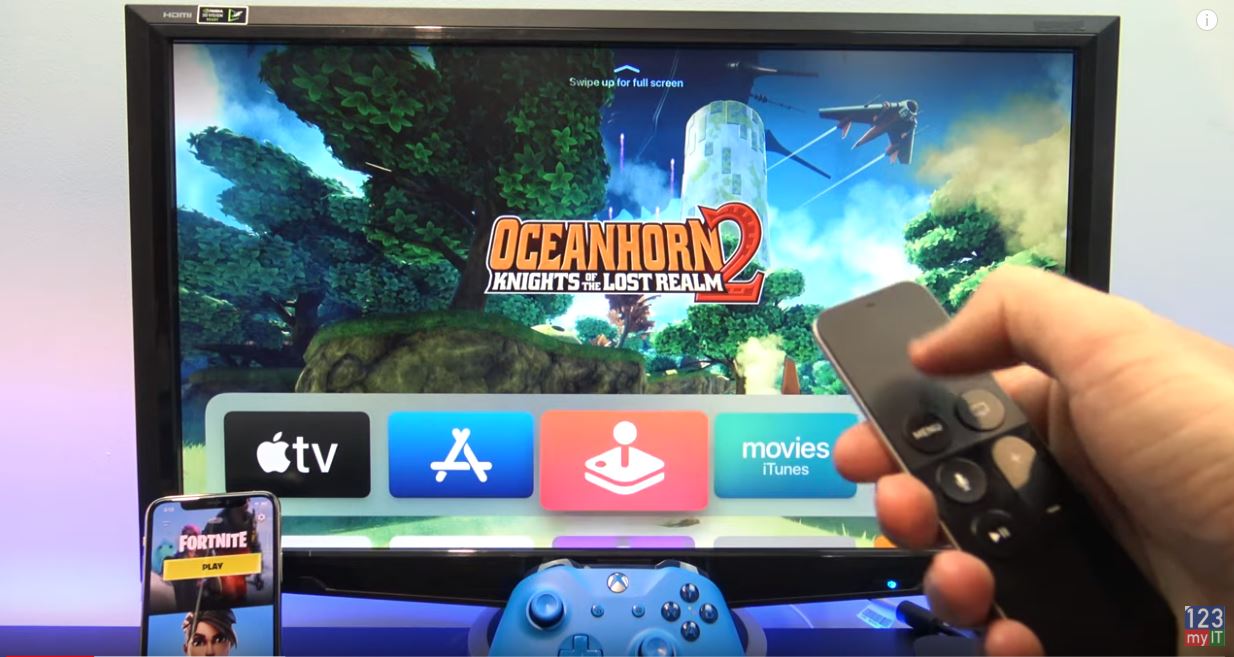
Awesome lets go test out some games. On Apple TV just go into Apple Arcade and sign in with your Apple ID. Its free for the first month. The game I have played most is one called OceanHorn2. The games on Apple Arcade are pretty basic at the moment so don’t expect to the blown away. But they are ok for a bit of fun. OceanHorn2 is a Adventure Role Play game.
Lets check out some games on the iPad or iPhone. Not all iOS games will work with the XBOX controller. But when you load a game that does it should tell you at the bottom of the screen.
The game I am playing now is called real racing 3. In real racing 3 you can change your views in the car and also look behind you. This iPhone 11 pro does a good job with the sound and games can be quite fun on a bigger iPad screen. If racing is not your thing there is loads of other games like fortnight and actually having a controller will give you some advantage over other mobile players as the controller is much easier to use. Sonic Racing game on Apple TV is also a bit of fun.
Also guys don’t forget to check out my other videos such as How to setup DUALSHOCK controller on Apple TV, iPad and iPhone. And do me a favour hit the subscribe button and smash the bell icon.