OS X El Capitan Installer USB

This video will show you how to create an OS X El Capitan Installer USB.

Hi All,
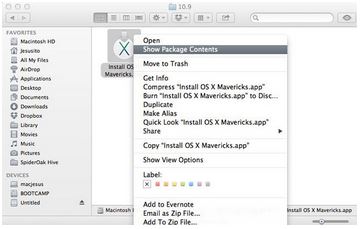
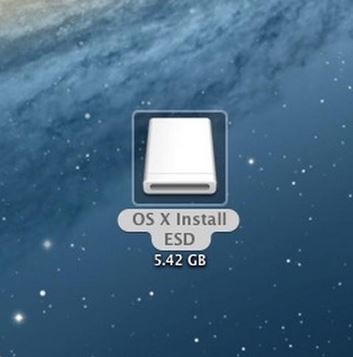
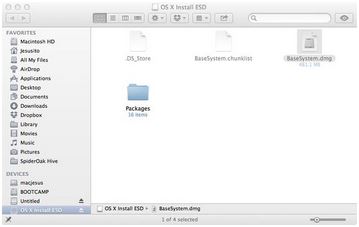
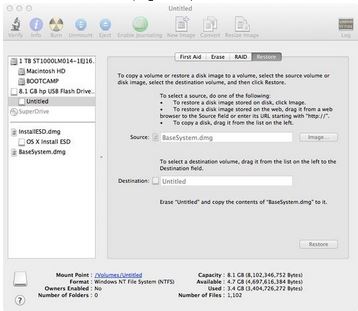
We previously showed 123myIT users how to create an OS X Yosemite and Mavericks USB drive. And we have the video on how to create an OS X El Capitan installer USB. The process is very simular to the other OS X installer videos that we have done in the past. There is a few code changes so just be aware of that.
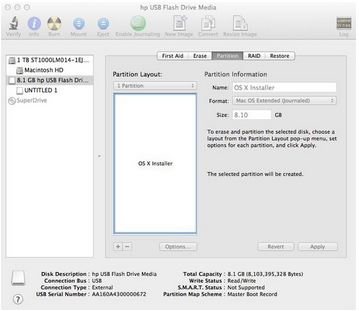
Again you will need a computer running Mac OS X and you will also need a 8GB or larger USB drive. In this video I didn’t take any chances and I use a 16GB USB drive, which are quite cheap to buy these days.

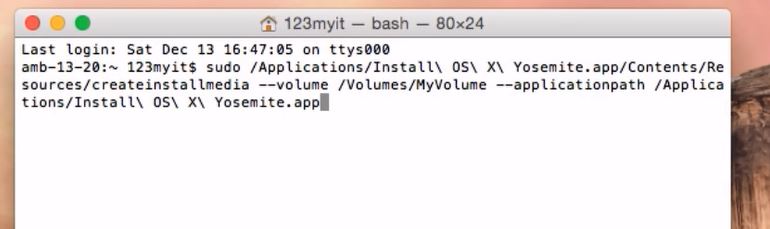
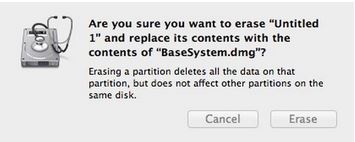
sudo /Applications/Install\ OS\ X\ El\ Capitan.app/Contents/Resources/createinstallmedia --volume /Volumes/ElCapInstaller --applicationpath /Applications/Install\ OS\ X\ El\ Capitan.app --nointeraction

Copy and paste the code into a Terminal window and press enter, you will be prompted for a user name and password. This should be your Admin accounts user name and password. Remember to change the name of your USB device to ElCapInstaller if you miss this step the code will error out with something like incorrect syntax error. 🙂

OS X El Capitan Installer USB

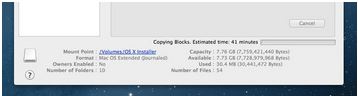
You should see the name of the USB change from whatever its called when you plug the USB in to Install OS X El Capitan. Once this has completed you should then be able to use the USB drive to do clean installs of OS X on almost any Mac hardware or computer. Its always helpful to keep a back up of OS X versions. Because if you ever want to go back a version or install OS X on a different Mac its good to have this backed up copy. Also Apple updates their OS X software once a year and then makes their old version unavailable. So to save yourself getting caught out this way the USB is a great step.

In the next video I will show you how to do a clean install this OS X El Capitan Installer that you have just created.

Cheers
Matt

Create a bootable OS X Yosemite installer USB drive

Apple have made it much easier to create an OS X Yosemite installer USB drive and this same process can also be done for OS X Mavericks. In this video and article I will show you what you need to do to make this happen.

You can check out the older video 123myit.com video for the Mavericks USB here.

What do you need to get started?
* 8GB or larger USB drive, SD Card or USB hard drive
* OS X Yosemite.app or Mavericks.app (this can be downloaded from the App Store)
* An Apple computer with access to the Apple App Store
* A user account with administrator rights

Step 1. Download Yosemite, Mavericks from the App store.
Apple direct link here.
Step 2. Insert your USB into the Mac and run the Disk Utility.
Step 3. Erase the USB, so it becomes a clean USB with no data on it.
Step 4. Download OS X Yosemite App, get it from the Apple Store.
Step 5. Open Terminal and use the command below. Make sure the Yosemite App is located on your Desktop of your Mac.

NOTE: Change the USB name to MyVolume or you can change code “MyVolume” to the same name as your USB drive.

OS X Yosemite
sudo /Applications/Install\ OS\ X\ Yosemite.app/Contents/Resources/createinstallmedia --volume /Volumes/MyVolume --applicationpath /Applications/Install\ OS\ X\ Yosemite.app

OS X Mavericks
sudo /Applications/Install\ OS\ X\ Mavericks.app/Contents/Resources/createinstallmedia --volume /Volumes/MyVolume --applicationpath /Applications/Install\ OS\ X\ Mavericks.app

OS X Terminal Command

This install may take some time depending on the speed of your Mac hardware. Once the Terminal finishes copying everything across you will then be able to use the OS X Yosemite installer USB drive to do clean installs of OS X Yosemite.

If you are looking for a video on how to setup OS X Mavericks USB you can use the code above if that doesn’t work you can find the 123myIT.com video.
How to do a clean install of OS X Mavericks from USB

Good luck,
Matt

How to create a bootable OS X Mavericks usb drive

This guide will show you how to create a USB installer of Apples OS X 10.9 Mavericks.

Have you ever wanted to do a clean install of OS X from but your new MacBook Air doesn’t come with a DVD drive?
Well this guide will step you through how to create a bootable OS X Mavericks 10.9 USB drive.

To complete the process you will need the following items:
* 8GB USB drive or SD Card
* OS X Mavericks.app (this can be downloaded from the App Store)
* An Apple computer with the Mac App Store
* A user account with administrator rights

OS X Mavericks USB drive

Step 1. Download Mavericks from the App store.
Apple direct link here.
Step 2. Insert your USB into the Mac and run the Disk Utility.
Step 3. Select the USB drive that appears in the left-hand menu and select the Partition tab across the top.
Step 4. Select the drop down menu and click on 1 partition.
Step 5. In the format type menu make sure you have Mac OS Extended (Journaled) selected.
Disc Utility

Step 6. Select the Options button and make sure the GUID Partition Table radio button is selected.
Disc Utility - GUID Partition Table

Step 7. Open up the Terminal.app you can find it under the Applications Utilities folder or search for it in Finder.
In the terminal window type the following command.

defaults write com.apple.Finder AppleShowAllFiles TRUE;\killall Finder;\say Files Revealed

Terminal Window

Step 8. When the USB completes the formatting, go into the Launchpad and copy the Install Mac OS X Mavericks.app to your desktop then Right-click and click on Show Package Contents.

Mavericks App
Step 9. Go into the Contents > Shared Support folder and double click the InstallESD.dmg file.

Install ESD

Step 10. Click on the mounted.dmg file and find the hidden BaseSystem.dmg file.

null

Step 11. Go into Disk Utility and open the newly formatted USB and click on the Restore tab.
Step 12.Drag and drop the BaseSystem.dmg into the Source field. And drag and drop the partition that you recently created on the USB drive, into the Destination field.

OS X Restore

Step 13. Click the restore button and click Erase. You might get prompted for the Administrator password.

Untitled Message

Step 14. It may take some time to copy all the data to the USB drive.

Copy Time OS X Mavericks

Step 15. When the files have finished copying, the USB drive should mount automatically. Go into the System > Installation folder and delete the Packages directory.

OS X Packages Directory

Step 16. Go back into the mounted Install ESD.dmg file and find the directory called Packages. Copy this to the Installation folder.

Installation Folder

And now you are done. You have just created a bootable copy of OS X Mavericks on a USB drive.

Good Luck.