If you are trying to decide between a USB-C hub and a docking station, the short answer is simple. A USB-C hub is usually best for basic extra ports and travel, while a docking station is better for a permanent desk setup with more power, more display support, and more connections.
This guide explains the real difference, who each option is for, and what to buy if you use a MacBook for work, home office, or a dual monitor desk setup.
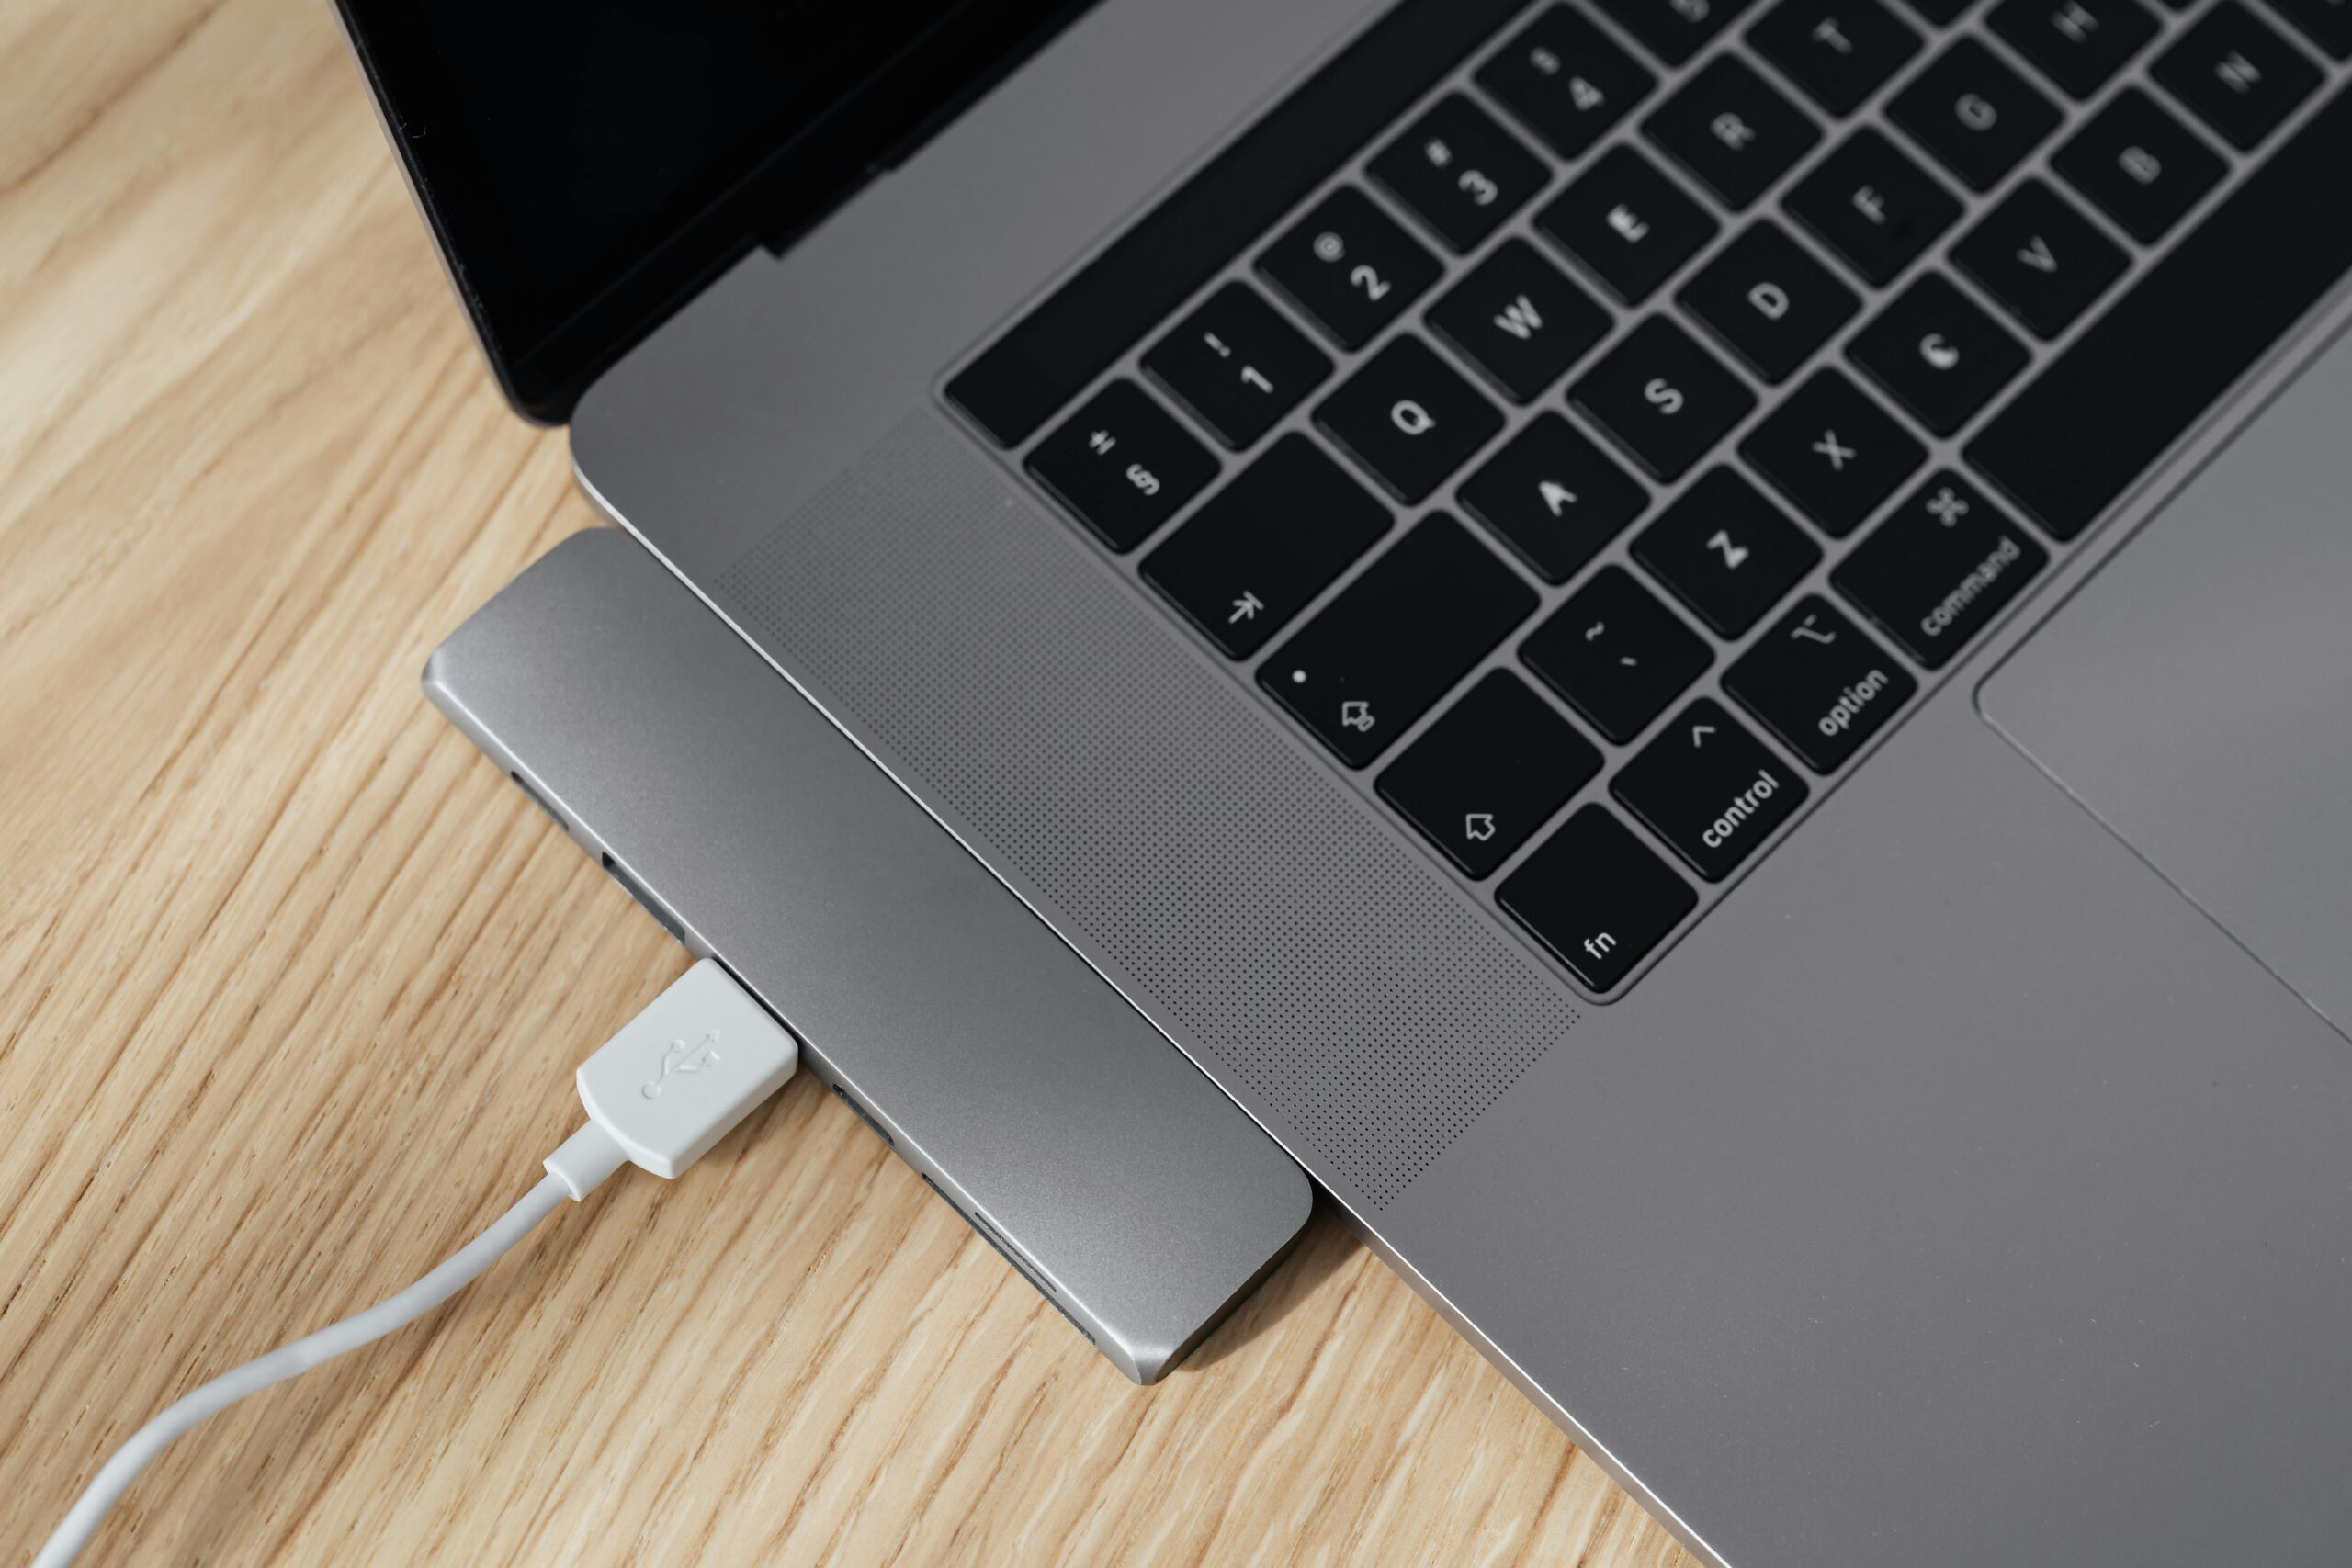
A simple laptop desk setup showing the kind of USB-C hub and dock setup this guide is about.
Quick answer: USB-C hub vs docking station
- Choose a USB-C hub if you want a small, cheaper accessory for adding a few extra ports like USB-A, HDMI, SD card, or Ethernet.
- Choose a docking station if you want a more complete desk setup with charging, monitor support, more USB ports, Ethernet, audio, and cleaner cable management.
- Choose a Thunderbolt dock if you need the best performance, especially for higher-end MacBook Pro setups and more demanding display or storage needs.
What is a USB-C hub?
A USB-C hub is a compact adapter that plugs into your laptop and gives you a handful of extra ports. If you want a dedicated roundup, also see our guide to the best USB-C hub for MacBook. Most hubs are designed for portability, so they are popular with MacBook Air and MacBook Pro users who want more connections without carrying a large dock around.
A typical USB-C hub may include HDMI, USB-A, USB-C power pass-through, SD or microSD card slots, and sometimes Ethernet.
USB-C hub pros
- Smaller and easier to travel with
- Usually cheaper than a full dock
- Good for basic office and home use
- Useful for adding simple ports to a MacBook
USB-C hub cons
- Usually fewer ports
- May have limited monitor support
- Often less power delivery
- Not as clean for permanent desk setups
What is a docking station?
A docking station is a larger desktop accessory that turns your laptop into more of a workstation. If you already know you want a full desk setup, check our guide to the best docking station for MacBook Pro. A dock is usually designed to stay on your desk and connect to monitors, Ethernet, keyboard, mouse, speakers, storage, and charging through one main cable.
Docking stations are a much better fit if you regularly connect your laptop to a monitor, want cleaner cable management, or use lots of accessories every day.
Docking station pros
- Better for permanent desk setups
- Usually supports more ports and accessories
- Often better charging support
- Can make dual monitor setups easier
- Cleaner one-cable connection at your desk
Docking station cons
- More expensive than a hub
- Larger and less travel-friendly
- Some docks have Mac display limitations you need to check carefully
Main differences between a USB-C hub and a docking station
| Feature | USB-C Hub | Docking Station |
|---|---|---|
| Size | Small and portable | Larger, desk-focused |
| Price | Usually cheaper | Usually more expensive |
| Ports | Basic selection | More ports and expansion |
| Charging | Often pass-through only | Usually stronger laptop charging |
| Monitors | Basic external display support | Better for larger desk setups |
| Best for | Travel, simple setups, occasional use | Office desks, home office, power users |
Which is better for a MacBook?
For a MacBook, the best option depends on how you work.
- Get a USB-C hub if you mainly need a few extra ports for USB drives, HDMI, SD cards, or Ethernet.
- Get a docking station if your MacBook spends most of its time at a desk connected to monitors and accessories.
- Check monitor support carefully because some MacBooks, especially certain base models, have limits on external displays.
If you are building a proper desk setup, a dock usually feels much better day to day. If you are working on the move, a hub is usually the better buy.
USB-C hub vs docking station for dual monitors
If dual monitors matter, this is where many buyers get caught out. Some USB-C hubs can connect to multiple displays, but support depends on the hub, the laptop, and the operating system. MacBooks can be especially tricky because display support is not the same across all models.
In general, a docking station is the safer option for a dual monitor desk setup, especially if you want stable charging, Ethernet, multiple USB devices, and less cable clutter.
Who should buy a USB-C hub?
- Students
- Travel users
- MacBook Air users who only need a few extra ports
- People who want a budget-friendly accessory
- Anyone who does not need a permanent workstation setup
Who should buy a docking station?
- Home office users
- Business users with monitors and accessories
- MacBook Pro users building a full desk setup
- Anyone who wants one cable to connect power, display, Ethernet, and peripherals
- Users who regularly connect storage, audio, keyboard, mouse, and networking at the same time
Recommended picks
Disclosure: As an Amazon Associate, 123myIT may earn from qualifying purchases.
If you want a simple shortlist to start with, these are the most useful product types for this kind of setup.
- Best basic USB-C hub for MacBook: Anker USB-C hub
- Best USB-C hub with HDMI + SD card: UGREEN USB-C hub
- Alternative USB-C hub with HDMI + SD card: Baseus USB-C hub
- Best docking station for MacBook Pro: CalDigit dock
- Best dock for dual monitors and home office: Plugable dock
- Alternative home office dock: Anker docking station
As a simple rule, buy a USB-C hub if you want something portable and affordable. Buy a dock if your laptop stays on a desk and you want a cleaner one-cable setup.
Related guides
- Best USB-C Hub for MacBook in 2026
- Best Docking Station for MacBook Pro
- Thunderbolt Dock vs USB-C Dock
Final verdict
A USB-C hub is best for portability and simple expansion. A docking station is best for a more complete desk setup.
If you only need a few extra ports, save your money and buy a good USB-C hub. If you want a proper workstation setup with monitors, charging, Ethernet, and less cable mess, buy a docking station.
If you are still deciding, the next best step is to compare a few solid options side by side and choose based on how many ports, displays, and accessories you actually need. We will also be adding dedicated guides for the best USB-C hubs for MacBook and the best docking stations for MacBook Pro.