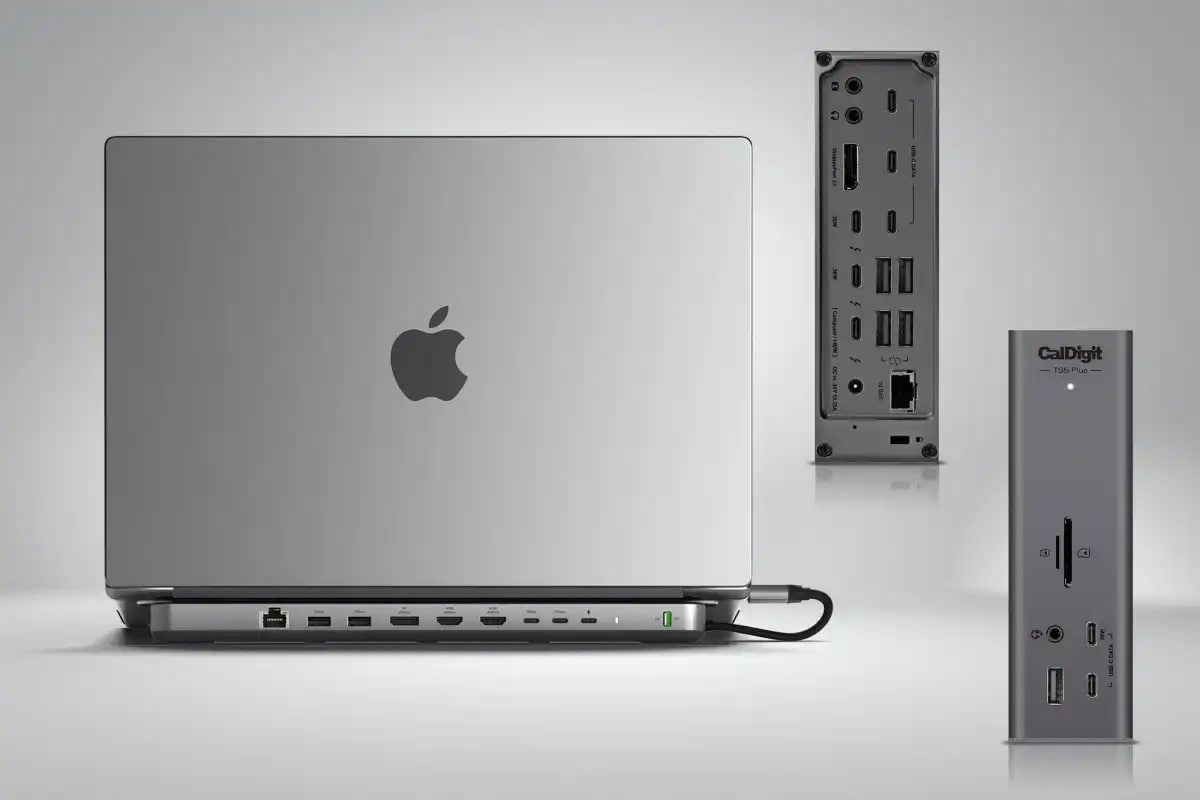
If you are comparing a Thunderbolt dock vs USB-C dock, the biggest difference is bandwidth and capability. A Thunderbolt dock is usually better for more demanding desk setups, while a USB-C dock is often cheaper and good enough for simpler monitor and accessory needs.
In this guide, we explain the difference between Thunderbolt docks and USB-C docks, where each one makes sense, and which type is the better buy for MacBook users.
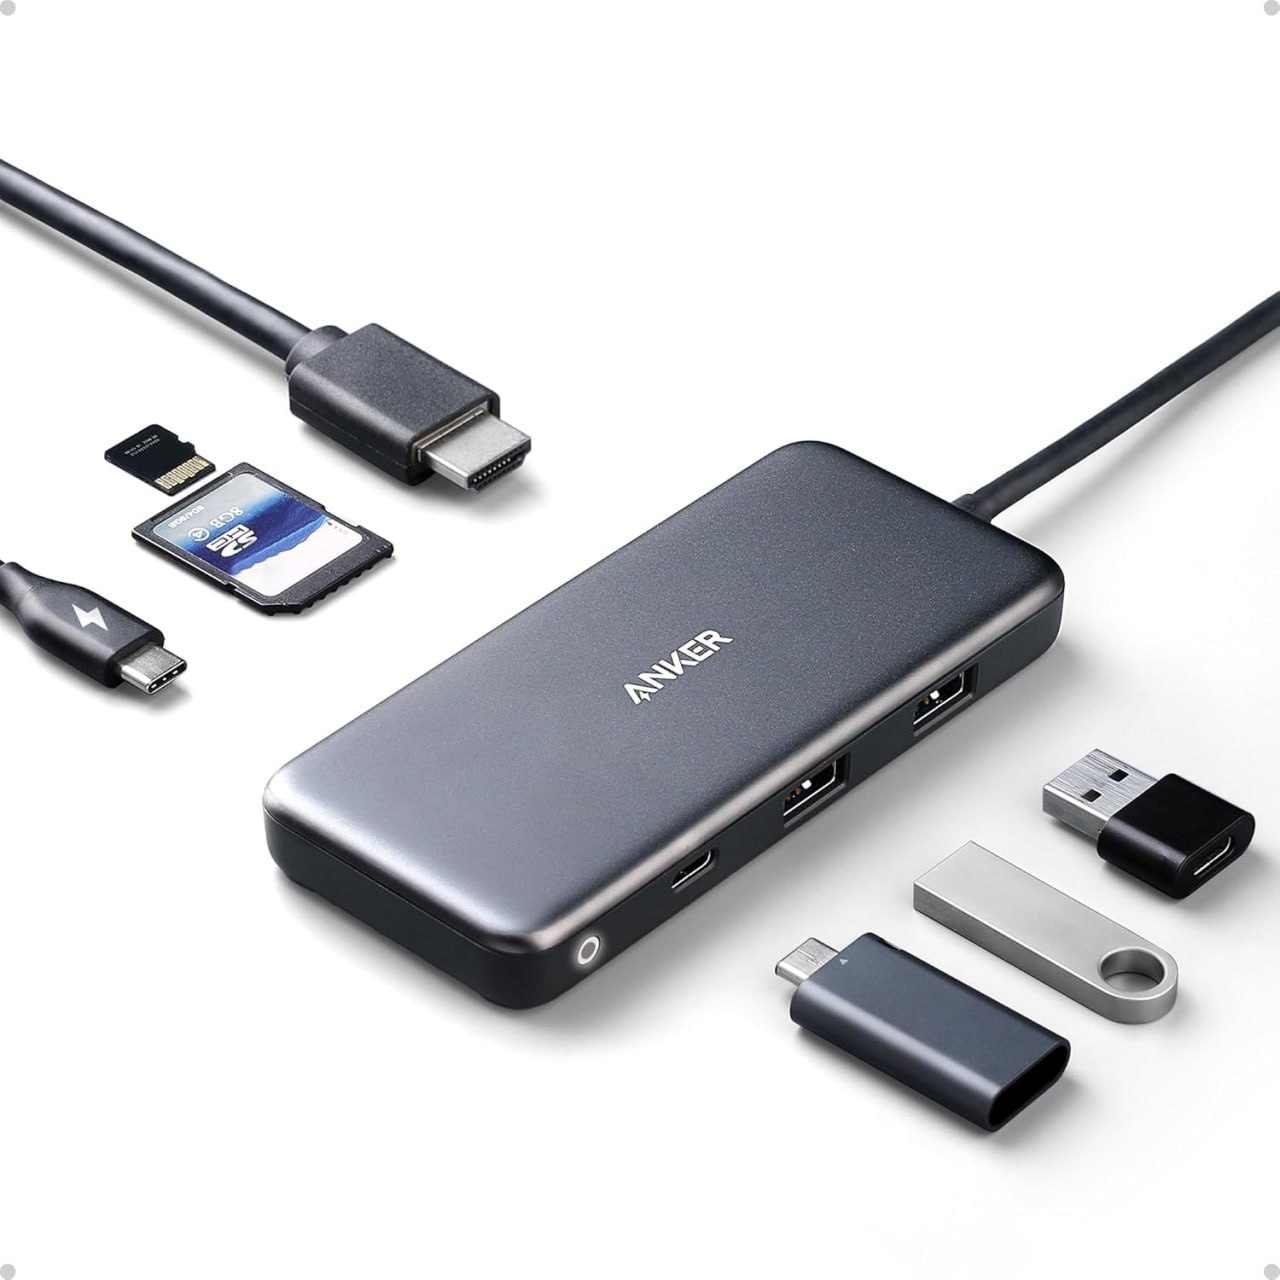
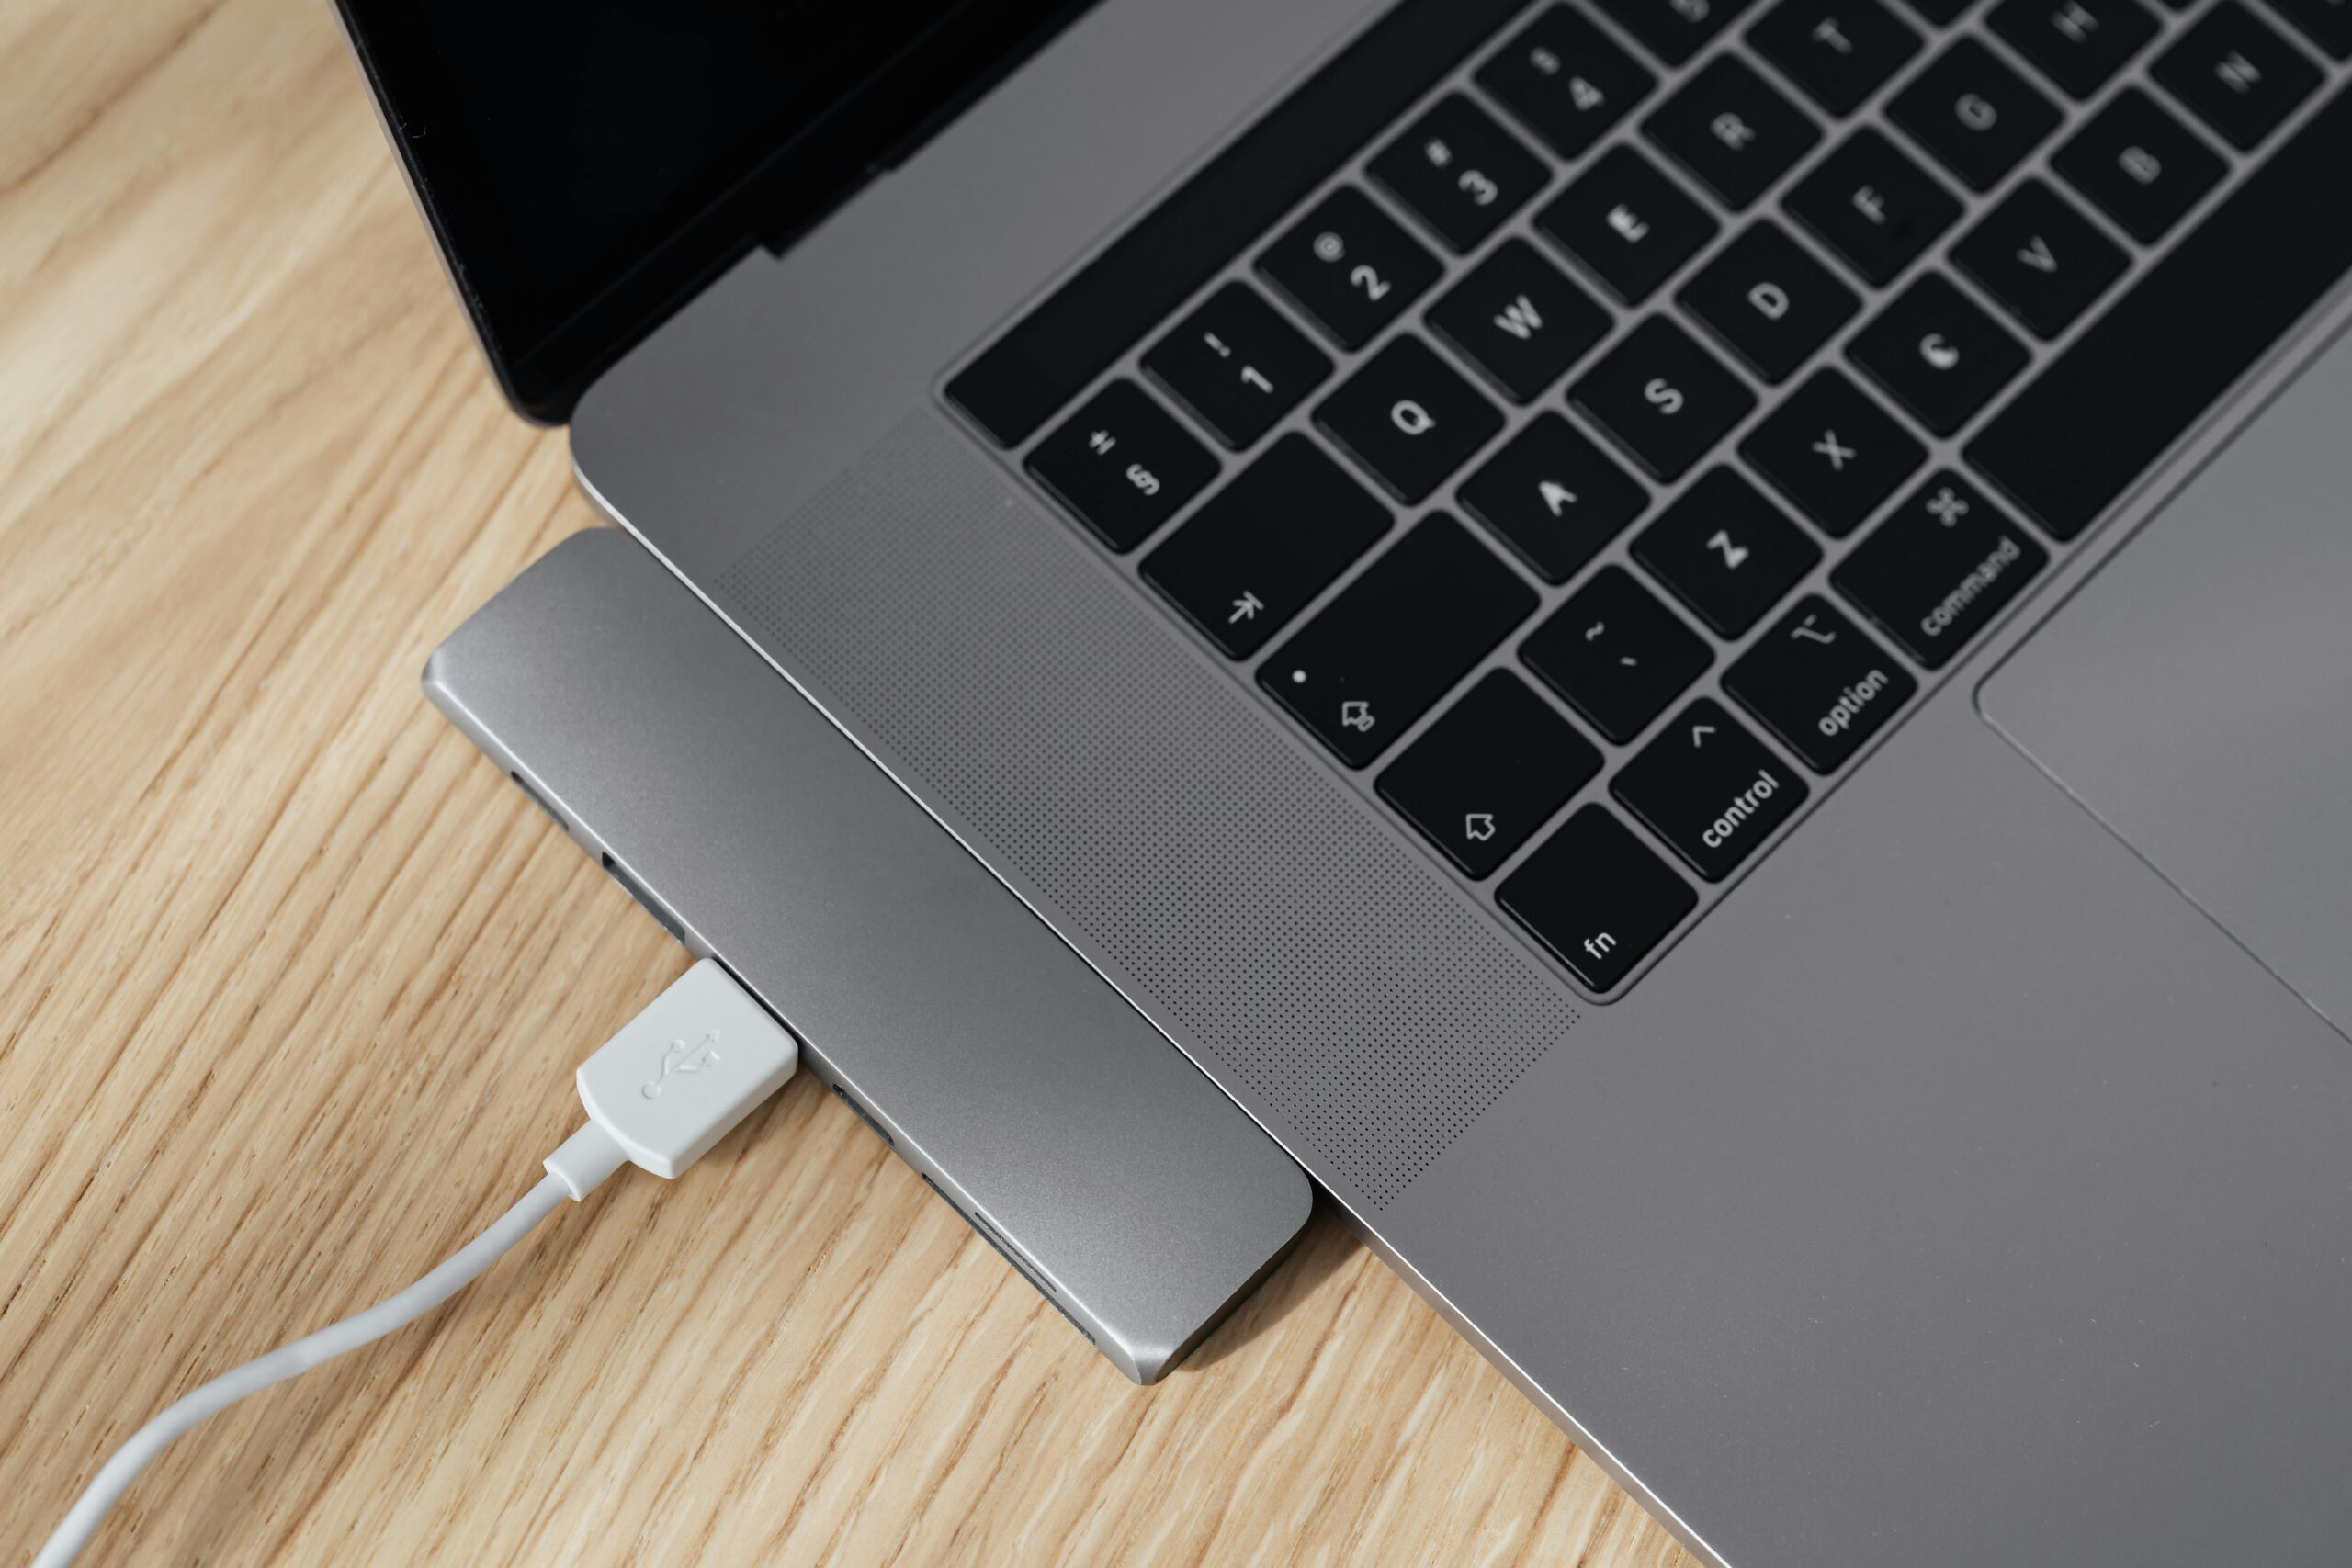
Anker USB-C hub product image used here as a simple visual reference for the USB-C side of this comparison.
Thunderbolt dock vs USB-C dock: quick answer
- Choose a Thunderbolt dock if you want a more powerful desk setup with stronger display, storage, and expansion potential.
- Choose a USB-C dock if you want a simpler and more affordable dock for everyday desk use.
- Choose based on your workflow rather than just buying the most expensive option.
What is a Thunderbolt dock?
A Thunderbolt dock is a higher-performance dock designed for more demanding setups. It is usually a better fit if you connect multiple accessories, want faster storage performance, or need a stronger desk setup for a MacBook Pro.
For example, a Thunderbolt dock often makes more sense for users running premium monitors, fast external SSDs, and more complex workstation-style setups.
What is a USB-C dock?
A USB-C dock is a more mainstream option for desk setups. It usually gives you charging, monitor output, USB ports, Ethernet, and other useful connections, but with less performance headroom than a Thunderbolt dock.
As a result, a USB-C dock is often the better buy if you just want a cleaner desk with basic expansion and you do not need the premium capabilities of Thunderbolt.
Main differences between Thunderbolt dock and USB-C dock
| Feature | Thunderbolt Dock | USB-C Dock |
|---|---|---|
| Performance headroom | Higher | Lower |
| Price | Usually more expensive | Usually cheaper |
| Best for | Premium desk setups | General office and home use |
| Storage and display demands | Better for demanding setups | Better for lighter setups |
| MacBook fit | Great for high-end MacBook Pro users | Good for many everyday users |
When a Thunderbolt dock makes more sense
- you use a high-end MacBook Pro
- you want a more premium workstation setup
- you connect fast storage and multiple accessories
- you want more long-term flexibility from the dock
When a USB-C dock makes more sense
- you want to spend less
- you mainly need charging, monitor output, USB ports, and Ethernet
- your setup is simpler and more office-focused
- you do not need premium workstation-level expansion
Best dock types for MacBook users
If you want a premium all-round choice for a MacBook Pro desk setup, a CalDigit dock is the kind of product that makes sense. If you want a more mainstream home office style dock, a Plugable dock or Anker docking station can be a better fit.
How this compares to a USB-C hub
If you are still deciding between a dock and a smaller travel accessory, read our guide on USB-C Hub vs Docking Station. Likewise, if you want the simpler side of the comparison, see our guide to the Best USB-C Hub for MacBook.
If you already know you want a bigger workstation-style setup, our Best Docking Station for MacBook Pro guide is the best supporting page to read next.
Final verdict: Thunderbolt dock vs USB-C dock
A Thunderbolt dock is the better choice if you want a more demanding, premium, and expandable desk setup. On the other hand, a USB-C dock is usually the smarter buy if you want solid everyday desk functionality without spending as much.
For many people, a USB-C dock is enough. However, if you want the best long-term desk setup for a higher-end MacBook Pro, a Thunderbolt dock can be worth paying for.
Related guides
- USB-C Hub vs Docking Station: Which Should You Buy?
- Best USB-C Hub for MacBook in 2026
- Best Docking Station for MacBook Pro in 2026
Disclosure: As an Amazon Associate, 123myIT may earn from qualifying purchases.