Create Windows 11 USB & Download Windows 11 for Mac

Hi Guys Matt from 123myit. In this video, I will show you how to download Windows 11 and setup a USB installer drive. Let get started.

Download Microsoft Windows 11

Head over to the Microsoft downloads website I will put a link here. This is where were will download the Windows 11 file for Mac and setup a USB installer drive.

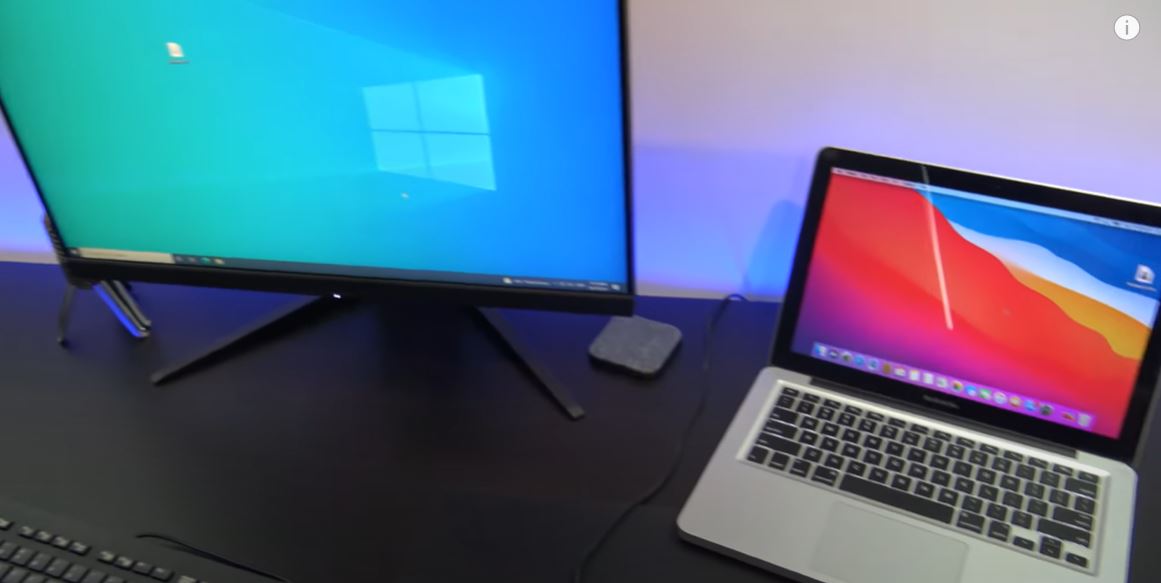
If you are on a Mac, scroll down to where it says Download Windows 11 Disk Image ISO. Click select download, click Windows 11, and then click download. Go down to language and choose your language. In my case, English International is the right one for me. Click confirm and then click on 64-Bit Download. Then you are good to go. You can use that to install Windows 11 on a Mac and if you want to see my video on how to do this, I will put a link in the top of the video now.

create windows 11 usb

Create Windows 11 Install Media

To create and Installer drive, go back up to Create Windows 11 Install media and click download now. You will only be able to do this on a Windows PC. Click open to Run the Media creation tool. And then Accept the Terms and agreements. You will see a checkbox to use the recommended options. If you want to change the language from English then remove the tick and select your language.  Click next and we want to select USB flash drive.

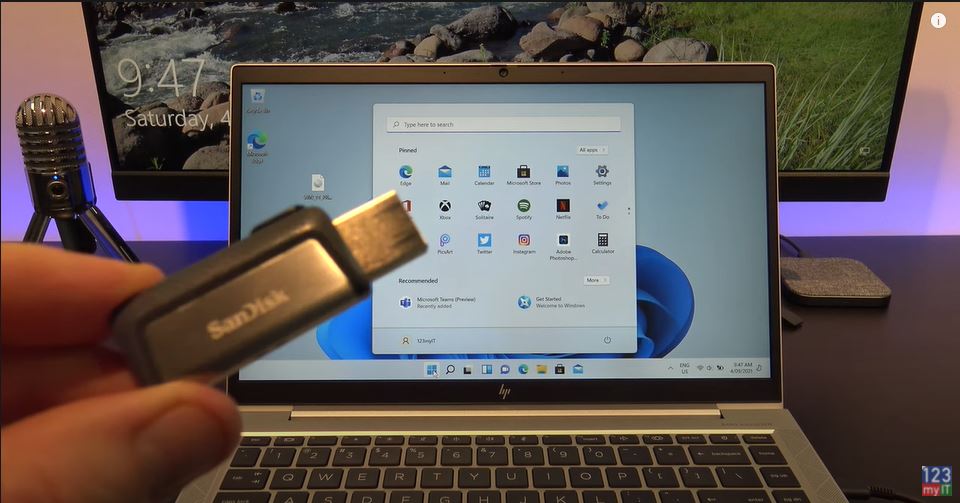
Add your USB to the USB slot on your computer and make sure you back up the files as the next step will format the USB drive and wipe any data on the USB. Be careful here to select the right drive and you might accidently wipe the wrong drive. Always do a backup first. I check that my USB drive is the E drive and I then I go back and select the E USB drive and click next.

Downloaded!

Cool you have started downloading Windows 11. This will take some time depending on how fast your internet is. So grab yourself a coffer or guys if you can do me a favour and hit the link button so it bumps this video up as a legit video. Thanks very much!

Awesome so it has downloaded Windows 11 and now it is creating the USB installer drive. How easy is that? Click finish and they go down and check that the USB drive now has the Windows 11 install files on it.

Guys don’t forget to check out my other videos such as iOS 15 settings to turn off on your iPhone now. And do me a favour if you know anyone who might need this video please share it will them, hit the subscribe button and smash the bell icon.

iOS 15 Settings You Should Turn Off Now – 123myIT

Transfer Data iPhone to iPhone 13, 13 Mini, 13 Pro & 13 Pro Max

How to Create a Windows 11 Bootable USB

Hi Guys Matt from 123myit. In this video, I will show you how to create a Windows 11 bootable USB. Creating a Bootable Windows 11 USB will allow you to install Windows 11 on multiple computers. You will need a USB flash drive that is at least 8GB in size and you will need a copy of Windows 11. To download a copy of Windows 11 you can check out the how to download Windows 11 video I did earlier and I will put a link in the top of the video now.

Download Windows 11 – Windows 11 bootable usb

Once you have followed my other video and downloaded the Windows 11 iso file. Plug in your USB drive to your computer and double click the Windows 11 iso file. We will be formatting the USB so make sure you backup any files on the USB as this process will wipe any files on the USB.

Windows 11 bootable usb

Open up Disk Management by right clicking the Start button or in the search field type “partitions” and click the top result. The Disk Management screen should pop up. Find you USB drive in this case I know my USB drive was around 60 GB in size so this 57 GB drive is the correct one. Just make sure you have the correct drive because this next step will delete data on the USB.

Deleting Partitions – Windows 11 bootable usb

Delete all partitions on your removable USB drive by right clicking on each and selecting “Delete Volume.

Cool, once you have done that right click again and create New Simple Volume. Click next and type 1000 in the Simple volume field. Click next and next again. Then set your file System to FAT32 and rename your Volume label as BootPart. Then click next and finish. IF done right the drive will pop up in Windows. Do the same steps again, but in the Volume label type DATAPART. Click next and then finish.

DATAPART

The DATAPART window will also popup just close it.

Double click on the Windows 11 ISO file and Copy all the files and folders, except the “sources” folder, from the Windows 11 ISO to the FAT32 BootPart partition on the USB drive.

To do this select all your files then hold down CTRL and click on the sources folder. This will exclude the folder from the copy. Once you have done that just drag the files across to the BOOTPART partition on the USB.

Once they are, all copied go ahead and create a new empty sources folder. Make sure it is the same name as the source folder you did not copy across.

Sources Folder

Next, go into the sources folder and find a file called boot.wim and copy to the new sources folder on the USB drive. Cool, now go to the Disk Part partition on the USB and copy the all the files from the Windows 11 ISO to the DISKPART partition.

Awesome, once the files have copied across you have finished creating a Windows 11 bootable USB. You can now use this USB to install Windows 11 on any computer. In my next video, I will show you how to use this USB to do a clean install of Windows 11.

Guys don’t forget to check out my other videos such as how to fix The PC must support TPM 2.0 error on HP. In addition, do me a favour if you know anyone who might need this video please share it will them, hit the subscribe button and smash the bell icon.

Fix The PC must Support TPM 2.0 Error ASUS

Fix The PC must Support TPM 2.0 Error Gigabyte