Transfer Data Android to iPhone 13, 13 Mini, 13 Pro, 13 Pro Max

Hi Guys, Matt from 123myit here. If you have a new iPhone 13, 13 mini, 13 Pro or 13 Pro Max In this video, we will show you two free ways to transfer your data from any iPhone to the new iPhone 13. The first way is recommended by Apple but it requires you to reset your iPhone 13. If you don’t want to reset your iPhone then fast forward to the 5.24 min mark and I will show you how to Transfer your data without resetting your iPhone.

This video will help you transfer your contacts, message history, camera photos and videos. Web bookmarks, mail accounts, calendars and free apps.

What you can transfer.

Tips before you start.

  • Create a backup
  • Make sure both phones are on WIFI and plugged into Power
  • Make sure that you have enough storage space on your iPhone 13
  • If you have a sim card you can transfer that after the data is transferred

The phones that we are using today are Samsung S21 and the iPhone 13 Pro.

Android to iPhone 13

Reset your phone

To reset your iPhone.

Go into settings > General and scroll down to Transfer or reset. Once you are there tap on Erase Content and settings.  Tap continue. This will delete all media and data so do a backup first if you need too. Type in your passcode. And then tap Erase iPhone.

Once your iPhone has reset itself. Just follow the prompts and start setting it up again.

Next up connect to your WIFI and make sure your Android device is connected to the same WIFI.

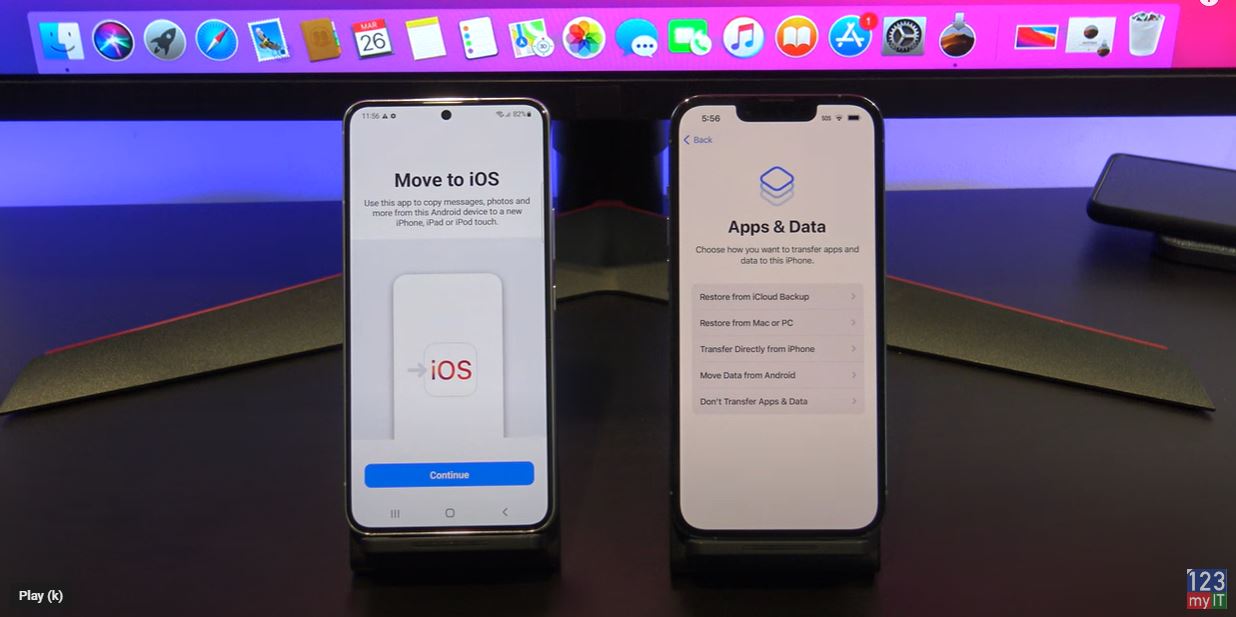
Continue setting up your iPhone until you get to the Apps and data screen. Once you’re on the Apps and data screen. Go to your Android phone and download the move to iOS app from the Google play store. Play.google.com

Go ahead and when that’s done tap open. On your iPhone tap Move data from Android. Then tap continue, agree and then allow on your Android phone.

Error when transferring

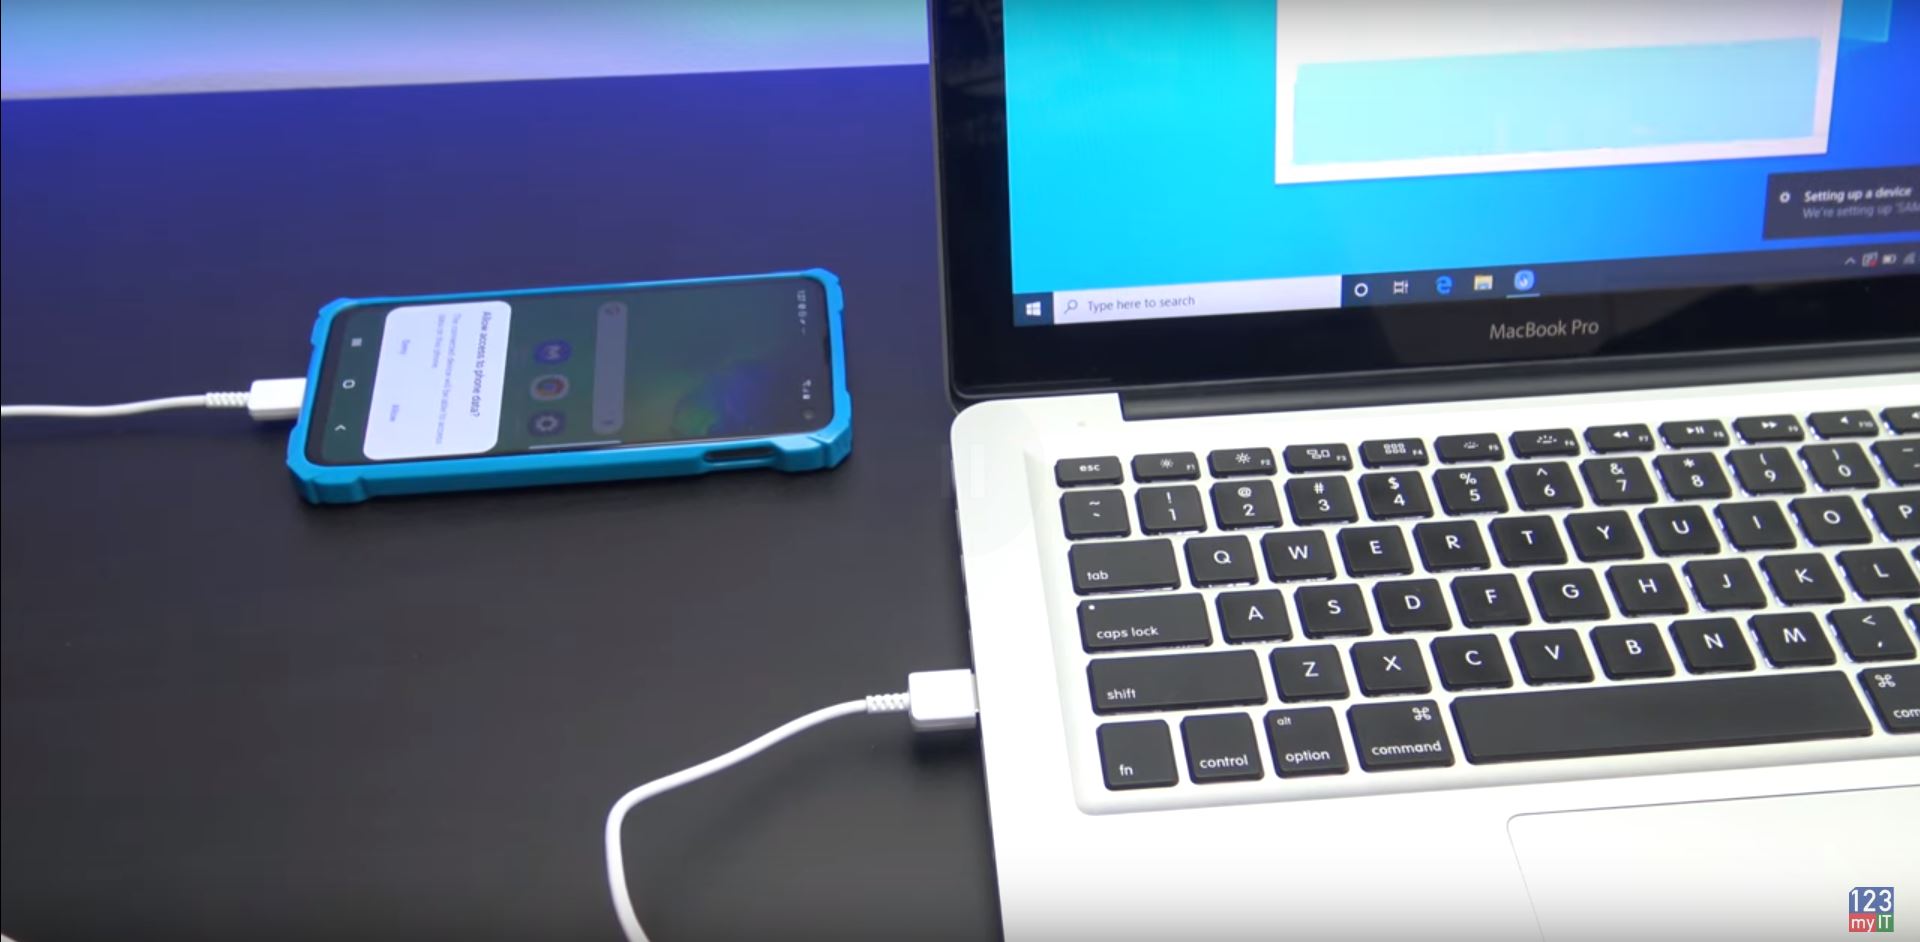
If you are getting  the could not connect error message make sure you turn on location services on your Android phone. You will find it under settings and location. Its important to turn that on. Here it is under Settings and location. Just toggle the button on and go back to the move to iOS app.

Tap continue on your Android device and then type in the code that you see on your iPhone. It now shows you the iPhone wifi. Tap continue. If it comes up again with the wifi to connect to just tap connect.

Ok great you are on the transfer data screen just deselect anything you don’t want to transfer and press Continue. I am going to include messages contacts and camera roll. And I will have to tap allow to give the iOS app access.

Lots of Data to transfer

Depending on how much data you have it might take some time.

Cool your data is transferred now. Tap done on your Android phone and you can close the app. On your iPhone 13 tap, continue setting up iPhone. And then go ahead and set up your iPhone 13. Go ahead and add your apple id if you have one. If not just hit forgot or don’t have one.

If you have two factor on your apple account if will send a code to another apple device or email address type it in. This is something new it might also ask for you Mac password if you have one. Go ahead an enter the password you use for your mac.

Awesome your phone is ready now. Check that your data was copied across. I will check my photos first.

Free Apps

The last step here is to check your free apps. IF they didn’t copy across open up your app store and enter your apple id. Tap on the blue icon in the top right and tap on purchased. This will show you a list of all your previous purchased apps. Just tap to download them.

Don’t have an apple id you can create one by going to the website appleid.apple.com.

If you swipe across you should see all your apps start to appear. If you didn’t get the prompt to Add Apps, then don’t worry, just go to the App store and download the Apps you need.

Copy my data app

The second part of this video is if you don’t want to reset your iPhone. We will move the data with an App called, Copy my data.

Go to the google play store on Android phone and download Copy my data. On your iPhone you can download it through the App Store. Go ahead and deselect anything you don’t want to copy.

Tap next and then Tap to or from Anther Device over WIFI. Tap on the iPhone 13 Pro and Enter the pin number from your android device onto your iPhone. On your Android phone deselect any data you don’t want to copy across. I don’t want contacts and calanders.

Awesome all your data is copied across now. If you have a SIM card you can move it across now too.

Also guys don’t forget to check out my other videos such Apple iPhone 13 Pro and do me a favor If you know anyone that might need this video please share it with them hit the subscribe button and smash the bell icon.

Clean Install Windows 11

How to Create a Windows 11 Bootable USB

Backup & Restore WhatsApp on Android via Google Drive

Hi Guys and welcome to 123, in this video I will show you how to do a backup of WhatsApp on Android via Google drive.

Ok guys so this is the Official way that WhatsApp recommends for you to do a backup and restore WhatsApp on Android. You can also do a manually backup and restore from SD card and Computer. However, this video will be a backup via Google drive.

Let’s get started.

Backup your WhatsApp

You will need a Google account to Back up the WhatsApp to Google drive. This should not be a problem because to download WhatsApp from the Google play store, you would have had to use a Google account anyway.  You can add your Google account under settings, accounts and sync otherwise if that’s too confusing you can just go into the play store and log in there.

restore WhatsApp on Android
Chat Backup on WhatsApp

Just tap sign in and the Google play store will add the Google account for you whether you like it or not. If you want to back up your whole phone to Google drive then leave the backup & storage on. However, this setting does not affect the WhatsApp backup so I am going to turn it off and tap accept.

Alright we are logged in now, lets go into WhatsApp. In the top right hand corner you should see three little dots. Tap on that. And then press settings. Tap on Chats, backup, history, wallpaper. Tap on Chat backup.

Google Drive Backup

Now you will have a few options here. Go to where it says Back up to Google Drive. And then we want to change that from never to only when I tap backup. Choose the Gmail account you want to use for the backup. Next up tap allow. Scroll down and tap on Back up over wifi only. Make sure you select wifi only otherwise it could eat up your cellular data. And the last option is include videos in your backup. Turn this on if you want to backup large video files.

Press the Big green Back UP botton to start backing up all your WhatsApp data. Here I get a message warning me that I am not on wifi so I will turn my wifi on real quick.

Once this is done I hit back up again and wait for it to complete. Depending on how much data you have it might take a while. Make sure to confirm that the back up is there.

Now if you are moving to a new phone you will need to move your sim first. This is because your sim stores your contacts and phone numbers and WhatsApp needs these to attach the phone numbers with your messages.

On your new Android phone you need to install WhatsApp from the Google play store.

Tap install. Once your WhatsApp is installed open it up. Tap on Agree and Continue and then enter in your phone number. Go ahead and verify your phone number.

Restore Whatsapp on Android

Hit continue and then allow WhatsApp access to your Contacts and photos and media files. Awesome you have made it this far, now you should see the message to restore from the backup you made earlier today. Alright you can see that 11 000 messages have been restored. Tap next fill out your name and you are done. All too easy!

Also guys don’t forget to check out my other videos such as How to backup and restore WhatsApp on iPhone. And do me a favour hit the subscribe button and smash the bell icon.

Aorus KD25F Gaming Monitor – Cheating Stream Snipers Paradise

Media PC Build – The Witcher

Backup & Restore WhatsApp Messages on iPhone

Ok guys so you have a new iPhone or you want to reset your iPhone and don’t want to lose your WhatsApp messages you will need to do a backup and restore. In this video I will show you how to do a backup and restore via iCloud. Lets get started.

iCloud Login

The first step is to log onto your iCloud account with your Apple ID and turn on a service called iCloud drive. So go into Settings and iCloud. Scroll to the bottom and you should see your WhatsApp toggle switch. If its off turn it on. And then also make sure your iCloud drive button is turned on.

Backup & restore Whatsapp messages.
Use iCloud to backup your messages first.

If you go into your iCloud backup it should be on as well and feel free to turn off anything you don’t need like Book and Shortcuts.

How to Backup & Restore WhatsApp Messages?

Ok we have now turned on iCloud backup for WhatsApp, let go ahead and do a backup of the messages in WhatsApp. Go into WhatsApp and tap the settings tab down the bottom. Next go into Chats and then Chat backup.

Chat Backup
Chat Backup

Under Chat Backup you will have a few options. The first one is auto backup. This allows you to set an auto backup of the chats to iCloud drive. Maybe set this to once a month. The second option is include videos, remember that if you only have 5GB of backup space on your iCloud drive than maybe leave this option turned off. Tap backup now and it should start saving your messages to iCloud Drive. Press backup now and this should start to backup your WhatsApp messages. Make sure you do this when your on WIFI, otherwise it might eat up your cellular data.

Restore Backup

Ok now you have done a Backup. Lets see how you do a restore. So I will delete the WhatsApp app and reinstall it. Enter in your phone number and setup WhatsApp. After you enter your phone number it will ask you if you want to Restore from iCloud. It should then go ahead and download all your chat history messages videos pictures etc.

You can see here it says it has Restored 10 messages. Enter in your display name.

Once this is done you should be able to go in an check your chats. Also guys don’t forget to check out my other video such as unboxing of the Aorus KD25F Gaming Monitor. And do me a favour hit the subscribe button and smash the bell icon.

Media PC Build – The Witcher

Setup XBOX controller on Apple TV, iPad or iPhone + Games

Backup Samsung to PC or Mac

Step by step guild on Backing up your Samsung device.

In this video and article we will show you how to do a backup and restore of your Samsung device to PC.

Have you ever thought about what might happen to your pictures and videos on your Samsung device if you lose or break it? You don’t need to take the risk you can do a backup and restore with the following steps. Also if you are getting pop up ads on your device and want to clean it these steps will help. If you have a Mac You can also backup your Samsung device to a Mac.

Backup Samsung via Smart Switch app

To do the backup we are going to use an application called smart switch. You can find the direct link to the Smart Switch website here.
In the download section scroll down to where it says smart switch and click that link.
That will take you to the Samsung US website. And you can download Smart Switch for Mobile, Mac and Windows.

Backup Samsung
Plug your Samsung into your computer to start the Backup

Click the Windows link and download Smart Switch to your desktop.
Once its downloaded install the Smart Switch app. You will need to agree to the terms and conditions. Plug your Samsung USB into your computer. Tap Allow access on your Samsung Device.

Encrypt your data that you are Backing up

If you want to encrypt the data that you store on your Computer with a password go to more and preferences. Then select the checkbox Encrypt backup data. Next up just click on Backup and it will ask you for a password for your backup. You will need to enter the password on your Samsung device. So go a head and Enter a security code on your Samsung device and then confirm it.
Once its finished doing the back up it will give you a list of items that’s have been backed up successfully and a list of items that it didn’t backup.

Click ok and if you want to know what location your files have been backup in simply go back to More and Preferences. It will be under the Backup folder location.

Wiping the Samsung Device

In the video I am going to reset the Samsung device back to factory defaults. So it will wipe any data on the device and I will restore the data from the backup we just created.
I will do this under settings > General Management > Reset > Factory Reset data. However once the Samsung device has been wiped so just go ahead and set it up like a new phone again.

Plug your Samsung back into your computer with the USB and press restore. You will need to tap allow on you Samsung device again. Press Restore now.
And then you will need to enter the password you setup earlier when you created the backup.

Once your data has finished copying you can disconnect your USB cable. Go ahead and double check all our files have been restored and there they are.

Ok Guys, Don’t forget to check out my other videos.

Enable Window Zoom on iPhone or iPad

Make your iPhone iPad speak each word you type

Clean Install MacOS Catalina on any Mac