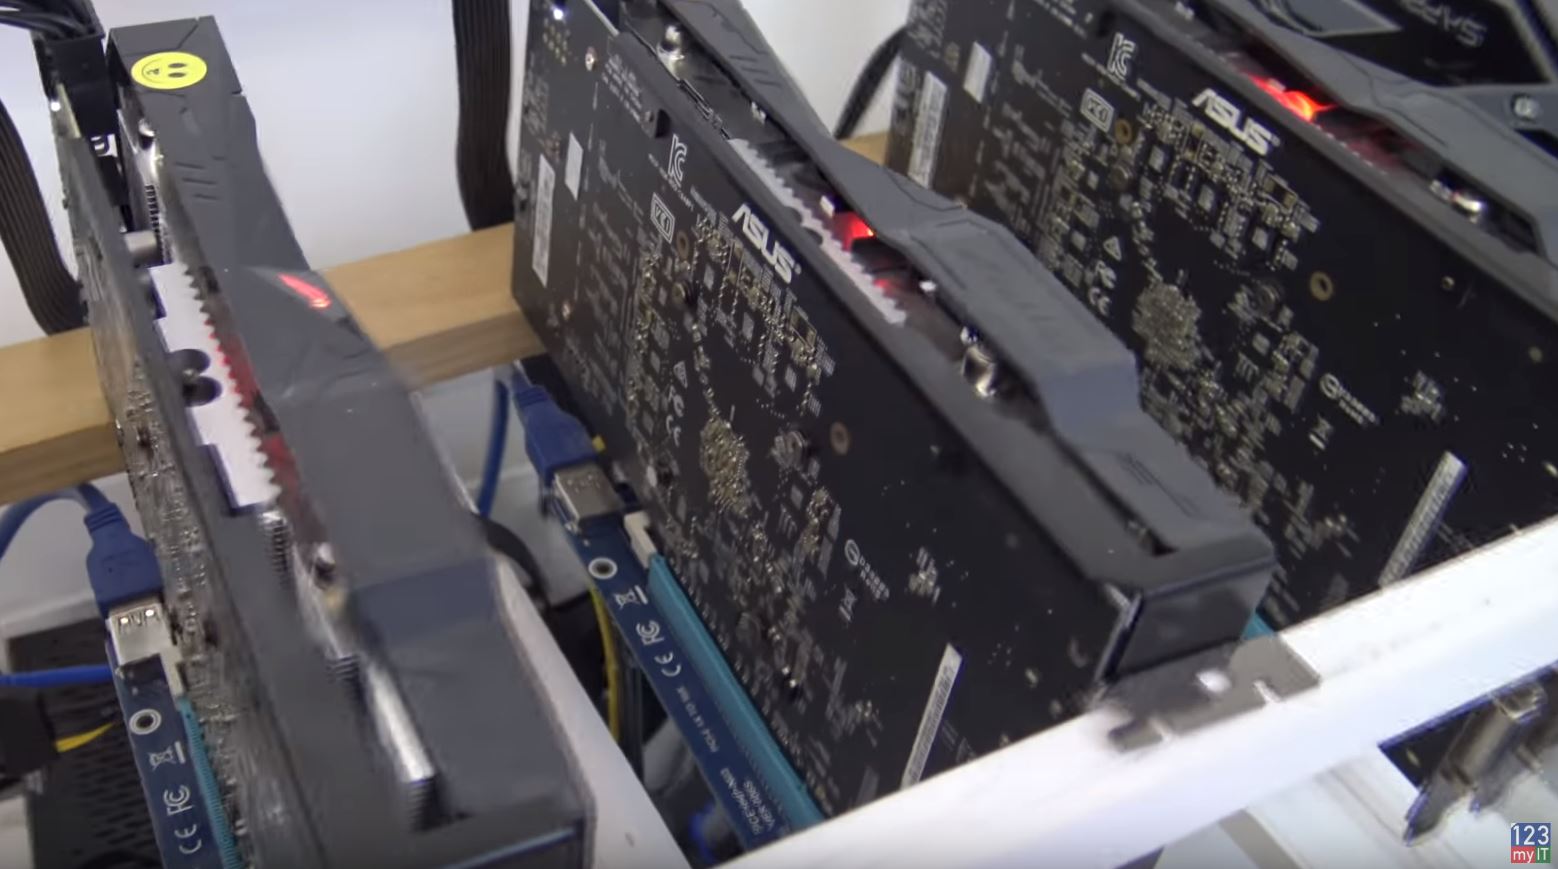
Clean GPU in 2021

Hi Guys and welcome to 123myit. In this video, we will show you how to clean GPU in 2021. Ok Guys If you are like me and you have a Crypto GPU or a Gaming GPU and you have been using it a while and it needs a clean then follow me and I will show you how to fix it up.

In this video, we will clean the GPU as well as replace the heatsink thermal paste and the thermal pads.

Dirty GPU to Clean GPU

The model I have here is the Radeon RX 570 and I was using it on a mining rig and as you can see its really dirty and clogged up with dust and to the point where its just over heating all the time. And even some of the heat sink is starting to corrode.

Take the GPU apart

Let us get started. The first thing you will need to do is take apart the card. You can do that by finding the screws that attached the fans to your heatsink. Once you have found them, just go ahead to and remove them. If you have, a different model and you are unsure. My best advice is to take it slow and gently. Moreover, do not get frustrated with it, as you will wreck your card.

When you have the screws loose gently, try to remove the Fans. With my card I have 3 fan cables which I need to remove. Be very gentle with these cables. Make sure you pull them out by the plug and not by the cables. If you pull it out by the cables, there is a chance the cable can break.

Go slowly

Just do your best to kind of slow massage them out. This top one was in awkward position so I just leave it and try doing the bottom one. Try not to force things.

Finally, I get the bottom cable off and wow check out all that dust and the corrosion. To clean the dust off the heat sink, some people use a can of compressed air and blow It everywhere. I just use a vacuum with brush attachment. In addition, do the same cleaning on the fans.

Remove Heatsink

Next step is to remove the heat sink screws. Generally, they will be the four screws on the back of the card. Gently try to remove the heatsink. If it does not move, do not force it. Go back and check there are no more screws to remove.

Cool, there it goes I had two more screws to remove. Therefore, we are going to replace the Thermal pads and Thermal paste. As you can see, the Thermal Pads are pretty much gone on the memory. Gently remove the Thermal Paste. I very slowly just peal it off where I can.

The harder dry pieces gently remove with a screwdriver. Make sure you do not scratch the memory.

How to Clean GPU

You can use a damp cloth or an alcohol wipe to remove any leftover thermal pads and thermal paste.
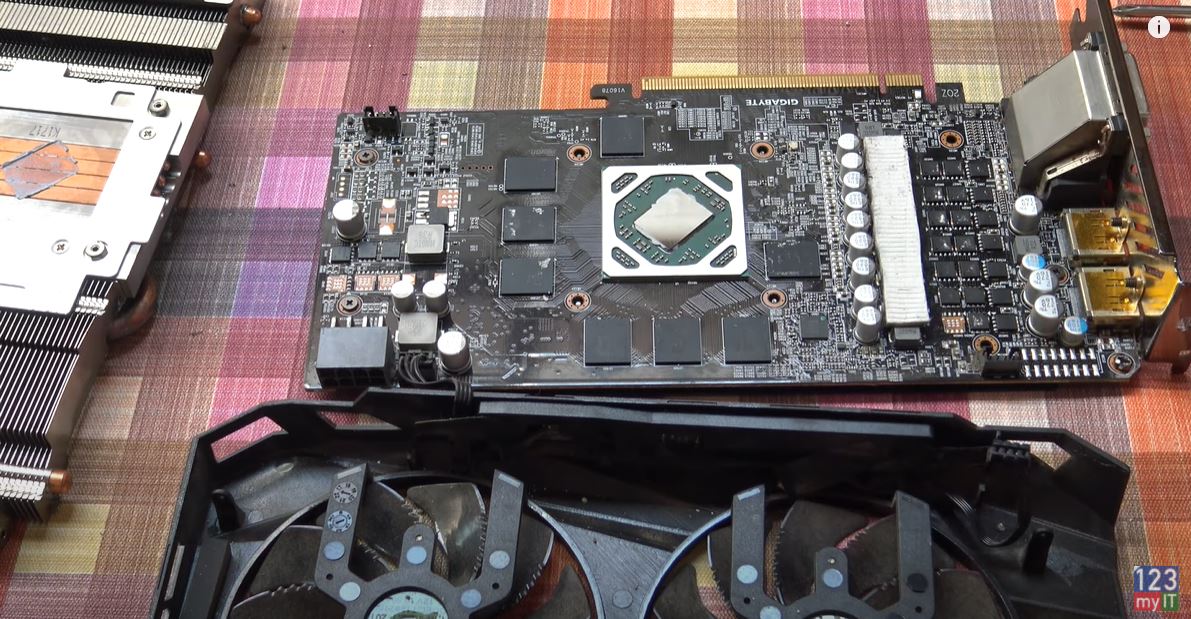
Clean GPU

Ok time to apply the new Thermal Pads and Paste. There is different thicknesses of thermal pads that go on the memory. On this RX570, .05 thickness goes on the memory and 1.0 goes on the VRMs. However, the VRM Thermal pads seemed ok on this card so I am not going to replace those. I will show you what they are in a second. Also, If you want an Amazon link the Thermal paste and Pads I will leave a link in the description. Cut the thermal pads to size and remove the two bit of plastic either side. Then place it carefully on the memory. If you need to know what thickness, Thermal pads go on your GPU then Google your GPU along with Thermal pad size.

Adding Thermal Paste

Do the same clean for the heatsink and then apply the Thermal Paste. I just put a little bit of Thermal Paste on the GPU. It will spread out when the heatsink and GPU are pushed together.

Both sides of the heatsink have guiding screws, which allows me to place the heatsink on in the right spot.

You can see there is more Thermal pads on the heatsink. It is in good condition so I did not change it.

Once the heatsink is back on flip the card over and replace the screws. Next up replace the fan power cables and screw the fans back on to the GPU.

Awesome you have now cleaned the GPU and replaced the Thermal Pads and Paste. Time to put it back to good use.

In addition, people do not forget to check out my other videos such Transfer Data Android to Android. And do me a favour if you know anyone who might need this video please share it will them, hit the subscribe button and smash the bell icon.

Transfer Data Android to iPhone 2021

Samsung Galaxy S21

Best AMD RX 570 GPU for Mining Cryptocurrency

Best AMD RX 570 GPU for Mining Cryptocurrency

In this video I talk about the AMD RX 570 graphics cards and which brand I think is the best AMD RX 570. All cards will do a pretty good job at mining Ethereum at about 27 to 30 Mh/s however some cards are just better built easier to use and don’t get as hot.
The three different brands of RX 570 cards are Asus, Gigabyte and Sapphire.
Don’t forget to check out the best AMD rx 570 cards in action on my KraKen build.

Sapphire RX 570

Lets get straight into it, I have listed the pros and cons of the Sapphire cards below.
Pros
* Price around $329 usd
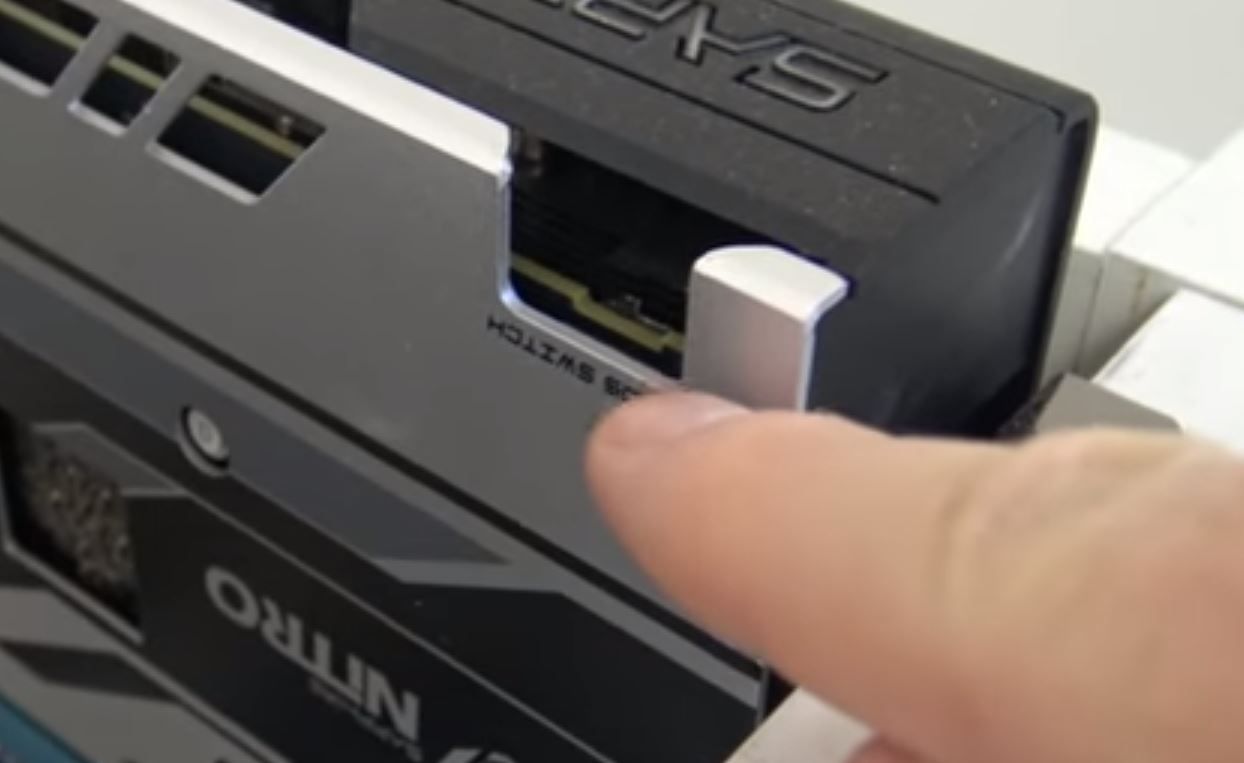
* Has a bios switch which allows you to switch between a gaming bios and a mining bios, really handy if you want to build a gaming / mining rig.
sapphire bios switch
* 2 x power ports 1 x 6 pin and 1 x 8 pin power ports. Handy for different power supplies.
* Save power by turning off the flashy lights. Can turn these lights off permanently without the need to install extra software.
* Cards come with a back plate good if you have cards sitting close together.
Cons
* The cards are big so you will need allot of room to store them. 26 cms long.
* Sapphire cards heat up a bit more than their rivals.
* a little less stable and a little less able to be overclocked.
* Tend to use a little bit more power

Asus RX 570

Pros
* Price around $379 usd
* Smaller than the Sapphire cards at 24 cms.
* Run a little bit more stable at higher clocks.
* No back plate so they wont heat up as much.
best AMD rx 570
* 1 x 8 pin power slot only. Comes with led though so you can see when the card is plugged in properly.
Cons
* The cards don’t come with a back plate. Can be annoying when installing or when you have cards sitting close together.
* 1 x 8 pin power slot only.
* Can’t turn the light off permanently without installing software.

Gigabyte RX 570

Pros
* Price around $279 usd
* Cheap price return on investment will be faster.
* Smaller than the Asus at 23 cms long.
* Has a back plate.
* Memory does over clock quite high.

Cons
* Gets hot! Can’t run to many of these cards together.

In the end the all the cards will do the job. However the best AMD rx 570 card would be the Asus. If you want to buy any of these cards and support 123myIT.com please use the licks below.
○○○○○○ Want to buy the parts at Amazon ○○○○○○
Recommened Best:
ASUS AMD RX 570 4GB https://amzn.to/2Lh9FiA
Others:
Gigabyte Aorus RX 570 4GB https://amzn.to/2GzpwVZ
Sapphire Nitro + RX 570 4GB https://amzn.to/2rUvI6u

Recommened Best:
ASUS AMD RX 580 https://amzn.to/2Lh9FiA
Others:
Gigabyte Aorus RX 580 https://amzn.to/2rXu0Bt
Sapphire Nitro + RX 580 https://amzn.to/2kbIw4k

How to Mod Sapphire RX 570 4GB Elpida Bios

How to Mod Sapphire RX 570 4GB Elpida Bios

123myIT’s video on How to Mod Sapphire RX 570 4GB Elpida Bios!

I use MSI Afterburner to adjust the clocks of the cards until they become stable. Stability is very important for mining cryptocurrencies as this allows your rig to keep mining when it might otherwise go offline. Because you are squeezing every inch of power out of your GPU by over clocking the GPU and undervolting it to save on power consumption.
AfterBurner Settings I use to get rig stable.
Power limit: -6 or -4
CoreClock: 1150
Mem Clock: 1970 or 1980 or 1990 or keep going up by 10 till its stable.

You can download the modded bios from the 123myIT Downloads section here. There is two different versions. 256 size version and the 512 size version. The Sapphire cards for some reason have two different type of bios sizes. Both should work fine, but you use these bios at your own risk. This bios was created by people on the Anorak.Tech website.

Sapphire RX 570

Want to buy me a beer?
Bitcoin: 19UmoUcWjVztU27s9Fqy6Ty8g1aJGiyQ82
Ether: 0x215a057d415958e7a1540150143249d143078b36

For this guide and other 123myIT social pages see the links below.

Facebook: http://www.facebook.com/123myit
Twitter: https://twitter.com/123myit
Google+: https://plus.google.com/+123myIT
Instagram: http://instagram.com/123myit

Asus Strix Geforce GTX 1070 O8G Unboxing Firstlook

Asus Strix Geforce GTX 1070 O8G Unboxing Firstlook

This video will show you an unboxing of the Asus Strix Geforce GTX 1070 O8G graphics card.

8 GB 256-Bit GDDR5
Core Clock 1,657 MHz – OC Mode
1,632 MHz – Gaming Mode (Default)
Boost Clock 1,860 MHz – OC Mode
1,835 MHz – Gaming Mode (Default)
1 x DVI-D 2 x HDMI 2.0 2 x DisplayPort 1.4
1,920 CUDA Cores
PCI Express 3.0

○○○○○○ Want to buy the Asus at Amazon ○○○○○○
►Amazon US – http://amzn.to/2t4eIcA

For this guide and other 123myIT social pages see the links below.

Facebook: http://www.facebook.com/123myit
Twitter: https://twitter.com/123myit
Google+: https://plus.google.com/+123myIT
Instagram: http://instagram.com/123myit