If you want to build multiple AI agents on a Mac mini with 64GB of memory, the good news is that this is one of the more practical small-form-factor machines for local AI workflows. A Mac mini 64GB setup gives you enough memory headroom for several lightweight agents, tool-enabled workflows, and automation tasks, but it still needs the right architecture if you want it to feel fast and stable.
In this guide, we explain how to build multiple AI agents on a Mac mini 64GB system, how many agents are realistic, what kind of stack makes sense, and how to avoid the usual mistakes around memory, routing, timeouts, and bloated all-in-one setups.
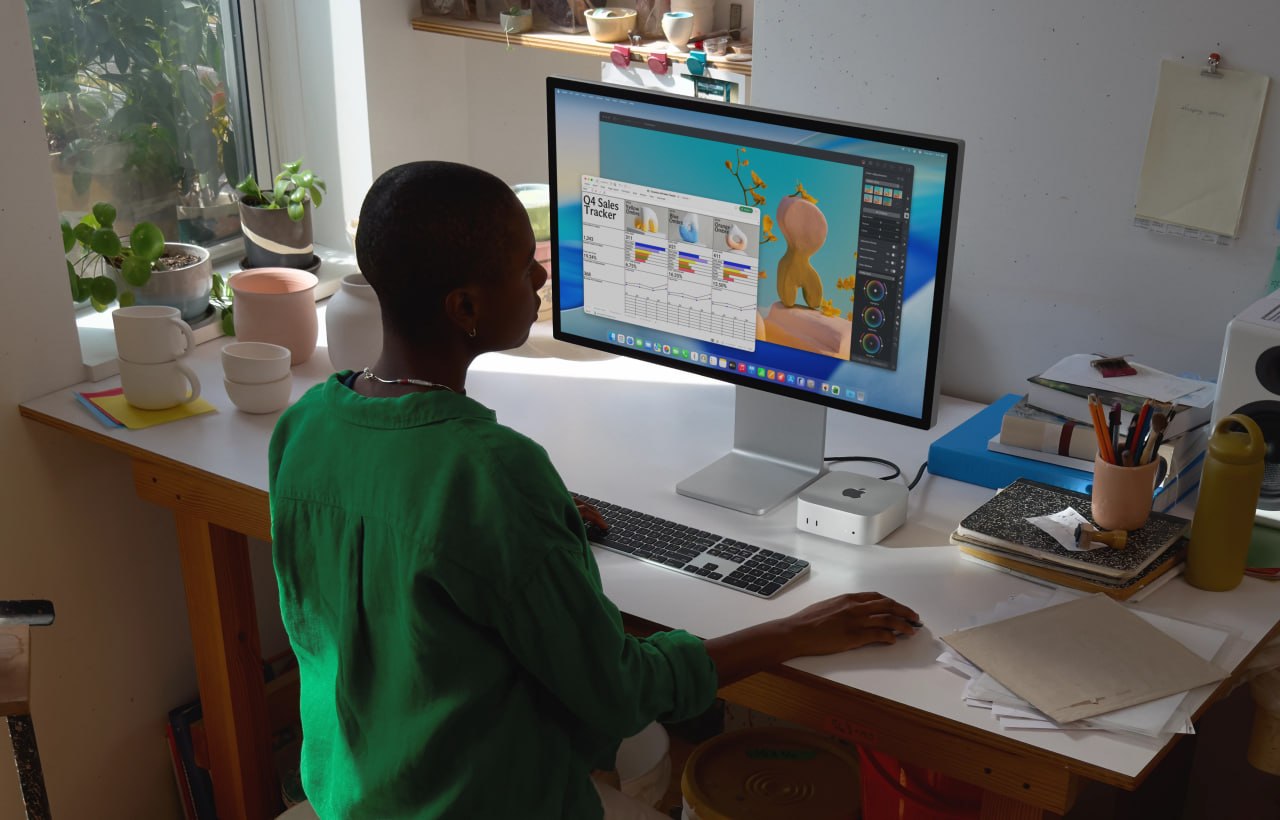
A Mac mini desk setup that fits the kind of multi-agent local AI workflow this guide is about.
Can a Mac mini 64GB run multiple AI agents well?
Yes, but the answer depends on what you mean by multiple AI agents. A Mac mini 64GB is a strong machine for orchestrating several agent workflows, especially if those agents are handling chat, memory, tools, files, scheduling, and API calls. It is much less impressive if you expect it to run several large local models flat out at the same time.
The machine works best when you treat it as a coordination box rather than a brute-force model server.
If you are looking at hardware options, you can check the Mac mini on Amazon here. As an Amazon Associate, 123myIT may earn from qualifying purchases.
How many AI agents can a Mac mini 64GB realistically handle?
For most practical setups, a Mac mini 64GB can comfortably handle:
- 1 main agent that talks to the user
- 2 to 4 helper agents for research, coding, cron jobs, summaries, or content work
- additional background jobs, depending on how heavy your local model usage is
If the agents rely heavily on APIs or smaller local models, you can do more. If they all depend on big local models with large context windows, you will hit limits much faster.
Best setup model: local orchestration, selective local inference
The smartest setup on a Mac mini 64GB is usually a hybrid one. Use the Mac mini to orchestrate agents, manage memory, schedule jobs, and run tools locally. Then decide case by case whether each agent should use a local model or an external API.
- Main agent: user-facing orchestration and memory
- Research agent: web lookups, summaries, file logging
- Coding agent: isolated code or config work
- Task agent: cron jobs, reminders, recurring checks
- Content agent: drafts pages or structured writing
This is usually better than forcing everything into one huge agent context.
Best stack for multiple AI agents on a Mac mini 64GB
- OpenClaw or a similar orchestration layer for the main agent workflow
- local markdown-based memory files for persistence
- smaller local models where speed matters
- API-based models for heavier reasoning when needed
- clear separation between interactive agents and background agents
If you want a stronger starting point for the behavior side of this setup, our OpenClaw Agent Bootstrap Prompt page is the best companion guide to read next.
What to avoid
- running too many heavy local models at once
- one bloated agent trying to do every job
- unclear file roles and shared state collisions
- too much browser, tool, and context load in one session
- ignoring timeouts and memory pressure until everything slows down
Local vs API-based agent split
A Mac mini 64GB setup often works best when you do not insist on fully local everything. Use local models for quick lightweight work where privacy or speed matters, and use API-based models for heavier tasks when needed. That balance gives you a much better experience than trying to force every agent through the biggest local model you can load.
Final takeaway
If you want to build multiple AI agents on a Mac mini 64GB machine, the smartest approach is to use it as a stable orchestration box, not a brute-force model monster. One main agent, a few helper agents, clear file roles, and a hybrid local-plus-API model strategy will usually get much better results than trying to run everything as one oversized local setup.