This video will show you how to Install Windows 8.1 on a MacBook Air without a DVD drive.
Hi All,
In this article you will find the steps, on how to install Windows 8.1 on a MacBook Air and any Mac without DVD drive.
This process was done on MacBook Air 2013 model and we will also use an ISO file or DVD image rather then a an actual DVD.
If you are looking for the video How to install Windows 8.1 on a Mac running OS X Mavericks you can find it here.
This video will show you how to install Windows 8.1 with a DVD.
What will you need to make this happen?
1. MacBook
2. 8GB USB stick or higher
3. Windows 8.1 ISO file, you can find a copy on the 123myIT download page here
Or you buy a full version of Windows 8.1 recommended under the 123myIT.com Store.
4. Once you have done the above, the next step is to run the Boot Camp Assistant. You can do this by going into finder and the type boot camp, or click the Desktop then click on Go, and then select utilities Boot Camp Assistant.
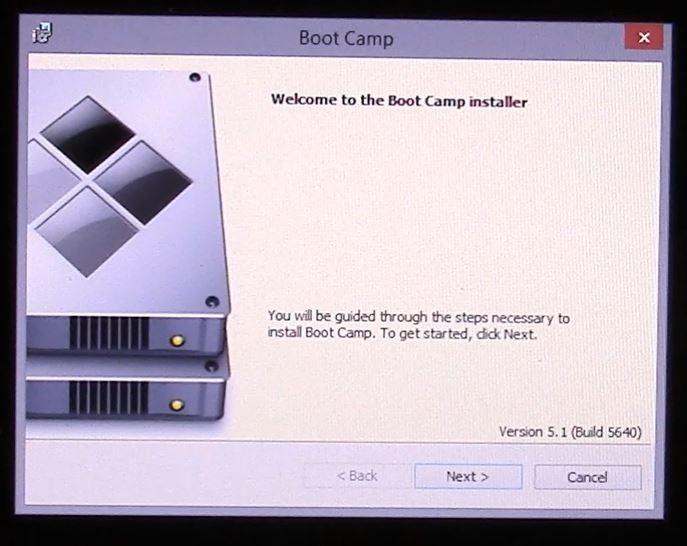
5. Once you have this started up simply follow the video above and pretty soon you will have Windows 8.1 up and running on your MacBook Air.
6. If you are having problems during setup where you can move your mouse or type anything on the keyboard, you can try plugging in a USB keyboard and mouse for the initial setup, and then after Windows is installed go to the Boot Camp Drivers page here and download the correct drivers for your model of Mac which should solve this problem.
NOTE: Key points to remember, if your Mac doesn’t boot into the Windows installer screen then you can find the boot menu by restarting the Mac and holding down the ALT or option key.
For more information you can check out the Official Apple Boot Camp page here.