
Hi Guys and welcome to 123myit. In this video, we will show you how to record your screen on a Mac. Guys if you are new to the channel we do tech related videos that can help you with any questions you might have. So please don’t forget the hit the subscribe button and smash the bell icon.
Let’s Get Started!
To record your screen on a Mac you will need to bring up the Screen Recording menu by pressing Command + Shift + 5.
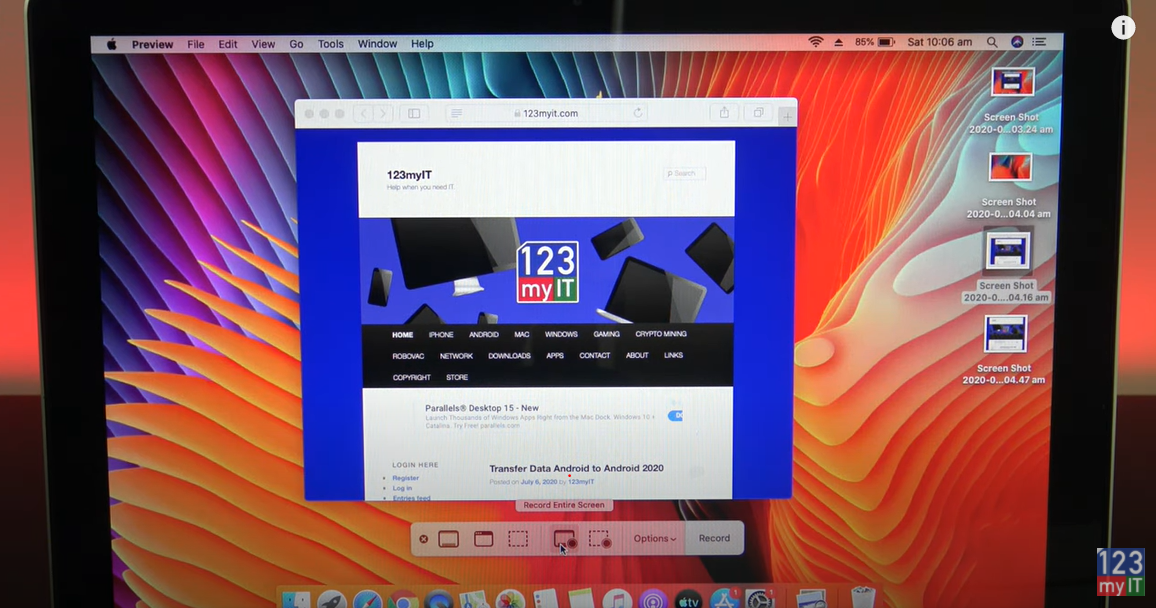
So that’s buttons command shift and 5 all at the same time. You will see the Screen Recording menu pop up. I am going to go through each part and show you what they all do. The first option is capture screen shot. This will basically take a screen shot of you screen as it is. Once its selected click on Capture and you will see a preview pop up. It will also save this image to your desktop.
Command + Shift + 5 keys
Double click on it and you be able to preview it. Press Command + Shift + 5 again and click Capture selected window. This will allow you to select a part of your window to screen shot. This allows you to screen shot a window that is currently open. If I select the background it will screen shot that only. See the preview in the bottom right. If I do it a again and select the 123myIT website it will screen shot that only.
Capture Selected Portion
And again I can double click it to preview it. Next up is capture selected portion. This allows you to capture a exact part of the screen. Just move the guidelines to where you want them and click on capture.
Alright the next part of the menu is called Record Entire screen. This will allow you to record a video of your entire screen. So click that and then click record and move something on your screen. Once your are done click the stop button in the menu bar. If you want to look what you have recorded click the preview and play the video.
Record Selected Portion
Next up is record selected portion. This allows you to record a video of only the part of the screen that you move the grid lines too. Click record and move your video and then click stop when you are finished. Now there is some other cool options you can choose. If you click on the options menu you can choose where you want the files to be saved. The default is to the desktop but if you want you can change this.
Other Helpful Tips
Next it’s a timer count down which gives you 5 or 10 seconds before its starts to record. Handy if you need to clear your throat or something before you start.
Under Microphone, if you want to record your voice or sound to the video you can select Microphone. Lets test it. Cool so the sound came through.
The last option I want to show you is mouse clicks. This is handy if you want to highlight where your mouse is clicking in your video. So turn it on in options record you video and I am going to click on the link on the 123myIT website. No if I stop the recording and play the video you should see a circle highlighting a click around the mouse cursor. And there it is.
One last thing, if you want to quickly trim a video simply click on the preview and then click the Trim button. Move the yellow sliders to select the part you want to keep. And then click done to save your recording. Let say I want to move that click to the beginning of the video. Double click your video and it will play you the video you Trimmed.
Also guys don’t forget to check out my other videos such as Setup & Reset Screen Time Passcode on iPhone, iPad & iPod touch. And do me a favour if you know anyone who might need this video please share it will them, hit the subscribe button and smash the bell icon.