Hi Guys, In this video, we will show you how to Windows 10 on a mac external drive SSD on your Mac. If you don’t have much hard disk space on your Mac or you just want to run Windows 10 games and Apps on your Mac then I am going to show the whole process, step by step and this is the end result.
What you will need – Windows 10 on a Mac External Drive
Ok so things you will need are an external SSD. I am using a Samsung 512GB SSD attached with a SATA to USB 3 Adapter you can get it off Amazon for $10. I will link it in the description below. You can also use a Seagate Hard drive and even an old laptop hard drive if you have one laying around.
If you have a newer Mac you can also get the USB C to Sata adapter, Amazon link below as well. Or you could just buy a new Samsung USB C SSD like this one.
You might need a USB mouse and keyboard initially till you get the drivers working correctly and ill show you how to do that. Open Safari and go to the 123myit.com website and click on downloads.
Get your files from the Downloads Section
Scroll down to where it says Install Windows 10 on a Mac and click the first link download Windows 10. On that page in the drop down box select Windows 10 and confirm and choose your language in the second drop down box. Next click on 64 bit and that will download the Windows 10 iso file. The file is fairly big so it might take some time to download. Check it in your downloads. I’ve already downloaded these files so I will just cancel them.
Close that tab and download the WintoUSB file. Again close that tab and download the VMware fusion. Ok so you should see all three downloads in the downloads folder. The next step is to download Windows Support folder. So Quit Safari and go into finder and search for bootcamp. Start up bootcamp and on the Action menu at the top click download Windows support software. Just change the where menu to Downloads. That way all your downloads are in the same spot. Ok now it’s time to plug in your windows 10 on a mac external drive or external hard drive.
Just make sure you have no data in the SSD that you need as the next step will delete any data on that external drive. Close the drive and click on Go, Utilities and the Disk Utility. Highlight your external drive and click Erase. Rename it as BootCamp and change the format to MS Dos Fat. This will make it recognisable in Windows. Click don’t use and Done. And then close Disk Utility.
VMWare
Next we want to run the VMware installer file we downloaded earlier. So click Go and Download and open up the VMware installer file. If you get this message saying the VMware file can’t be opened go to System Prefs, Open up Security & Privacy, click on the General tab unlock your pad lock enter your password and click on Open Anyway. Click open and close the Security & Privacy window. Double click to Install VMware. Click open. Type in your password. Click open. Agree to the terms. Put a dot in the, I want to Try VMware fusion. You can use the software for 30 days which is more than we need. However if you like the software you can always buy it. Click ok and Ok again. Open System preferences and unlock your pad lock and give VMware the access it needs.
It wants to install from disk or image. So click go and downloads and drag the Windows 10 iso file you downloaded earlier to the VMware menu. And then click continue to proceed. You are setting up a new Virtual Machine here so you need to click the drop down menu and select Windows 10 Home. Click continue and continue without a key. Click More Isolated. Now you can click Finish now or if you want to customise the Virtual Machine click customise settings. Then click Save.
Customise your Virtual Machine
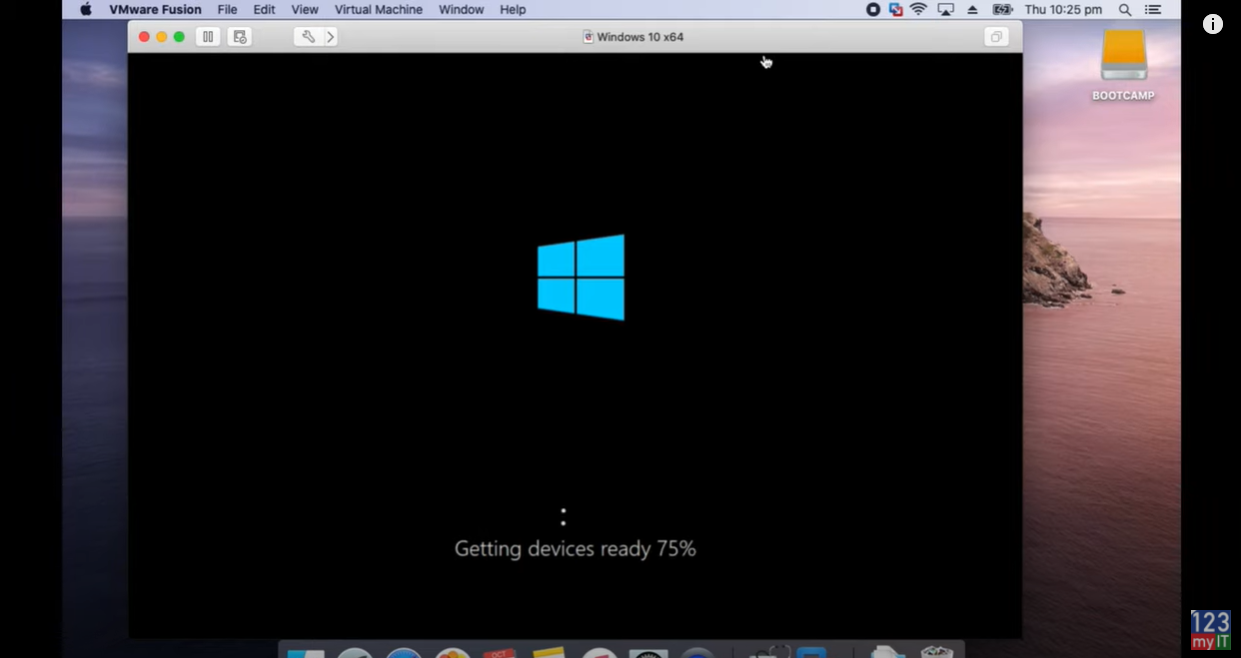
Ok to customise the install click on Processors and Memory. I am going to give it a little bit more memory. From 2GB to 4GB. That should be enough. Alright you can close that window now and click play to start Windows. If you get the broken pipe errors go Quit VMback into System preferences Security & Privacy, General tab and click allow again. Click ok. Close your padlock. Restart VMware. Press play again and it should start your Windows install now. Awesome that’s going to take a while I will speed up the install here. This is not installing Windows 10 on your external drive just yet. We are setting up a Virtual Machine which will allow you to install Windows on the external drive.
Ok so Windows has finished installing. Click on the Go menu then click downloads and copy the WintoUSB and Windows Support folder onto your Windows desktop. I could drag the WinToUSB file. But I had to right click copy and paste the WindowsSupport folder to get it to copy across.
Connecting the SSD
Now let’s connect our External SSD to our Windows Virtual Machine. You want to go up to Virtual Machine USB & Bluetooth, find your BootCamp drive and add it. Therefore, it’s gone now on your Mac side and there it is on the Windows side now. Now go back to Virtual Machine click CD/DVD and then choose disk or image. And then choose your Windows 10 iso file. Click open. Then go back to Virtual Machine select CD DVD and Connect CD DVD. It should also pop up.
Ok so all the ground work is done its time to create the Windows 10 external drive. And the Windows support folder has just finished coping. Next thing you want to do is double click on the WintoUsb executable and follow the install prompts. So click yes. English Ok. Accept the agreement. And then next next install.
If you get Microsoft Edge popping up just close it. It doesn’t it a few times. Now you want to launch WinToUsb the shortcut with the little arrow. Click your CD DVD drive and in the drop down menu select your Windows disc. And then choose Windows 10 home click next. And then select your destination. So this will be your external drive.
Older and Newer Macs – Audio and drivers not working.
Ok heres an important bit. If you have an older Mac like mine select MBR for Bios if you have a newer Mac select GPT for UEFI. If you select the wrong option here when you start your Mac your Audio might not work. Don’t worry simply come back to this step and select the correct method for your Mac. I will select the wrong option for my Mac to show you what it does.
Ok this part shows you how your external drive will be partitioned. No changes here just hit next to start. This part will take a long time especially if you have an older sata drive. This will take at least 15 mins or more this process will install Windows 10 on your external drive and you will be able to boot into that drive shortly. Once that is complete just hit Exit and yes to quit. Alright open up Windows Explorer and click on the newly created WinToUSB drive and you want to drag the Windows Support folder into that drive.
Once that’s copied you can shut down your Virtual Machine. Because you are done here. So Restart your Mac and you want to hold down the Alt Option Key when you Mac starts up. This is so you can select the external drive to boot. If you are on a newer Mac you can use the Command R to access the start up security utility. Once that starts up go into Utilities and Startup Security Utility. If you are on a Newer Mac you might have to enter a password here. Otherwise on an older Macs just close that menu. On Newer Macs select the No Security check box and also the Allow booting from external media. This will allow you to boot to your external Windows drive.
Startup Disk – Windows 10 on a mac external drive
Alright click close on MacOS Utility’s window and select Choose Startup Disk. You can see our SSD drive starting to flash it the background. Go ahead and select your WinToUsb external drive. And this will set the external drive to boot into by default.
If for some reason it doesn’t boot restart your Mac and hold down the Alt option key. And go ahead and select your external usb drive from the menu. It should then start booting into Windows for the first time. Select your Region and follow the setup prompts. If your Trackpad doesn’t work try using the USB Mouse and Keyboard I mentioned at the start of the video. If your keyboard is not working you can open up the on screen keyboard by click the icon in the bottom left of the screen. I don’t need a password and we are going to turn all this stuff off. You don’t need that.
Ok cool we are now running windows from an external drive. The next step is to get the Windows driver installed. You can do this by opening up Windows explorer and going to your WintoUsb C drive. Go into the Windows support folder. Go into the Bootcamp folder and run the setup file. The just follow the prompts and restart Windows. If you open up device manager you can see the drivers being installed. Go ahead and click finish and restart.
Checking the Device Manager
When you are back up open your device manager again and check any drivers that have not installed properly. You can see the audio driver has not installed correctly. Let add our WIFI password first. Ok if we right click and Update driver and if that doesn’t work we can run the Windows updates. So just click check for updates. This will take some time. Click restart now. Ok once you have done the updates and restarted. Check to see if your keyboard buttons all work on the Mac. So I test the display brightness, Audio Volume and Keyboard brightness. You can see here the Audio is still not working so there are two more things you can do to get this working.
Open up device manager again. Go back to your Audio device right click it and update driver, click on browse my computer for drivers and then click the browse button. And navigate to your Windows Support folder on the C drive. Click on the WInPEdriver folder and then click ok and next and do this for any other drivers.
If you still have drivers that aren’t working go into the Start menu and right at the top you should have Apple Software update. Click that. So its gunna search the web and find any updates that are necessary. It will ask you to restart go ahead and do that.
Issues with sound Troubleshooting – windows 10 on a mac external drive
If you are still having issues with your sound then you have an older Mac and should have selected the MBR for Bios option when setting up the external drive. So head back to the 10 min mark of the video.
Here’s a tip as well. If you selected GPT for UEFI then you will have a EFI boot drive. If you have selected MBR for Bios then you will have a Windows boot drive.
Cool ok we have restarted now and if you check your buttons should all be working and if you check device manager you shouldn’t have any outstanding drivers to install.
Awesome so you are ready to go you can install Windows games and apps on your external SSD and let the fun begin. You can also setup an Xbox controller to play games with. You have finished installing windows 10 on a mac external drive.
Also guys don’t forget to check out my other videos such as Apple iPad 8th Gen 2020. And do me a favour if you know anyone who might need this video please share it will them, hit the subscribe button and smash the bell icon.