
Running the iRobot Roomba on a weekly basis means that you will have to clean the Vacuum itself. We will show you how to clean the iRobot Roomba so that your RoboVac stays in tip top shape. Once the RoboVac has cleaned your floors, the steps below will tell you how to keep it operating.
Empty the iRobot Roomba bin
Step 1: Empty the bin. The bin is the main tray on the iRobot Roomba that gets full from doing the household vacuuming. It is located on the back of the iRobot Roomba. To empty the bin simply press the button on the back of the RoboVac and it should slide out. So once you pulled the bin out, there is a door on the back that which you can open and simply pour out the dust. You will need to pour the dust out after every use because it will fill up.
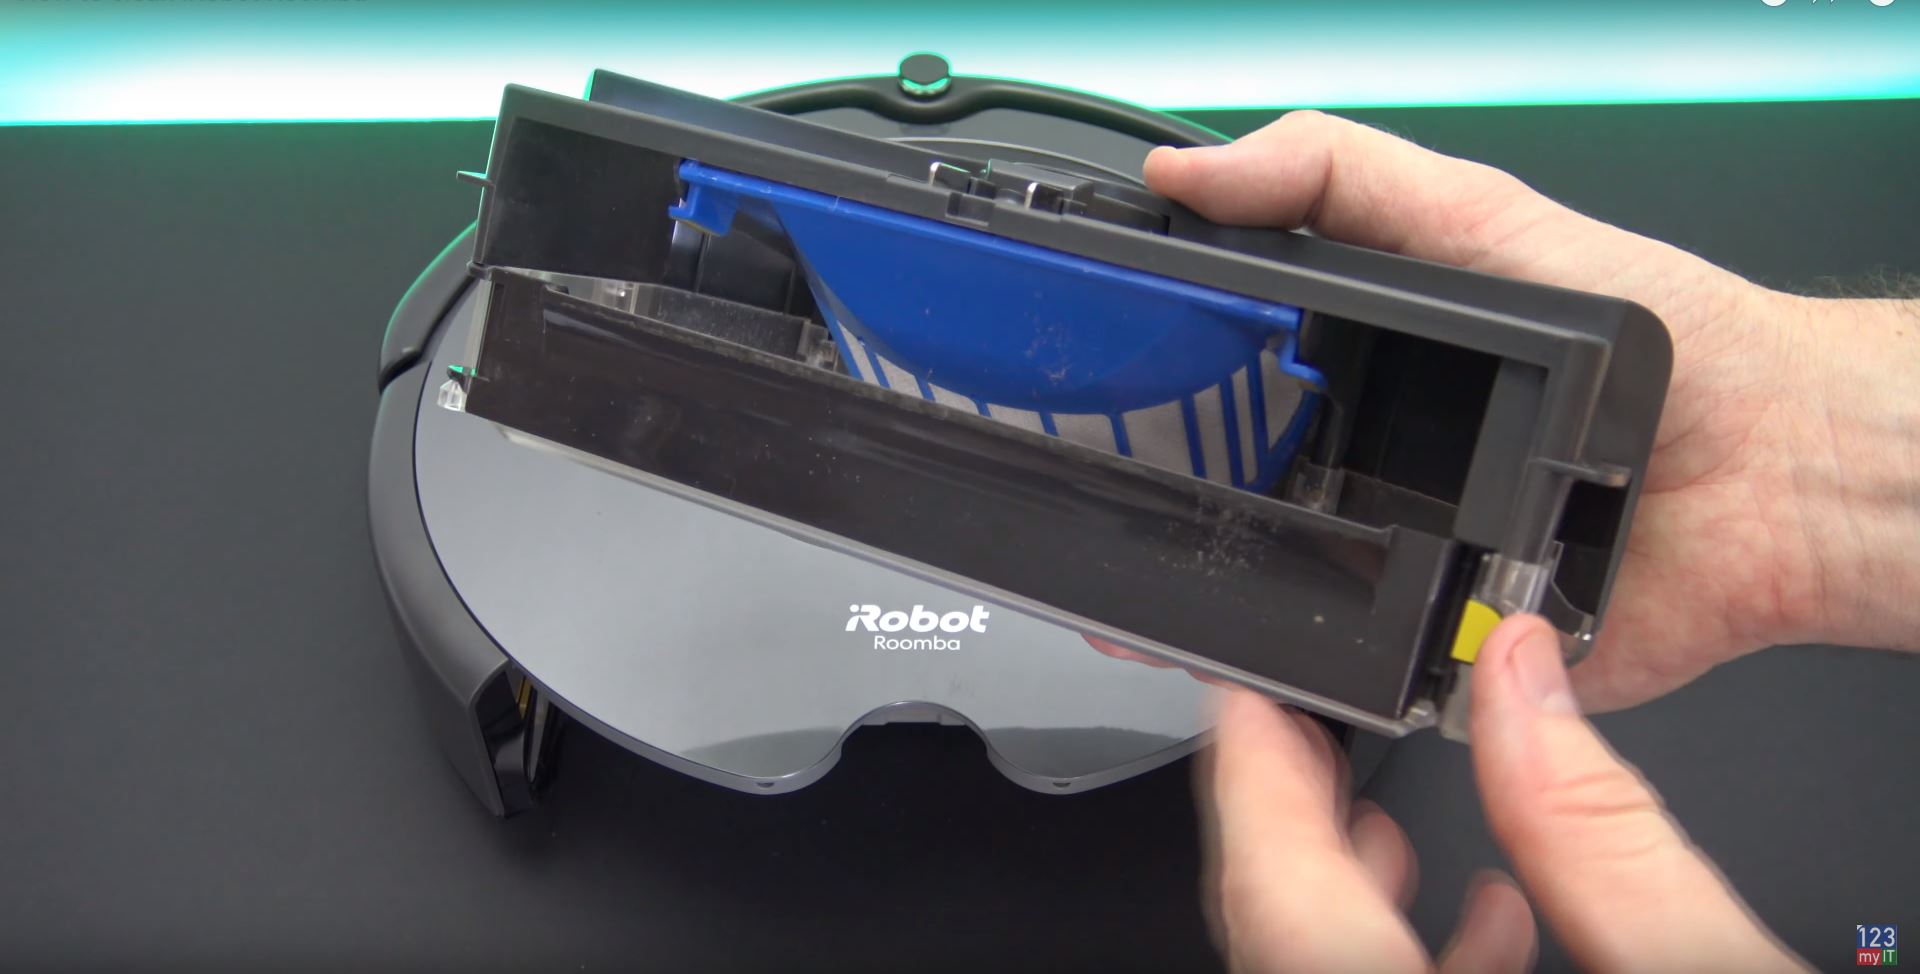
So remove your blue filter you can take it about and clean it. Because it catches the fine dust.
Step 2: If you turn the iRobot Roomba over you will see some brushes and two yellow tabs which you can lift and remove those brushes. The roller brushes are used to sweep dust into the bin of the iRobot Roomba and you will need to remove duct and hair that gets caught around these rollers.
Step 3: So the next step here is to clean the castor wheel and it allows the iRobot Roomba to steer. Use your fingers to pull the whole wheel out. Sometimes it gets hair around it. This will need cleaning every two weeks.
Step 4: This is the last step. You will need to clean the side wheel, but first remove it with a screwdriver. Turn the screwdriver to remove the wheel and simply clean as you need it.
Don’t you miss out on our last video which will show you the iRobot Roomba unboxing.
Check out the other great videos below
iRobot Roomba 637 – The Best RoboVac?