
This video will show you how to take a Screen Shot in Microsoft Windows using the Snipping Tool and Print Screen function.
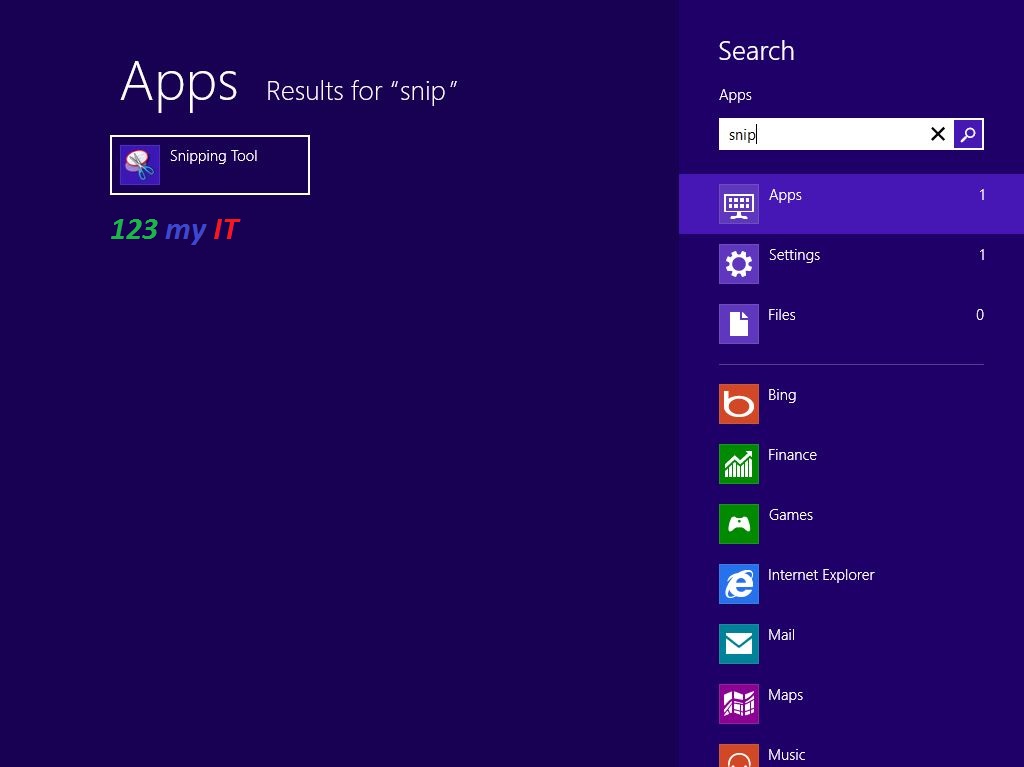
Step 1. To open the snipping tool go to Start > All Programs > Accessories or Press the Windows Key on your keyboard and then type snip.
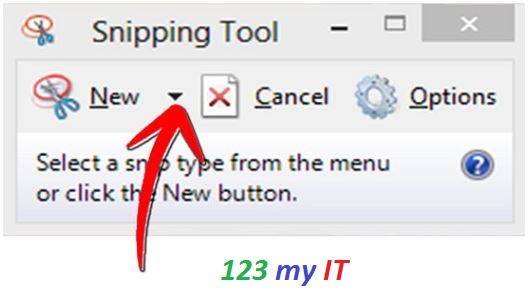
Step 2.Choose the kind of snip that you want to use. Click on the down arrow right beside the New button and you will have the following options.
* Free-form snip. This allows you to cut out any shape you wish.
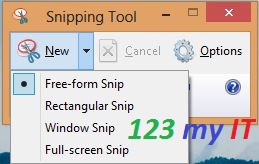
* Rectangular snip. As the name suggests it snips a rectangular box anywhere on the screen.
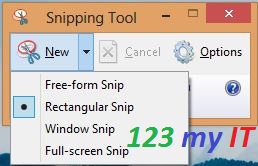
* Window Snip. Allows you to take a screen shot of any Windows on your screen. Could be the task bar Internet Explorer screen.
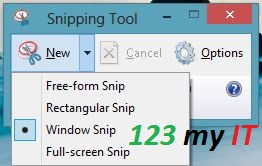
* Full-screen snip. This screen shot allows you to capture everything on the screen.
Step 3. The image you have just captured will be automatically copied into the mark-up window. From this window you can Save, create, copy, email or edit the snip.
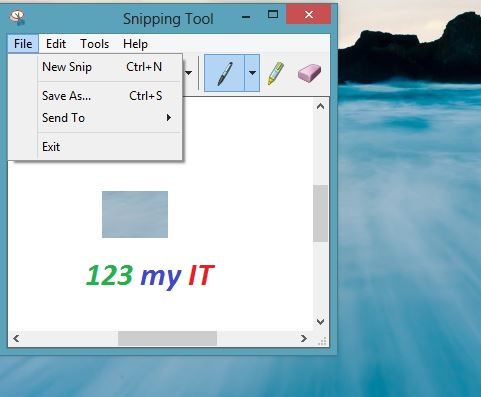
* Annotations within the Snipping tool allow you to draw and write with a pen and you can customise the colour width and it can all be removed by an eraser.

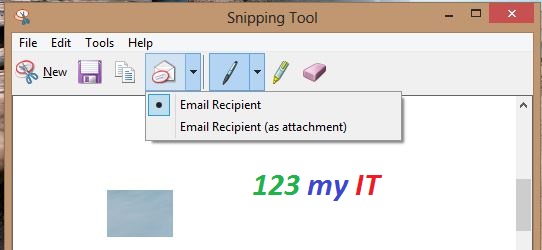
* Share and Email The snipping tool also allows you to cut a screen shot and email it directly from the tool.
In windows you can also press > CTRL > ALT > DELETE on your keyboard and it will save a Screen shot to your clip board. Simply open MS paint or MS word and go right click paste and it will paste the screen capture for you.
I hope that helps out.
Good Luck 🙂