If you did not know already, The Witcher is Netflix series, which is due to be released on the 20th of December. Before that, it was a series of books written by Andrzej Sapkowski. In 2015, The Witcher 3 game was released and it won numerous Game of the year awards. This was one game that I felt like I missed out on playing, so when I found out that the Witcher 3 supports XBOX controller on the PC. I decided to build a media pc complete with an XBOX controller.
In this build, I repurpose an OLD HP Z800 which featured in a Cryptocurrency CPU build I did. And I will be reusing an RX 570 card which I used in the Kraken mining rig build. I will put a link to that video as well.
All right let get started.
If we take, a look at the specs needed to run the Witcher in the z800 we have 12 GB of ram and duel Xeon X5660s which is more than enough and adding the rx570 should give us a great result for a media pc build.
First up let’s remove the Nvidia Quadro 4000 card. Remove the 6 pin power plug first. You might have noticed I did not use the GPU clip, which unlocks the card from the motherboard. That is because I’ve modified the clip and when I say modified I really mean I broke it. I did this because I found the clip annoying when adding and removing cards.
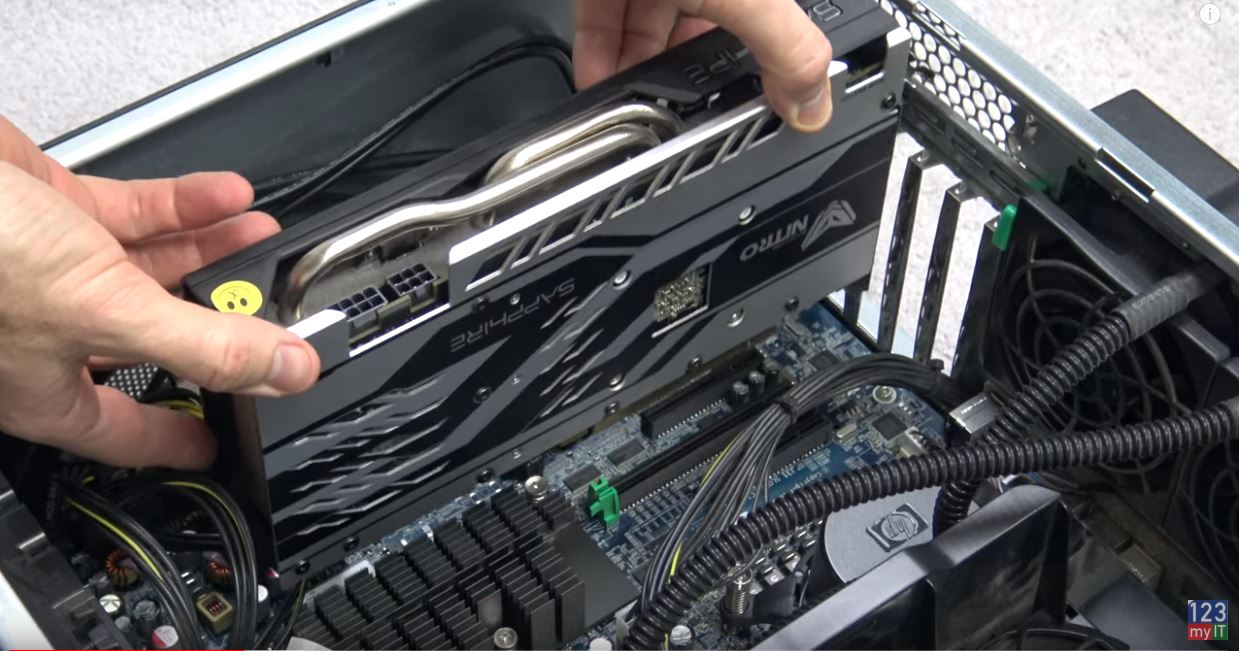
Install the GPU RX 570
Let’s remove the Sapphire RX 570 from the Kraken mining rig by removing the 8 pin power cable. As well as removing the PCIE connector from the bottom. The Sapphire RX 570 cards are great for mining and gaming and heres why. They have a dual bios switch, which means you can have one bios for Mining and one bios for Gaming. So I just switch the bios switch over and start gaming with it. I do not have to flash the bios or anything messy like that.
As you can see she’s a bit dirty, so let’s give her a quick clean up before we move her into the case.
Alright let’s add the GPU to the case. Pretty straight forward. Just add the card in the same spot we removed the Quadro 4000 card from.
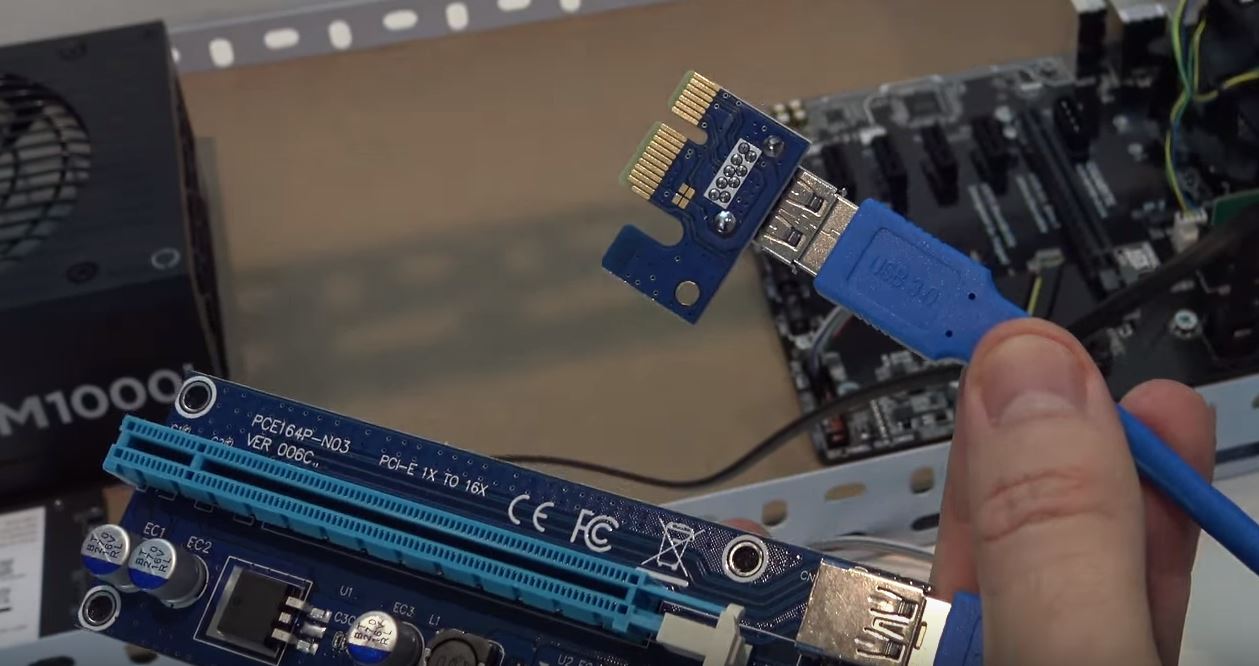
The Z800 only comes with 6 pin power connectors. So we need to add a 6 pin to 8 pin power connector. You can get these cheap online.
Make it power efficient as possible.
I am going to remove the SATA hard drives and replace them with a faster SSD. You could keep these in if you wanted extra storage for games or movies, but I do not need it and they will just waste power being plugged in.
The SSD I am going with is a Kingston brand and I could slot it into the same spot as the SATA hard drive, however it will not have any support there so I am going to gerry rig it inside the case.
Add in a new SATA cable and give it some power. And then I just find a spot to wedge it in the drive bay area and it’s good to go. Plug the SSD into the motherboard on bay 0. Remove the power from the DVD drive since I am not going to be using that.
Close the case and hopefully we are done on the inside of the build. Next up plug in power keyboard and mouse into the media pc build.
Install Windows 10
To install Windows 10 I’ve got an installer copy on this Seagate USB hard drive. Newer USBs do not seem to detect properly on this older computer. Do not forget our HDMI cable for our monitor. To boot into bios or boot menu. On your keyboard you might have tap F2 Delete or in this case of the Z800 you press F9. Once you are in the boot menu select the USB device. Then go ahead and install Windows. When windows finishes installing remove your USB hard drive.
Check that your RX 570 card is correctly installed. This is important if they were used for Cryptocurrency as they will show up with a yellow exclamation mark next to them and your game will be slow or not even load. Make sure your driver date is on the money as you can see here mine is recent so we are good to go. This next addition is what will really make the build shine. We are going to add in the XBOX controller. The Beauty of the XBOX controller is when family or friends come over to your house and they are a bit bored, you throw them an XBOX controller and they are instantly entertained.
XBOX Controller working?
All right plug in your XBOX USB and let it detect in Windows. Go ahead and pair your controller it, the USB should flash when successful.
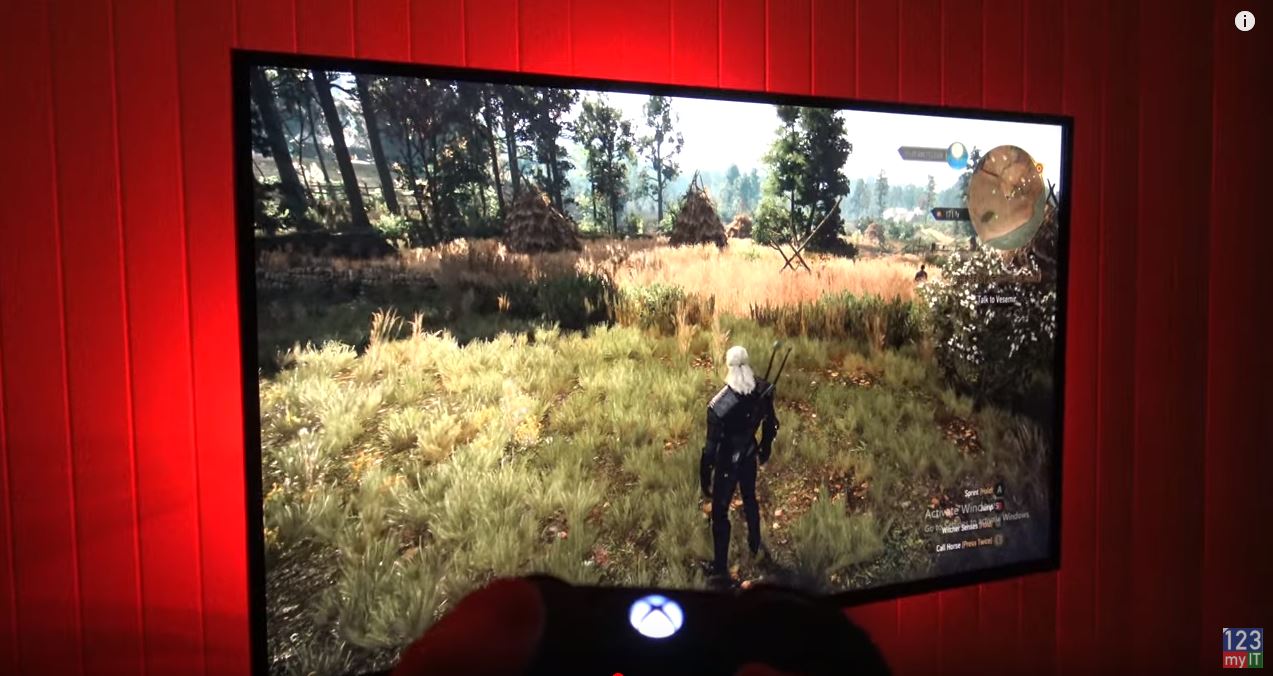
Ok so I have connected the Z800 to my LG TV and I’ve got my XBOX controller ready to go for the media pc build. But I feel like there is something missing. I still feel like there is something missing. How about LEDS? That is better!
Cool, let’s fix up the TV settings. On the LG TV I have this button called Q menu and it allows me to choose a few different TV options such as Gaming and Cinema. What I noticed is the picture on Cinema was far superior to Gaming. Because I am not playing the game competitively, I am just going for the best picture and man it really made a difference. Take a look.
I decided to leave it on Cinema. A quick check to see how many frames the RX 570 is giving me and as you can see here, it is a solid 60 frames. Its a great result. I tested this on my 120 hertz monitor. I set the game to unlimited so I am sure it is higher than this but maybe it is a limitation of the TV.
Let check out some gameplay!
Also guys don’t forget to check out my other videos such as How to setup XBOX controller on Apple TV, iPad and iPhone. And do me a favour hit the subscribe button and smash the bell icon.