Hi Guys and welcome to 123myit. In this video, we will show you how to use the Accessibility feature called Sound Recognition on your iPhone. This feature will allow your iPhone or iPad to listen out for certain sounds and notify you when it recognizes them.
Here is the Door Knock Notification. Let’s try it again.
Cool, lets go ahead and set it up. You can find it under Settings, Accessibility and Sound Recognition.
Just toggle the Sound Recognition button on at the top and then to select sounds tap sounds below.
My Favorites – Sound Recognition on your iPhone
In here, you have a whole heap of Sounds to try. My Favourites are Door Bell, Door Knock, Baby Crying, Shouting and Coughing. The idea is, let’s say you have a friend coming around to your house but don’t always hear the knock at the door. You could put your iPhone or iPad near the door and when they knock you would be notified on your iPhone, iPad or Apple Watch.
Once you turn on Sound Recognition for the first time. You can access it quickly from the Control Panel. So swipe down from the top on your device and then Tap to turn it on or off.
In your control panel you will see the new Sound Recognition button. Just tap it to turn it off and on. And then if you tap and hold you will be able to change which sounds you want your device to listen for.
Also guys don’t forget to check out my other videos such as the Secret iPhone Trick called Back Tap. And do me a favour if you know anyone who might need this video please share it will them, hit the subscribe button and smash the bell icon.
Hi guys and welcome to 123myIT. In this video, we will show you everything you need to know about the Apple iPad 8th Gen2020 in four minutes. Apple has released two different versions of the iPad and iPad Air. Pricing for the base model iPad starts around $329 USD and it comes in three different colours, Silver, Gold and Space Grey.
First up in the box you will find the iPad 8th Gen and the colour that we have is Space Grey. Next you get the documentation, Quick start guide, Warranty information and Apple stickers. Other accessories are USB C to lighting cable and a 20 watt USB C charging adapter. Twenty watts should charge the battery from empty to 50% in thirty minutes. Don’t quote me on that because it was hard to find any exact data on this. However Apple says you should get Up to 10 hours of surfing the web on Wi-Fi or watching video and 9 hours on Cellular models.
Display 10.2-inch
The 2020 iPad has a 10.2-inch LED-backlit Multi-Touch Retina Display with IPS technology. It has a 2160 by 1620-pixel resolution at 264 pixels per inch. And the display also has 500 nits of brightness which is fine. Here’s the viewing angels and stereo speaker test.
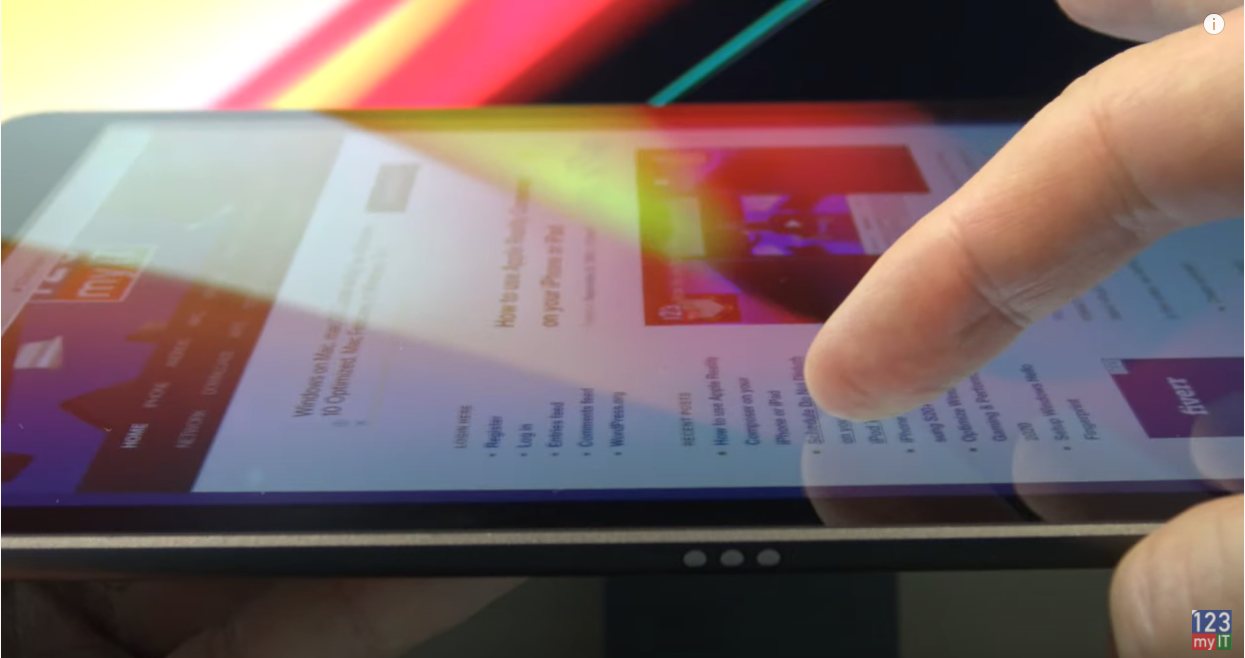
The display is also not laminated this means it has a small pocket of air between the LED display and the glass surface. This might make the touch feel a little less sensitive. But Unless you are use to an older iPad you might not even notice.
Slight gap on the display which might make the touch less sensitive.
In terms of size this iPad is thicker than all previous models going back to the iPad Air 1. And you do notice this. Does it really matter though? Probably not.
Space for a Keyboard – iPad 8th Gen
On the bottom, you have 3 little dots which allows you to attach an Apple keyboard. However they are expensive and not that great to type on so you might be better off with a Logitech keyboard and I will leave an Amazon link in the description.
Around the back of the iPad we have the space grey finish with colour matched apple logo.
At the back of top we have an 8 megapixel camera with a f2.4 aperture and beside that one of the dual microphone pin holes. On the top right side you have Sleep Wake power button. Along with that the another microphone pin hole and headphone jack. Down the right side you have the volume up and down buttons. On the bottom you have a lighting port and stereo speakers.
Around the hardware
On the front bottom you have the all familiar Home button and it comes with finger print unlock. There is no face unlock on this model.
The top you have a 1.2 mega pixel FaceTime HD Camera with a f2.4 aperture. Not super outstanding but it does the job.
The biggest upgrade for the iPad 2020 is that it includes the A12 Bionic processor which is a 64-bit chip. A fast processor is important when playing games and videos or when generally moving around the iPad.
And for those that are interested in the Geek Bench 4 scores here is the single and multi core scores and compassion.
The Apple iPad 8th gen is a stock standard iPad with a fast processor. And would be perfect for most people. If you are doing design work however you might want to look at the iPad Pro model instead.
Guys, don’t forget to check out my other videos such as Huawei to iPhone. Also do me a favour if you know anyone who might like this video please share it will them, hit the subscribe button and smash the bell icon.
Hi Guys and welcome to 123myit, in this video we will show you, how to setup Screen Time and reset your Screen Time passcode on iPhone, iPad and iPod Touch.
With Screen Time you can access reports about how much time you and your kids spend on your iPhone, iPad or iPod touch, and you can also set limits. This video we will show you how to set up a Screen Time passcode and reset it if you have forgotten the Passcode.
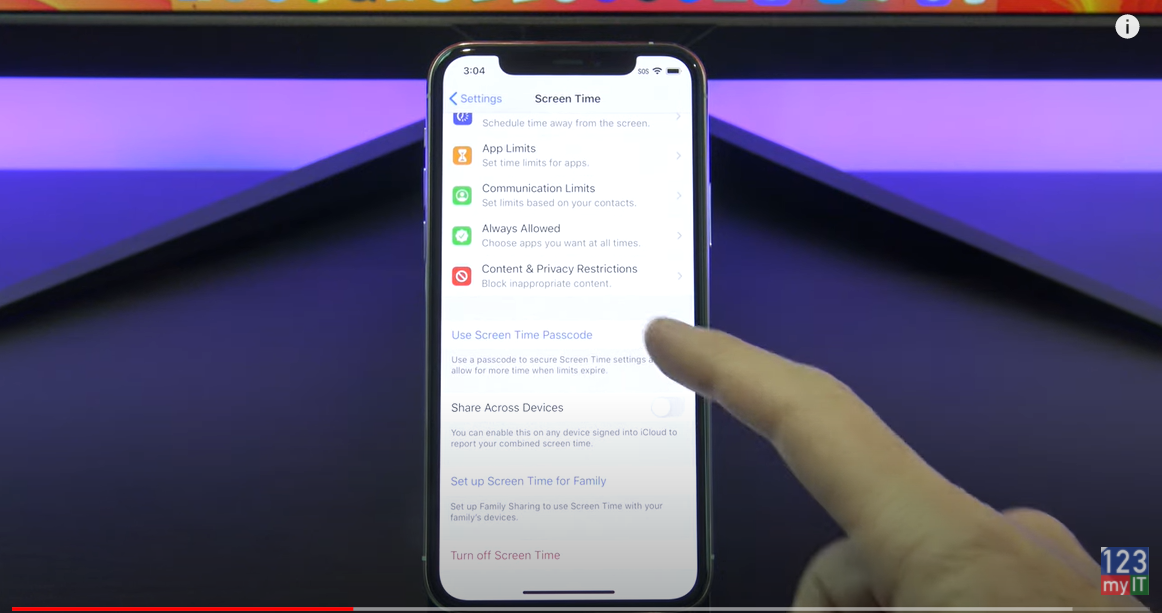
Go to Settings and then Tap Screen Time. Once in there scroll down to Use Screen Time passcode. Next up type a Passcode you can remember. Cool you will need to enter an Apple ID. You will use this Apple ID to reset the Screen Time passcode. Also it stops your kids from resetting the screen time passcode for themselves.
Change Screen Time Passcode
Ok so you have set up a Screen Time Passcode, lets go in and change it. Tap on Change Screen Time passcode. And Tap it again. So this time we want to tap Forgot Passcode? And then we want to enter in our Apple ID. This will be the same passcode we entered earlier. Type it in and tap Ok. Enter a new Screen Time passcode. This will be the new passcode you will use from now on.
Awesome you have now setup and reset your Screen Time passcode.
Also guys don’t forget to check out my other videos such how to use Apple Reality Composer on your iPhone or iPad. And do me a favour hit the subscribe button and smash the bell icon. Please let me know if you have any feedback about what videos you would like to see in the future.
Hi Guys and welcome to 123myit, in this video we will show you, how to use Apple’s Reality Composer. Apple’s Reality Composer allows you to create and interact with Augmented Reality on your iPhone and iPad. This allows you to blend virtual content with the world around you.
In this video, we will show you how to download Reality composer.
Create a project
Select an Object
Add Looks and Behaviors
Place your Object in AR
Before you start make sure that the iOS version of your iPhone or iPad is 13.2 or later.
Lets get started.
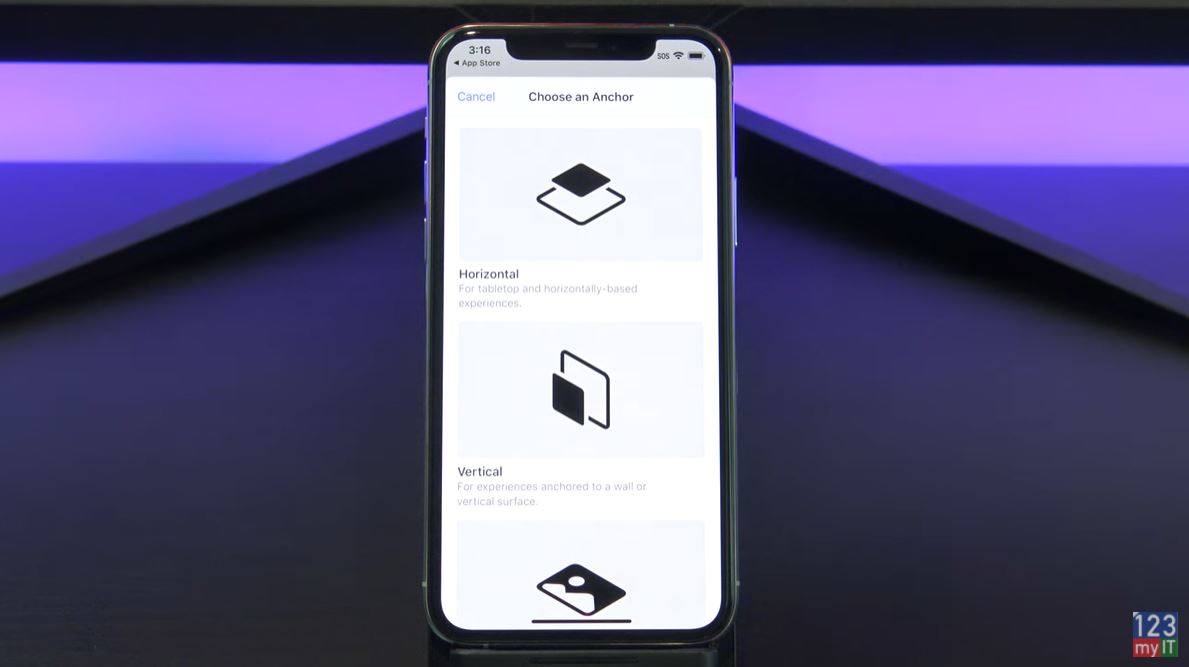
To download Reality Composer go into the App store and search for Reality Composer. Download and open it to get started. Once you have it open tap the plus start a new Project. Next, you need to choose and Anchor.
Choosing and Anchor
You use an Anchor to place an Object in the real world. There are a few anchors to choose from. Want your Object to be placed on a table or floor choose Horizontal. If you want to place it on a wall use Vertical. Are using a movie poster, book, brochure or packaging choose image anchor. If you want a selfie effects such as virtual hats and glasses use the face anchor.
Content Library
I am going to choose Horizontal. A square is the default Object lets delete it an add something more exciting. To delete tap and hold and then select delete. Cool, once that’s gone tap the Plus to open the Content library. Now you can select anything in here, but I am going to choose the rocket.
Adding Objects
If you want to change the look of your Object. Tap your Object and select the Cog. You have heaps of options in here, go ahead and select whatever you like. I am going to go with the realistic version. To close it press the cog again.
Lets add some action to the Object. Tap the Object and then tap the more icon. Then select Behaviours. To create a new behaviour tap the plus icon.
Add Behaviours
A behaviour allows you to move, scale or add emphasis to your Objects. You can also create proximity triggers and other cool stuff. To make our rocket shoot upwards lets scroll down to custom. Make sure you select the Object first and then select the Trigger called Tap. Next select move rotate scale by to move the rocket upwards.
Launch Speed
Now if you want to set the Rockets launch speed move the Duration slider to the left or right. Next select the ease type. Selecting this will make the rocket go faster as it lifts off. Select Ease in. Under Position tap clear and type in how high you want the rocket to go. I am going to type 500 as its in centimetres. Make sure you press Return. To give your Behaviour a new name tap more and name your Behaviour.
Ok let place our Rocket in the real world. I want to launch it off my wireless charger. Tap the AR button and move your iPhone or iPad side to side. If its too big pinch it to make it smaller and tap and drag to move it to the right spot. Sweet now hit the play icon to set it. And tap the Rocket to launch it! Houston we have lift off!
If you get stuck and your Rocket doesn’t fly. Go back into Behaviours and make sure you select your rocket and then choose Tap.
Also guys don’t forget to check out my other videos such schedule do not disturb on your iPhone, iPad and iPod touch. And do me a favour hit the subscribe button and smash the bell icon.
Hi Guys welcome to 123myIT! In this video, we will show you how to copy music from Android to iPhone, iPad and even iPod touch.
Guys this is the official way that Apple recommends to transfer you Music from Android to iPhone. However, you will need a computer to copy the music to first. Therefore, it can be a PC or a Mac.
If you need to transfer all your other files such as Contacts, Photos, Videos and Messages. I have already done a video for this and will put a link here.
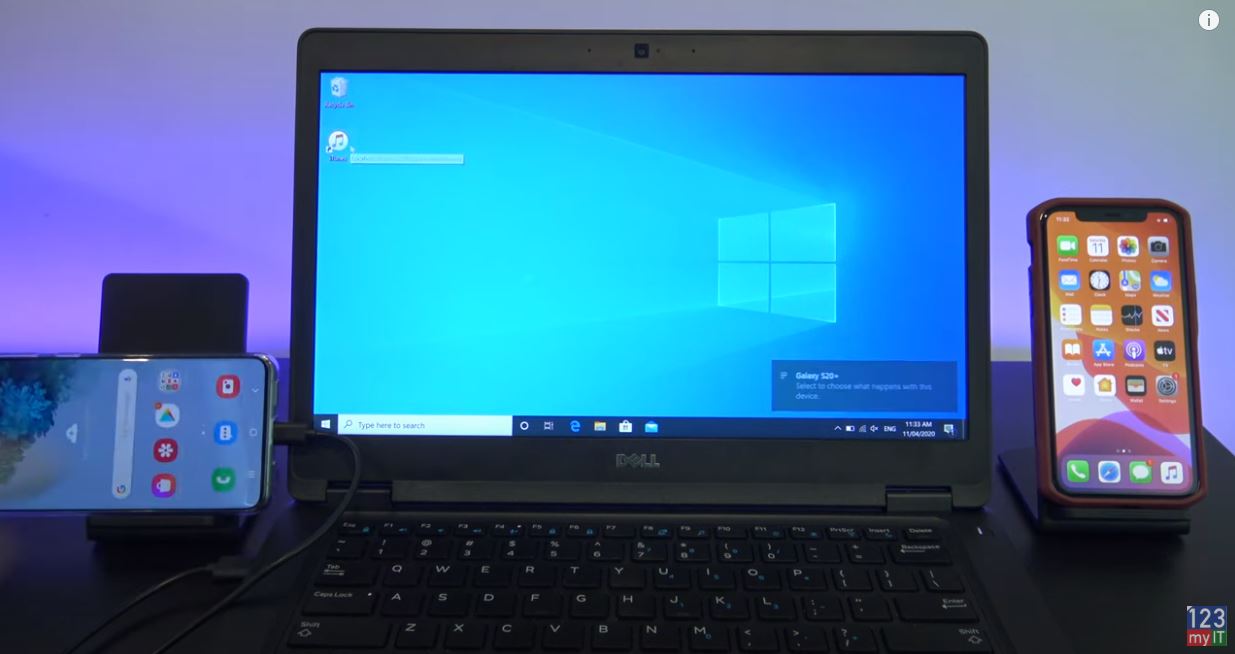
Getting Started
The first step is to connect your Android device to your computer and find your music. On most devices, you can find these files in Music. On a Mac, you will need to install Android File Transfer, you can find the link on the 123myit.com website under downloads. Once you are on the Downloads page just scroll down to where it says, Android File Transfer. Then click on Download now and install the Android File Transfer software. Drag it across into your Applications folder. Once installed. Click on Go and Applications and open the Android File Transfer software. You might need to tap Allow on your Android device to give the computer access to your music folder. Close your windows and tap on the Android Transfer Software at the bottom of the screen.
Awesome you should now see the complete list of folders on your Android device. Find your music folder and drag it to the Computer desktop.
Unplug your Android
Once your music is copied, you can unplug your Android device you are finished with it now. Next, Plug in your iPhone iPad or iPod. Open up your Apple Music or iTunes. Then drag your Music folder from the Desktop into your Music or iTunes. Once that is done minimise your Music or iTunes app and the click on Go and Computer. Click on your iPhone and click on Pair if you have not done this already. Next click on the Music tab and put a tick in Sync music, then you can select Entire music library or you can do selected Albums. Once you are finished just click Apply, then go back into your iPhone and click Sync.
Cool, unplug your iPhone and check if your music copied across.
Using a PC to store and copy the Music.
Copying the Music on PC
The process is the same on PC but you will need to download iTunes. Open up the Android device in Windows explorer and copy the music folder to your Computer Desktop. To download iTunes you can Google it or I have put a direct link on the 123myit.com website under Downloads. Just scroll down to where is says iTunes download.
Once installed you can open it up and remove your Android device. Plug in your iPhone and tap Trust. Drag your Music folder from the Desktop into your iTunes app. In iTunes click on your iPhone then select Music and again you will have the options to choose Entire music library or Selected Playlists. Once done click Apply then click Sync. Go ahead, remove your iPhone now, and check the Music has copied across.
Guys don’t forget to check out my other videos such as how to clean and disinfect your iPhone. In addition, if you liked this video can you do me a favour and share it with someone who might need to know how to transfer his or her music. Don’t forget to hit the subscribe button and smash the bell icon.
Let me ask you this, when was the last time you cleaned and disinfect your iPhone? If your answer is never or rarely then now is probably a good time to start.
Apple has just recently updated their website on what you can do to clean or disinfect your device. So I wanted to show you guys how to do that.
Disinfect your iPhone
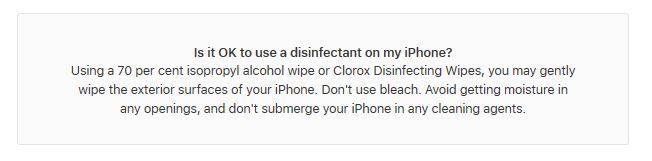
To disinfect your device Apple says you can use a 70 percent isopropyl alcohol wipe or Clorox Disinfectant Wipes. They also recommend warm soapy water and apply these with a soft lint free micro fibre cloth.
Disinfect your iPhone
I would recommend warm soapy water over the a disinfectant alcohol for three reasons. The first reason is you don’t know what chemicals are in the wipes so do you research especially if you have Asthma. Seriously, it only takes a Google search to find out. Second, those chemicals could burn certain parts of your phone and the last reason wipes are just not good for the environment.
If you don’t have soap then warm clean water is the next best option and if you don’t have a microfiber cloth any lint free soft cloth will do.
Don’t press hard on your phone when cleaning
Now to clean your phone if you have a case just remove it. Here I have an iPhone case from Element I will put a product link in the description below. I will show you how to disinfect and clean your case as well.
When cleaning your device what you don’t want to do is wipe to hard or excessively. Use a soft lint free cloth. Don’t use paper towels. Make sure your device is unplugged from any cables and don’t use sprays or anything that can get into the ports.
Alright so just take your disinfectant wipe an gently wipe the device over. You just need to apply enough so its moist not wet. And you should be able to see that moisture that I have applied on the screen and cameras. Make sure you lightly do the sides of the device as well. If I turn the screen off you should be able to see the disinfectant on the screen.
Ok once you’re finished just sit your device down for 4 to 5 mins. This will give the disinfectant some time to dry and kill any Viruses or Bacteria on your phone.
Soapy warm water – Disinfect your iPhone
If you have soapy warm water and a cloth the process is the same again just apply some soapy warm water to your cloth and start wiping your device over. Again you should see that the phone is moist not wet and you should make sure you do the back and sides as well.
If you have lint or dust in the power, speaker, camera or ear piece ports you can very gently try to clean these with the SIM eject tool or a paper clip. Just be very careful not to touch or put any force on the inside of the ports. Very gently dislodge the lint or dust and then you can use a moist cotton tip to help remove the dust from the port.
The process is the same for your case. However, be careful when use alcohol wipes on your case, as some cases might not like the Alcohol wipes. I suggest just spot testing the alcohol wipes first in a part of the case you won’t see. If it works fine just wipe your case over the same way you did with your phone. With soapy warm water you should be fine to use it on your case. No issues there. Don’t forget you can use the SIM eject tool and cotton tips to get into the harder places. Once disinfected put your case down for 4 mins to dry.
Cover your phone with plastic sleve
The last idea I had might seem extreme. However, if you are working in an extreme environment like a health care worker, it might be helpful. If you are going into an area where you know there might be the potential for infection you could also try putting your phone in an airtight zip lock back. So disinfect your phone first. Once its dry pop it inside a zip lock back and seal it up. You can still use the device from inside the bag. Then when you leave the hospital or infected zone you can remove it from the bag. If you are in this situation, it might be a good idea to disinfect the device again after you remove the bag.
Guys don’t forget to check out my other videos such as Transfer data from Android to iPhone in 2020. And if you have any other tips on phone cleaning leave them in the comments section below. Also can you do me a favour hit the subscribe button and smash the bell icon.
Hi guys and welcome to 123myIT. You can save time by Create Custom Voice Commands on iPhone iPad and iPod touch. This is helpful if you have your hands full or you have limited Mobility.
I did a previous video which shows you how to turn on voice control. And I will put a link into their description of the video now. However this video will show you how to make your own custom voice commands.
Inserting my phone number as a command.
Here’s an example of a custom voice command. Let’s say you have to type in your address into your phone a lot. You can create a voice command to add your address for you. What’s this. Insert my address. And again. Insert my address. See how easy it is. OK let’s learn how to create a custom voice command. Go into settings. Scroll down and tap accessibility. Tap voice control. And then tap customise commands. Tap on custom. And create new command. Insert my address is a command I set up earlier. Let’s go back and I will show you how to setup your own one. Tap on create new command.
Setup a new Command
I am going to set up a command to insert my phone number. So in the phrase field type in the command that you can use when speaking to your device. In my case I am going to type insert my phone number. Cool next up you want a tap on action and then insert text. Because we want to insert our phone number. Tap on the text field below and then type in your phone number. And then tap new command and then tap save. Awesome you have just set up your first Custom Voice Commands.
Let’s test it go out of settings and back into messages. Answer your phone you can enter your phone number by saying insert my phone number. And again insert my phone number full stop there it is it’s so easy.
Also guys don’t forget to check out my other video such as stop pop-up ads on iPhone iPod and iPad. And do me a favour hit the subscribe button and smashed the bell icon.
Hi Guys welcome to 123myIT! In this video, we will show you how to Stop Pop-Up Ads on your iPhone, iPad and iPod touch.
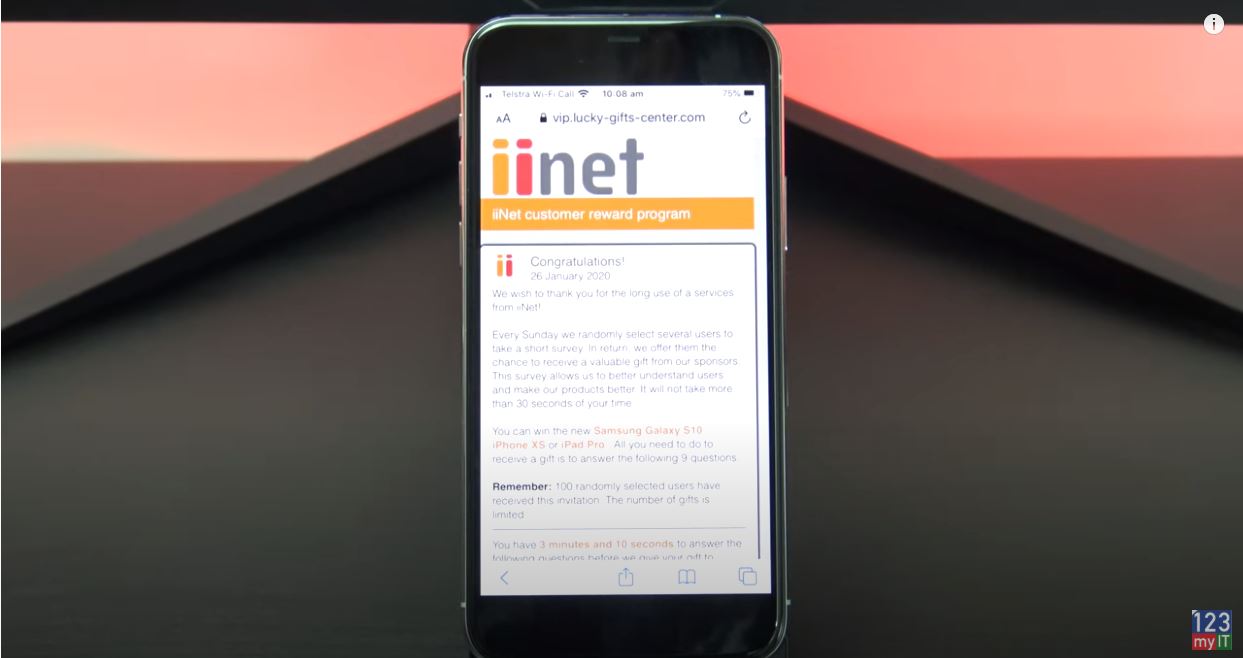
Ok people so you have been browsing the web on your Apple device and suddenly for no reason you are getting Pop-up Ads. I started getting the Congratulations ads popping up on my iPhone. Therefore, I thought I would make a quick video on how to get rid of it.
The ad I was getting was offering a smart phone in return for your details. Do not fall for it. This one has my ISPs logo on it, but you pop up might have an Amazon or Apple logo.
Scams – Don’t fall for it!
Doing a quick web search will also show you that it is a scam. When we search for the web address, it takes us to a spyware removal website.
This is the pop up Ad I was getting on my iPhone
All right let’s get rid of it. To close out of the popup tap on the rightmost icon at the bottom in the Safari browser. Then swipe the page left to close it or tap the X.
Alternatively swipe from the bottom to close the Safari browser itself. Then just swipe upwards to close it.
To Stop Pop Up Ads on iPhone
Ok Let’s check your phone settings. To disable ALL sounds, badges, and pop-up alerts. You can do this under Settings > Notifications > Show Previews > and finally select ‘Never’.
Remember, You can turn the settings back on if you want at any time. If that ends up being to strict you can turn it back on and only turn the alerts on for the Apps you want. So if I want to get alerts for App Store, go into the app and tap allow notifications.
Ok Let check your Safari settings. So go back to Settings > Safari and check that the ‘Block Pop-Ups’ button is toggled on and is green.
Next, up you can clear your Safari History so scroll down to where it says Clear History and Website Data. However, before you hit clear hit cancel and scroll down to Advanced and then tap Website data.
Delete Browsing History
This option will delete browsing history, websites data, and cookies from individual websites only it might also show you the dodgy website that has been causing the pop ups. Let us say I do not like the look of this doubleclick.net website I can tap Edit and tap the red minus sign to clear it. If I want to clear all the website data, I can go back out and just use the Clear History and Website Data button I showed you earlier. In addition, if you go back in you will see the entire website are gone now.
Next up we can reset Advertiser Identifier, to do this go into settings and privacy. The scroll down to Advertising. Make sure your limit Ad Tracking is green and then tap Reset Advertising Identifier. This will opt you out of targeted ads. Once this is done do a restart of your device for good measure.
Turn Pop-Up blocker on
If you use Google Chrome instead of Safari. Open Chrome, tap the three dots, and go into settings.
Scroll down to content settings and make sure your pop up blocked is turned on.
Next step, if you have added any new Apps. Remove it and see if the Pop ups stop. To remove the App just tap and hold and tap delete App. Pretty straight forward.
Another good tip is to install an App called Malware Bytes. So go to Malwarebytes.com Its an App that can scan for Malware. Unfortunately it is not available in Australia now, But it is meant to be available in the US and Canada. Use it to scan your phone.
If you cannot install Malware Bytes but you can look on the App Store for other simular app that can scan and remove Malware. In the App store do a search for Malware and try installing one of the other Apps there.
Last step if all else, fails do a back up to iCloud and reset your device back to factory defaults. To do this go to Settings, iCloud.
In addition, to do the reset go back to settings > General and then scroll down to reset. Then tap on Erase All Content and Settings.
Also guys don’t forget to check out my other videos such as Transfer data from Android to Pixel 4. And do me a favour hit the subscribe button and smash the bell icon.