
This video will show you how to setup GodMode on Windows 8 computer.
The step by step guide on how to setup “God Mode” on Windows 8.
If you have just purchased a new pc you might notice that there is loads of hidden settings where by you can customise Windows 8. However the settings are scattered throughout Windows 8 and it can take time to find them.
This is where “God Mode” comes in. While the term “God Mode” sounds like something from a Doom game, “God Mode” in Windows 8 is really a hidden folder that allows you to get access to all the settings in Windows 8 that are spread out through the Microsoft operating system.
Make sure you have turned hidden files and folders off. To do so go into Explorer, click the View tab and tick “Hidden items” and “File name extensions”. Then follow the steps below.
Step 1. Right click the Desktop.
Step 2. Go to New > Folder.
Step 3. Paste the following string.
GodMode.{ED7BA470-8E54-465E-825C-99712043E01C}
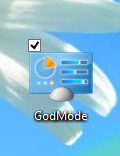
If you have followed the steps correctly you should see the folder icon change to the icon in the picture above.
When you double click the GodMode icon you will see a folder full of settings and tools, from “Change User Account Control settings” to “Check for updates.” These settings are organized by category. You can open or close each category by click on the triangle next to it. The category’s have a number in brackets beside them which represents how many settings there are in it.
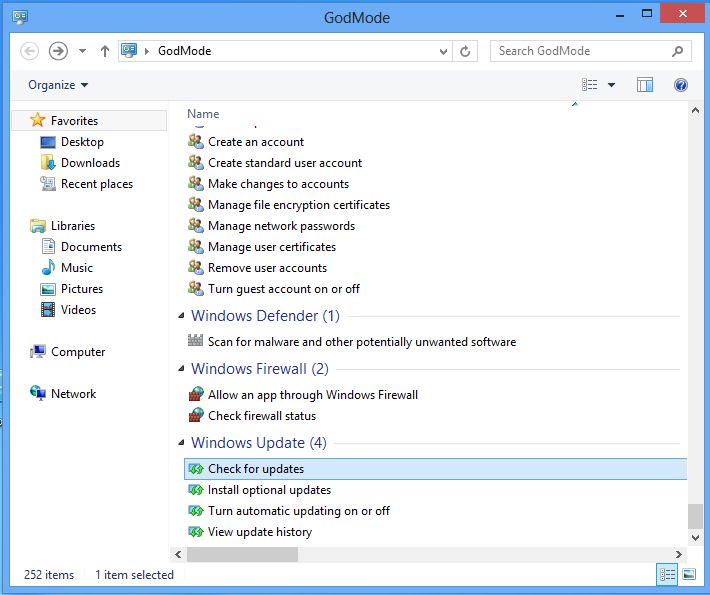
Double click any of the settings and it will take you directly to the setting with in Windows 8. In some cases you will get a wizard screen where you need to follow the prompts. In other cases you will be sent to the control panel or other Windows 8 settings screens.